
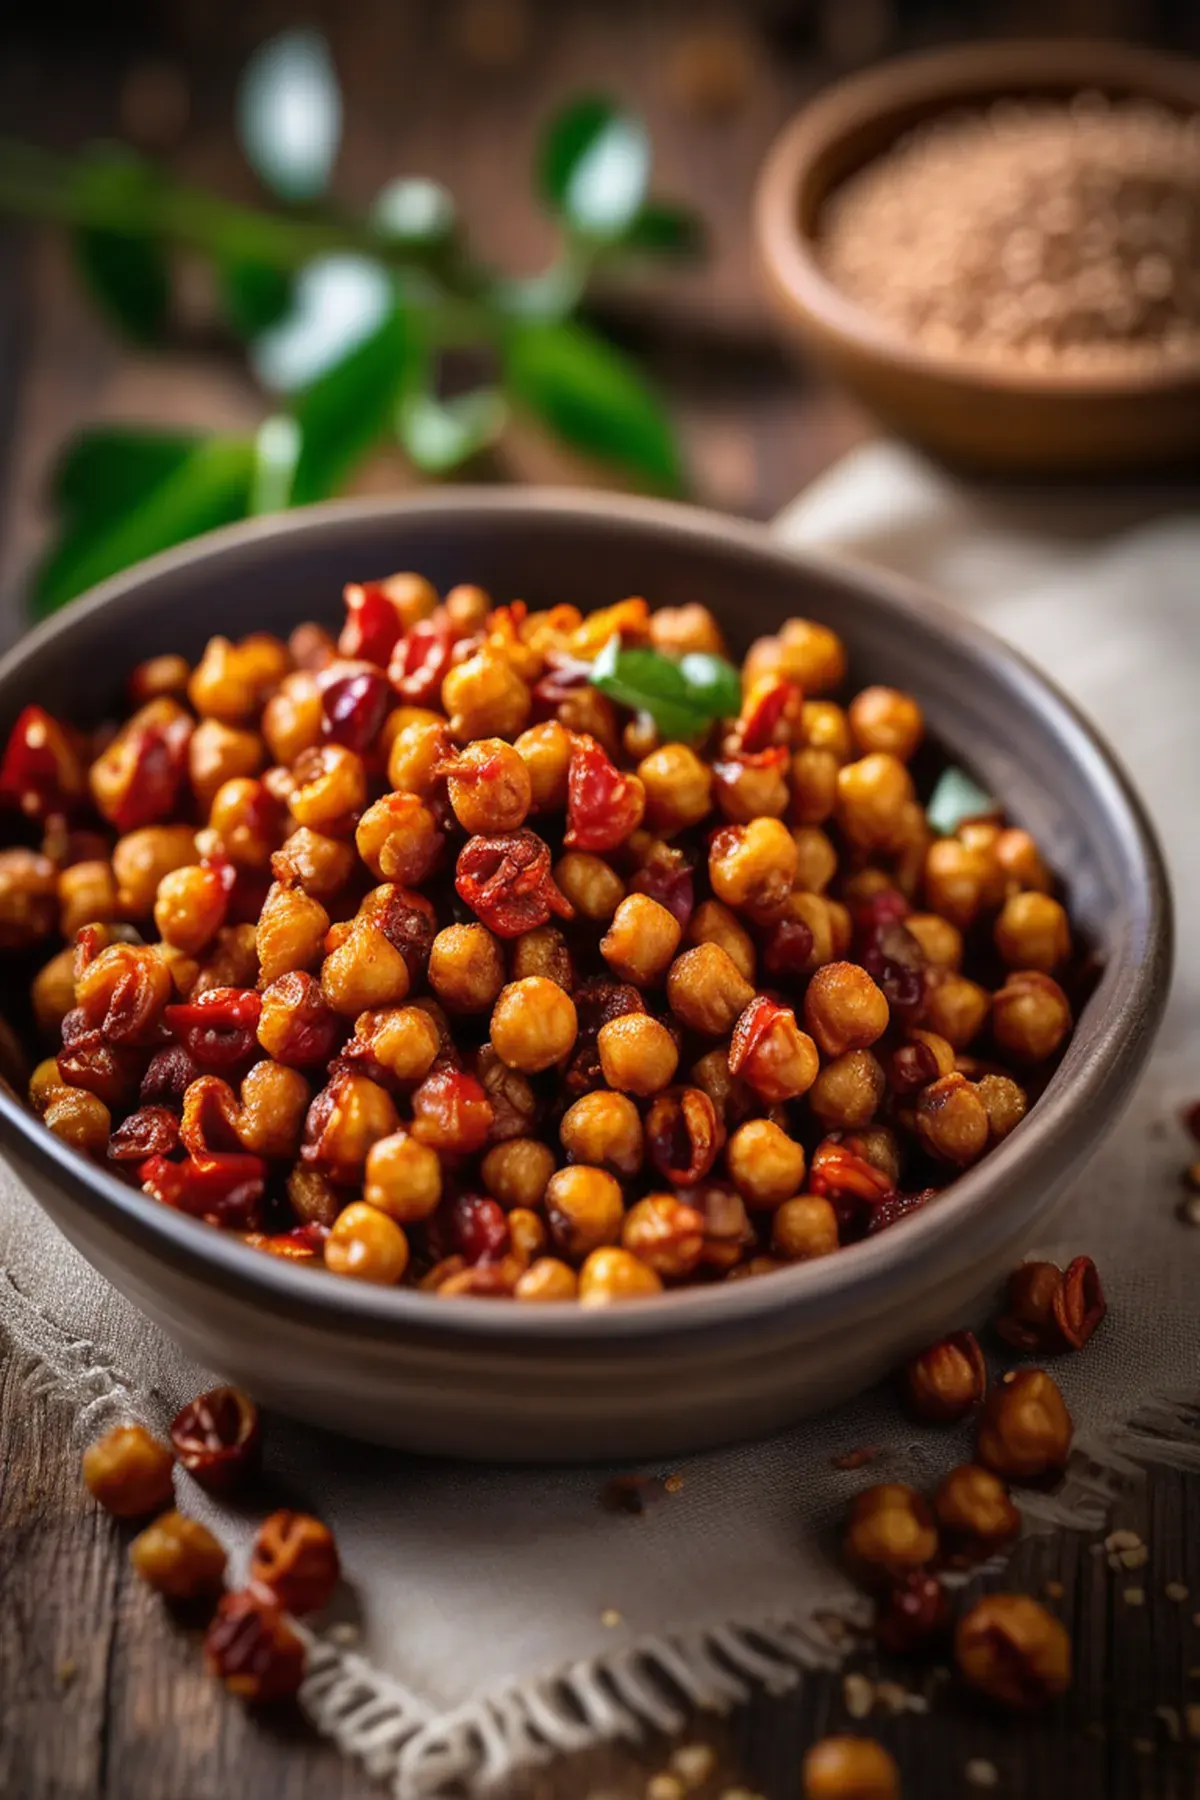
Chilli Roasted Chickpeas
Prep
15 mins
Cook
30 mins
Servings
4
Difficulty
Easy
Here's my go to snack when I want something crunchy and satisfying without any fuss. These chilli roasted chickpeas come together in under an hour and cost just pennies to make, which is why I prepare them constantly. Chickpeas are packed with protein and fibre, keeping you feeling full longer, so they're genuinely good for you too. The beauty of this recipe is how simple it is: just toss canned chickpeas in spices and olive oil, then roast until golden and crispy. Whether you're after a healthy snack or a flavourful addition to salads, this one never disappoints.
Ella x
Ingredients
- 800 gcanned chickpeas(drained and patted dry)
- 30 mlolive oil
- 10 gchilli powder
- 5 gpaprika
- 5 ggarlic powder
- 5 gsea salt
- 2 gblack pepper
- 3 gcumin
- 2 gcayenne pepper(optional, for extra heat)
Detail level
Instructions
- 1
Preheat your oven to 200 degrees Celsius. While it heats, drain your canned chickpeas thoroughly and spread them out on a clean kitchen towel. Pat them completely dry because any moisture will prevent them from crisping up properly.
Tip: The drier your chickpeas, the crunchier they'll become. Don't skip this step.
- 2
In a large bowl, combine the chilli powder, paprika, garlic powder, cumin, cayenne pepper, salt and black pepper. Give it a good stir to make sure everything is evenly mixed.
Tip: Mix your spices before adding the oil so they distribute evenly throughout.
- 3
Add the dried chickpeas to the spice mixture along with the olive oil. Toss everything together using your hands or two spoons until each chickpea is coated evenly with the spiced oil.
Tip: Make sure every chickpea gets some coating. This step determines how flavorful your final snack will be.
- 4
Spread the coated chickpeas onto a baking tray in a single layer. They should sit side by side without overlapping too much.
Tip: Use a large tray rather than crowding them together. More surface area means better roasting.
- 5
Roast in the preheated oven for 25 to 30 minutes, stirring the tray halfway through cooking time. They're ready when they're golden brown and crunchy when you bite into one.
Tip: The exact time depends on your oven, so start checking at 25 minutes. They'll continue to crisp up slightly as they cool.
- 6
Remove from the oven and let the roasted chickpeas cool completely on the tray for about 10 minutes. This helps them firm up and become extra crunchy.
Tip: Resist the urge to eat them straight away. They'll be soft when hot and crisp perfectly as they cool.
- 7
Once cooled, store them in an airtight container where they'll keep fresh for up to five days. Though honestly, they rarely last that long in my house.
Recipe Variations
Get AI-powered ingredient substitution suggestions.
You Might Also Like
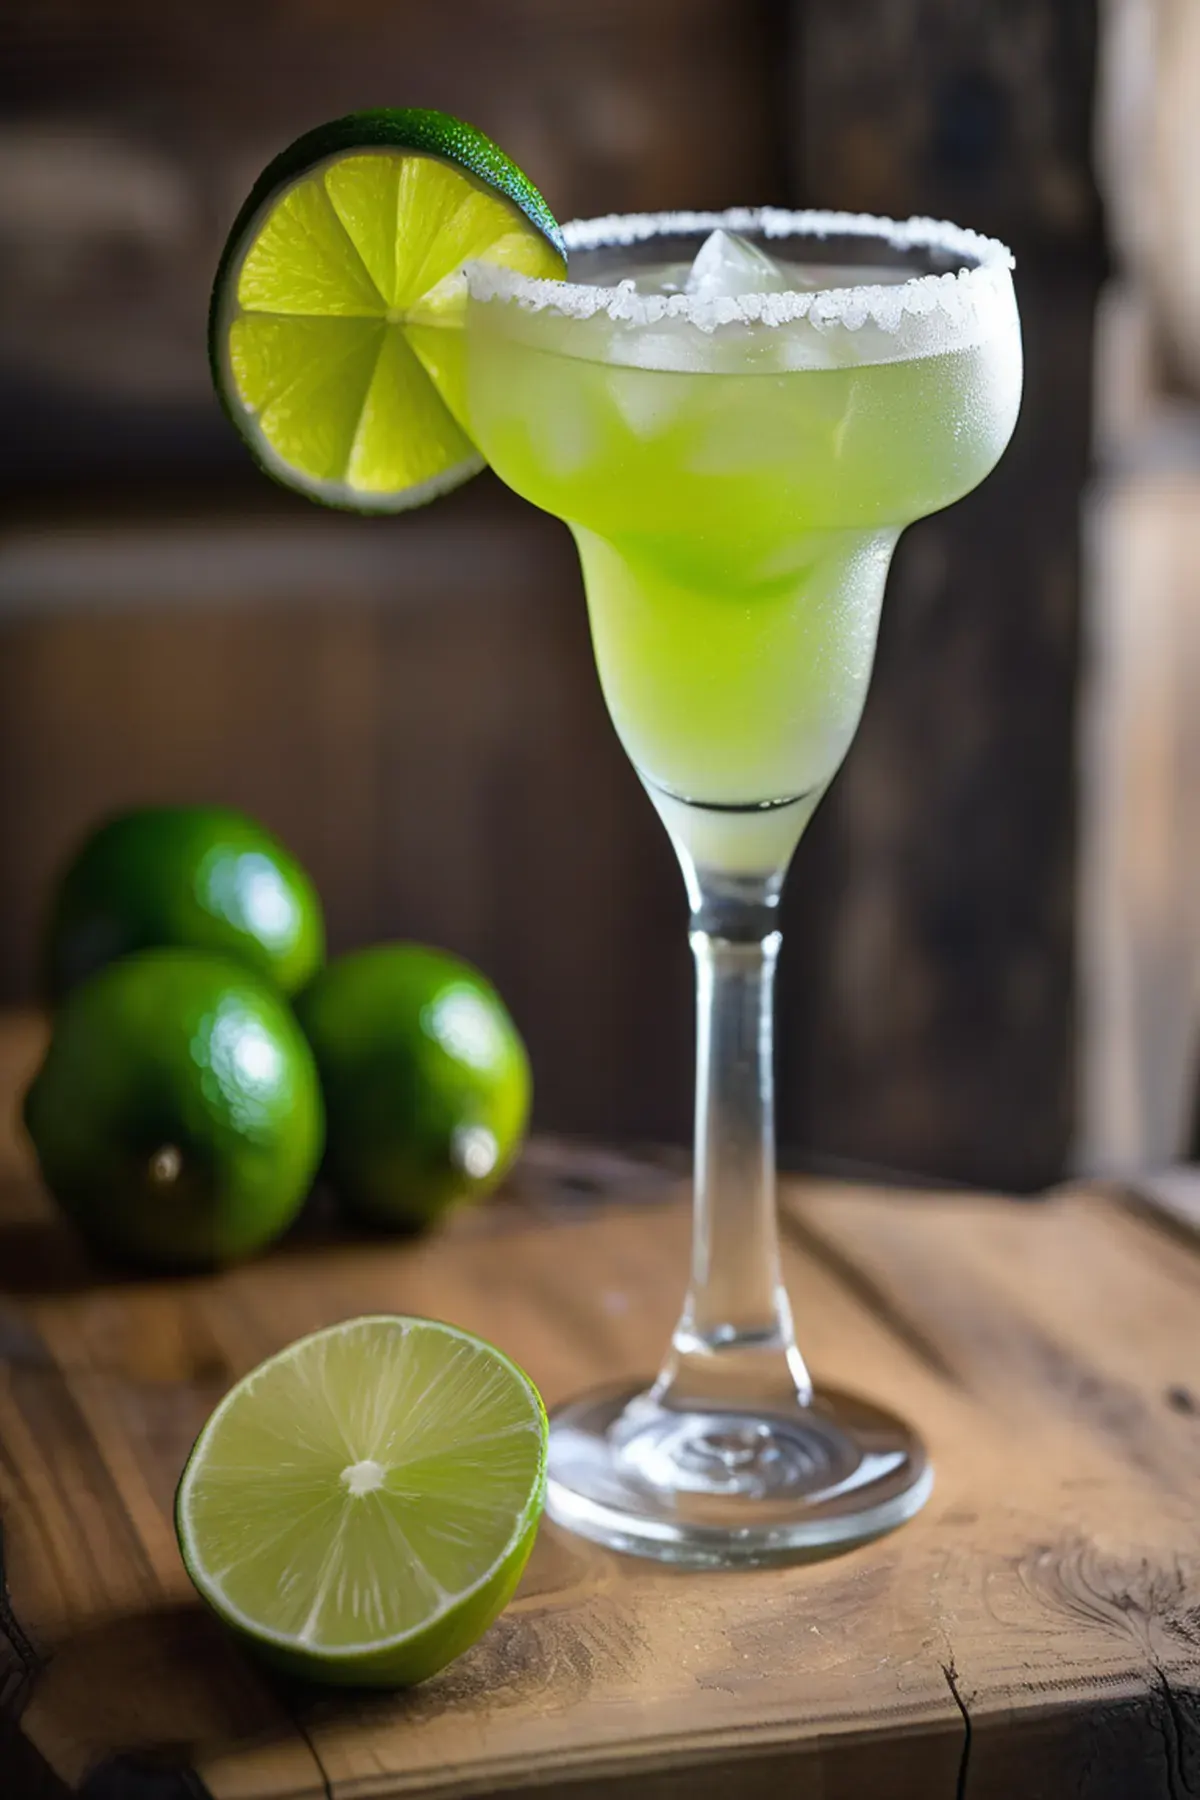
Beergarita
My go to drink for summer gatherings is this refreshing Beergarita, and let me tell you, it's a total crowd pleaser. The combination of tequila, triple sec, fresh lime juice, and a cold Corona creates something that tastes way more complicated than it actually is. Lime juice is packed with vitamin C, which is great for your immune system, and the whole thing takes just five minutes to throw together. Best part? It's incredibly budget friendly since you're probably already stocking most of these ingredients anyway.
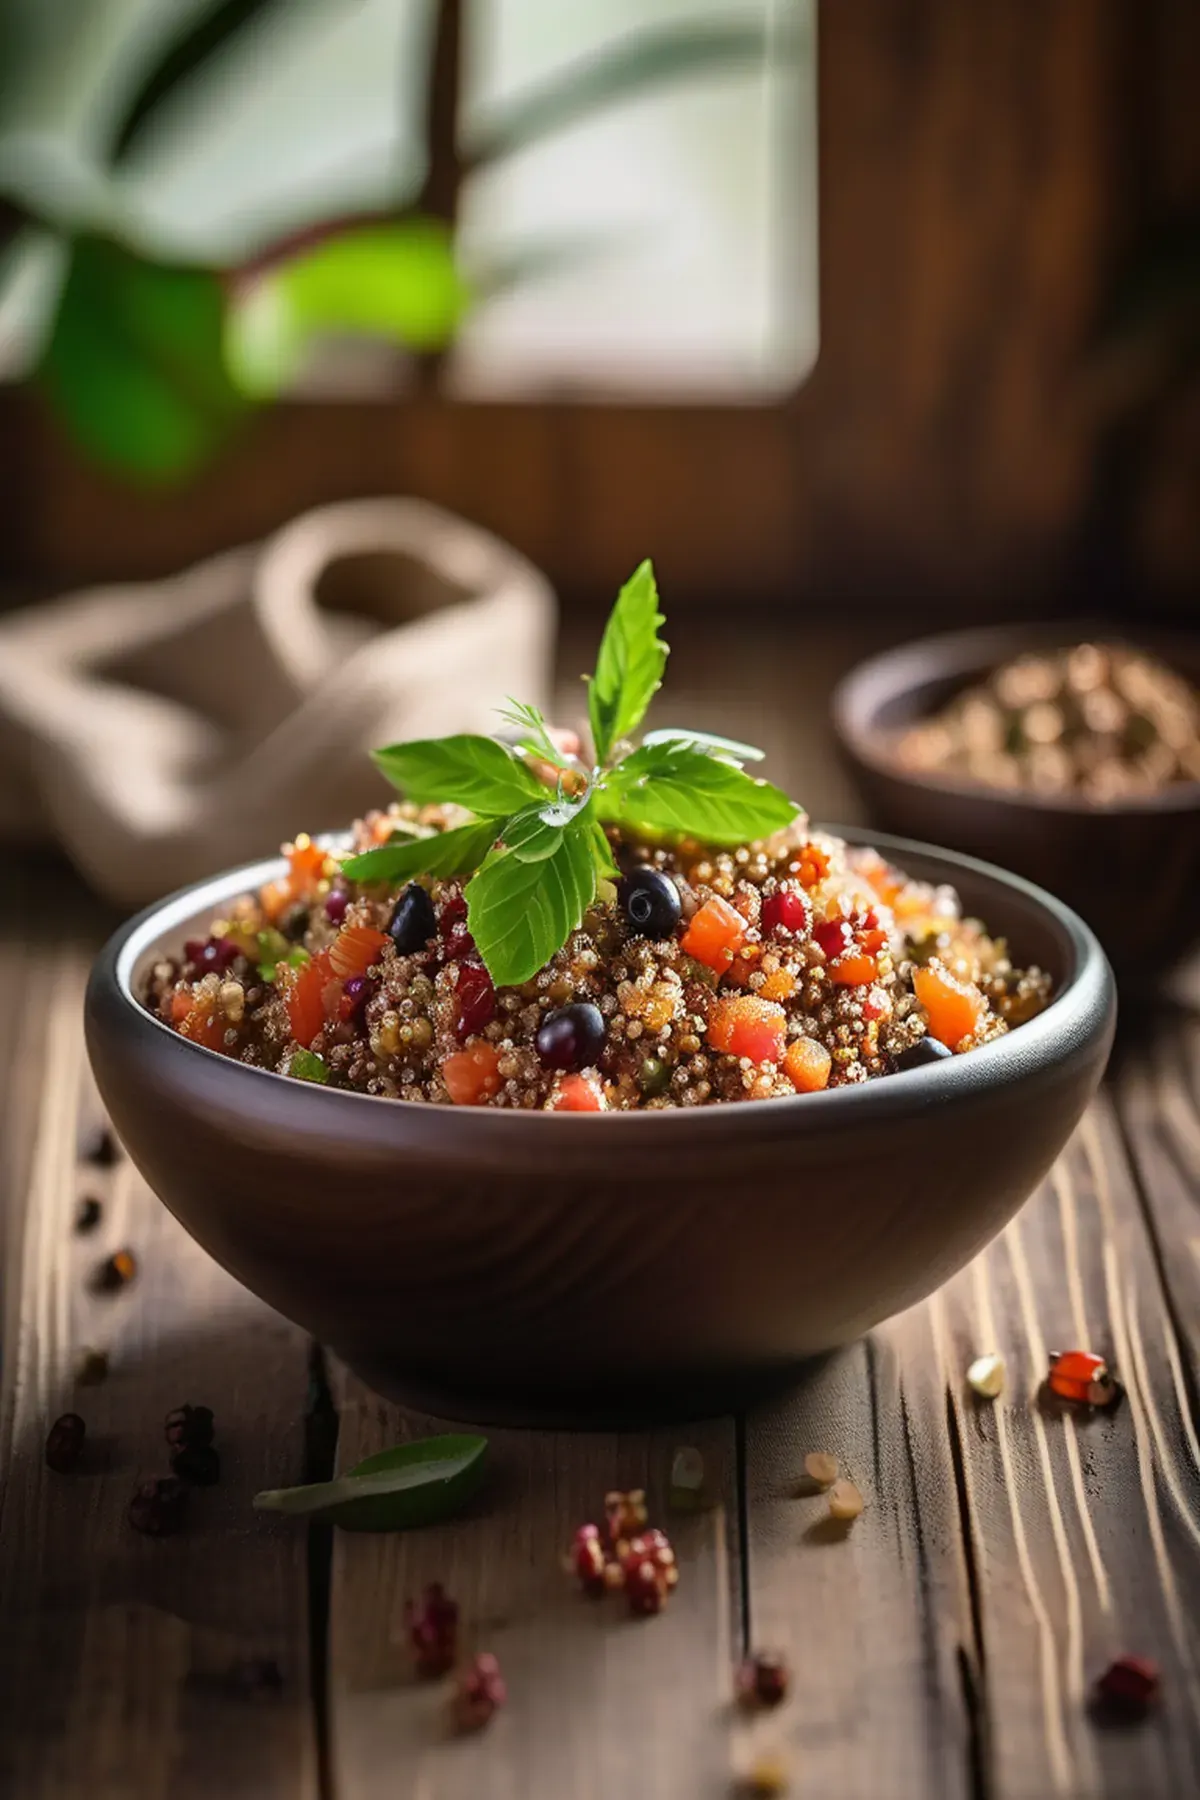
Tropical Quinoa
This tropical quinoa bowl has become my go to weeknight dinner because it comes together in just forty minutes and tastes like a mini vacation on a plate. Quinoa is one of my favorite ingredients since it's a complete protein with all nine essential amino acids, making it so satisfying and perfect for keeping energy levels steady. The combination of papaya, red bell pepper, and fresh cilantro brings vibrant flavors and colors, while the rice wine vinegar and orange zest add just the right brightness. Best part is the ingredient list is simple and affordable, yet feels fancy enough to impress anyone at your table.
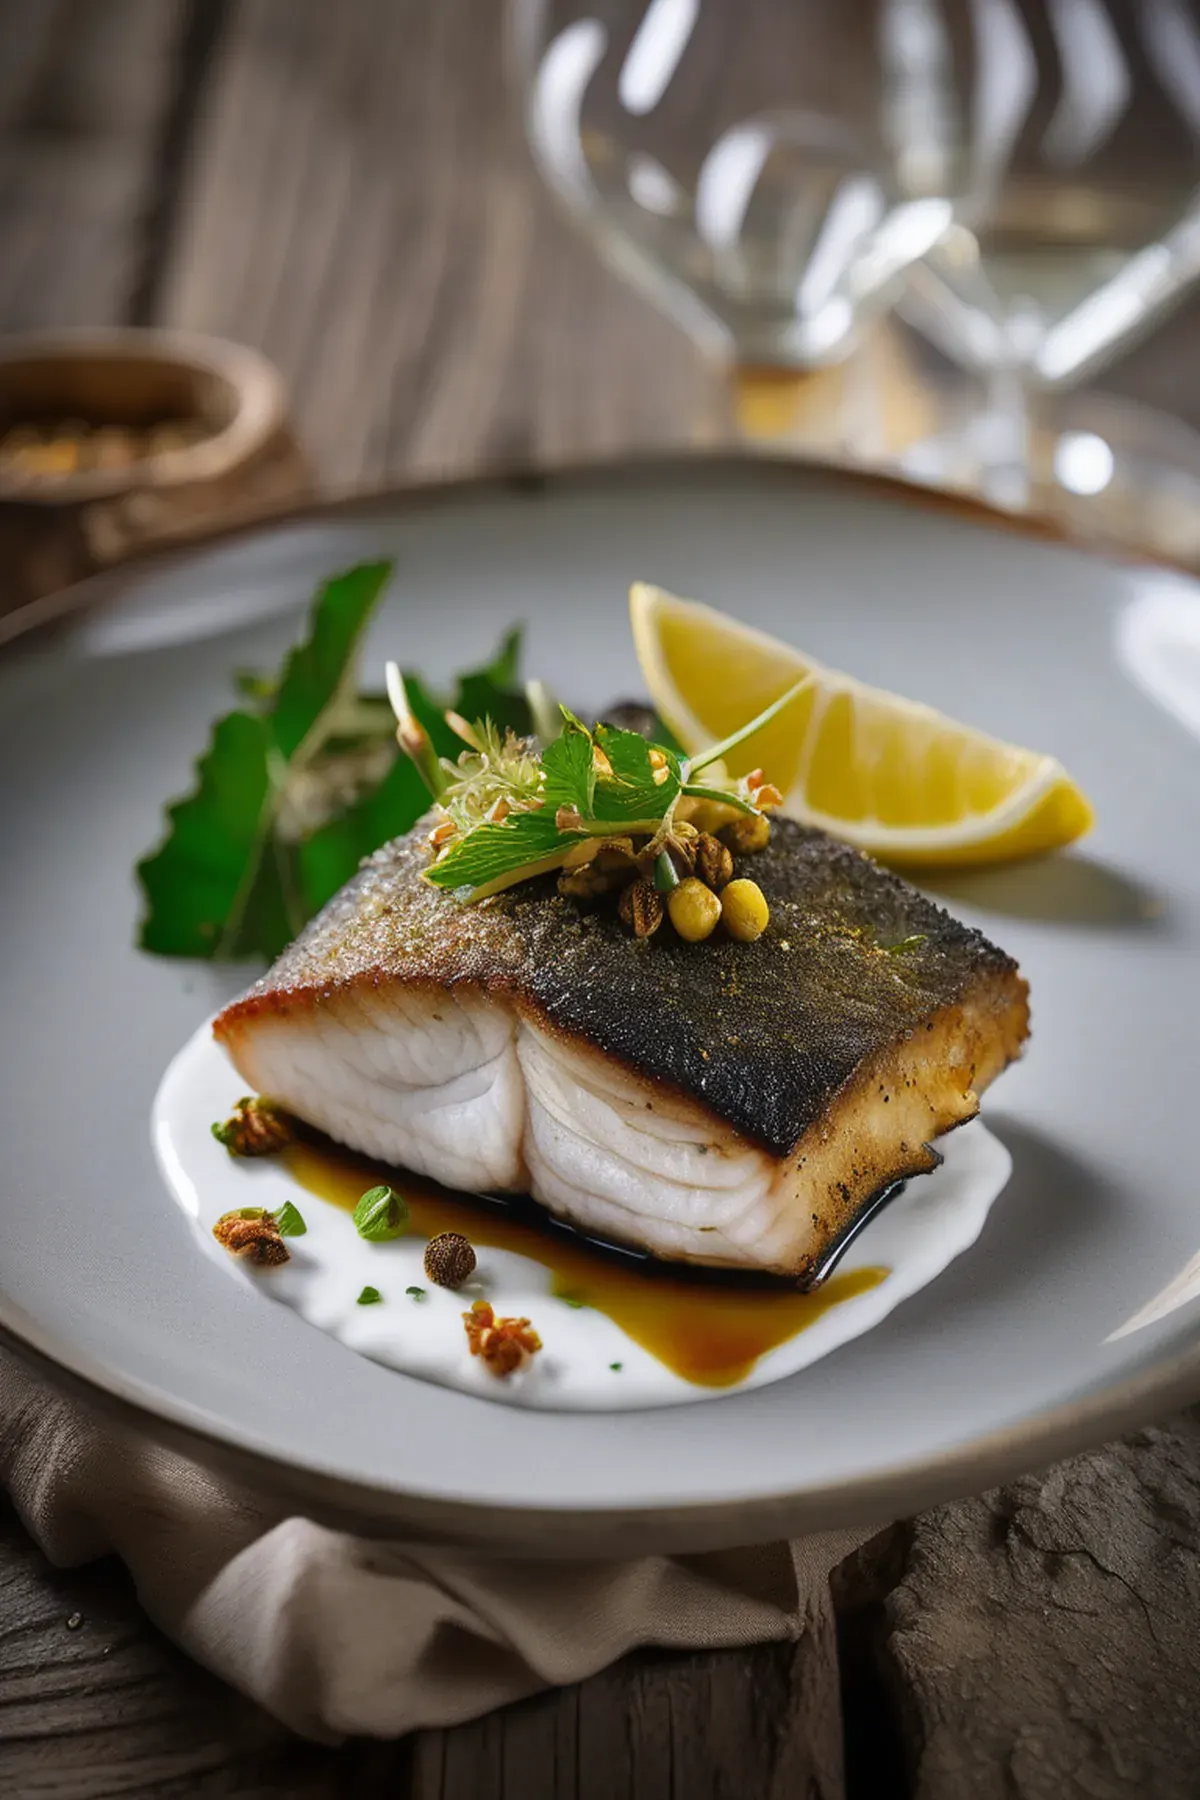
Crispy seabass with preserved lemon yogurt
This is one of my favorite quick weeknight dinners because it comes together in just ten minutes flat. Crispy seabass with preserved lemon yogurt is that perfect balance of impressive and effortless, with tangy Greek yogurt and zingy preserved lemon creating a sauce that feels restaurant quality but tastes like home. The seabass gets beautifully golden and flaky while the freekeh provides substantial whole grains packed with fiber and protein. It's the kind of meal that makes you feel like you're treating yourself without any fuss.
Reviews
Sign in to write a review.