
Chocolate Palmiers
Prep
20 mins
Cook
35 mins
Servings
6
Difficulty
Easy
These chocolate palmiers are my go to when I want something that looks fancy but doesn't require much fussing around. They're crispy, chocolatey, and ready in just under an hour, making them perfect for unexpected guests or a quick homemade treat. The best part? They're incredibly budget friendly since you probably have most ingredients in your pantry already. I love using hazelnuts here because they're packed with heart healthy monounsaturated fats along with that rich, toasty flavor that pairs beautifully with chocolate. Trust me, once you master this simple dough, you'll be making these regularly.
Ella x
Ingredients
- 250 gall-purpose flour(null)
- 120 gbutter, softened(null)
- 150 gconfectioner's sugar(null)
- 100 gunsweetened cocoa powder(null)
- 10 gsea salt(null)
- 3 nulllarge eggs
- 50 mlmilk(null)
- 100 ggranulated sugar(null)
- 120 gchopped hazelnuts(null)
- 5 gbaking powder(null)
- 250 gunsalted chocolate chips(null)
- 20 mlvegetable oil(null)
Detail level
Instructions
- 1
Preheat the oven to 180°C. Line a baking sheet with parchment paper.
Tip: Ensure the parchment paper is large enough to accommodate the palmiers without overlap.
- 2
In a medium bowl, whisk together the flour, confectioner's sugar, cocoa powder, and baking powder.
Tip: Adequate whisking ensures the ingredients are evenly combined.
- 3
In a large bowl, cream the butter and granulated sugar until light and fluffy.
Tip: Avoid overbeating, which may result in a dense pastry.
- 4
Beat in the eggs one at a time, followed by the milk.
Tip: Use room-temperature eggs for a lighter texture.
- 5
Gradually incorporate the dry ingredients into the wet ingredients, mixing until a dough forms.
Tip: Don't overmix; this can lead to tough palmiers.
- 6
Add the chopped hazelnuts, unsalted chocolate chips, and sea salt. Mix until they are evenly distributed throughout the dough.
Tip: If using chocolate chips, be careful not to overmix, which may cause them to break down.
- 7
Divide the dough into 6 equal pieces. Roll each piece into a thin sheet, about 1/8 inch thick.
Tip: A uniform thickness ensures even cooking and prevent the palmiers from becoming too crispy.
- 8
Cut each sheet into a palmier shape, roughly 4 inches long and 1 inch wide.
Tip: A sharp knife is essential for creating crisp edges.
- 9
Place the palmiers on the prepared baking sheet, leaving about 1 inch of space between each.
Tip: Mold the palmiers into their desired shape while still warm, as this will help them retain their shape during baking.
- 10
Bake for 18-20 minutes or until the palmiers are golden brown.
Tip: Keep an eye on them to avoid overcooking.
- 11
Remove from the oven and let cool on the baking sheet for 5 minutes.
Tip: This allows the palmiers to retain their shape and helps them set.
- 12
Transfer the palmiers to a wire rack to cool completely.
Tip: Serve immediately, or store in an airtight container for up to 3 days.
Recipe Variations
Get AI-powered ingredient substitution suggestions.
You Might Also Like

Beergarita
My go to drink for summer gatherings is this refreshing Beergarita, and let me tell you, it's a total crowd pleaser. The combination of tequila, triple sec, fresh lime juice, and a cold Corona creates something that tastes way more complicated than it actually is. Lime juice is packed with vitamin C, which is great for your immune system, and the whole thing takes just five minutes to throw together. Best part? It's incredibly budget friendly since you're probably already stocking most of these ingredients anyway.
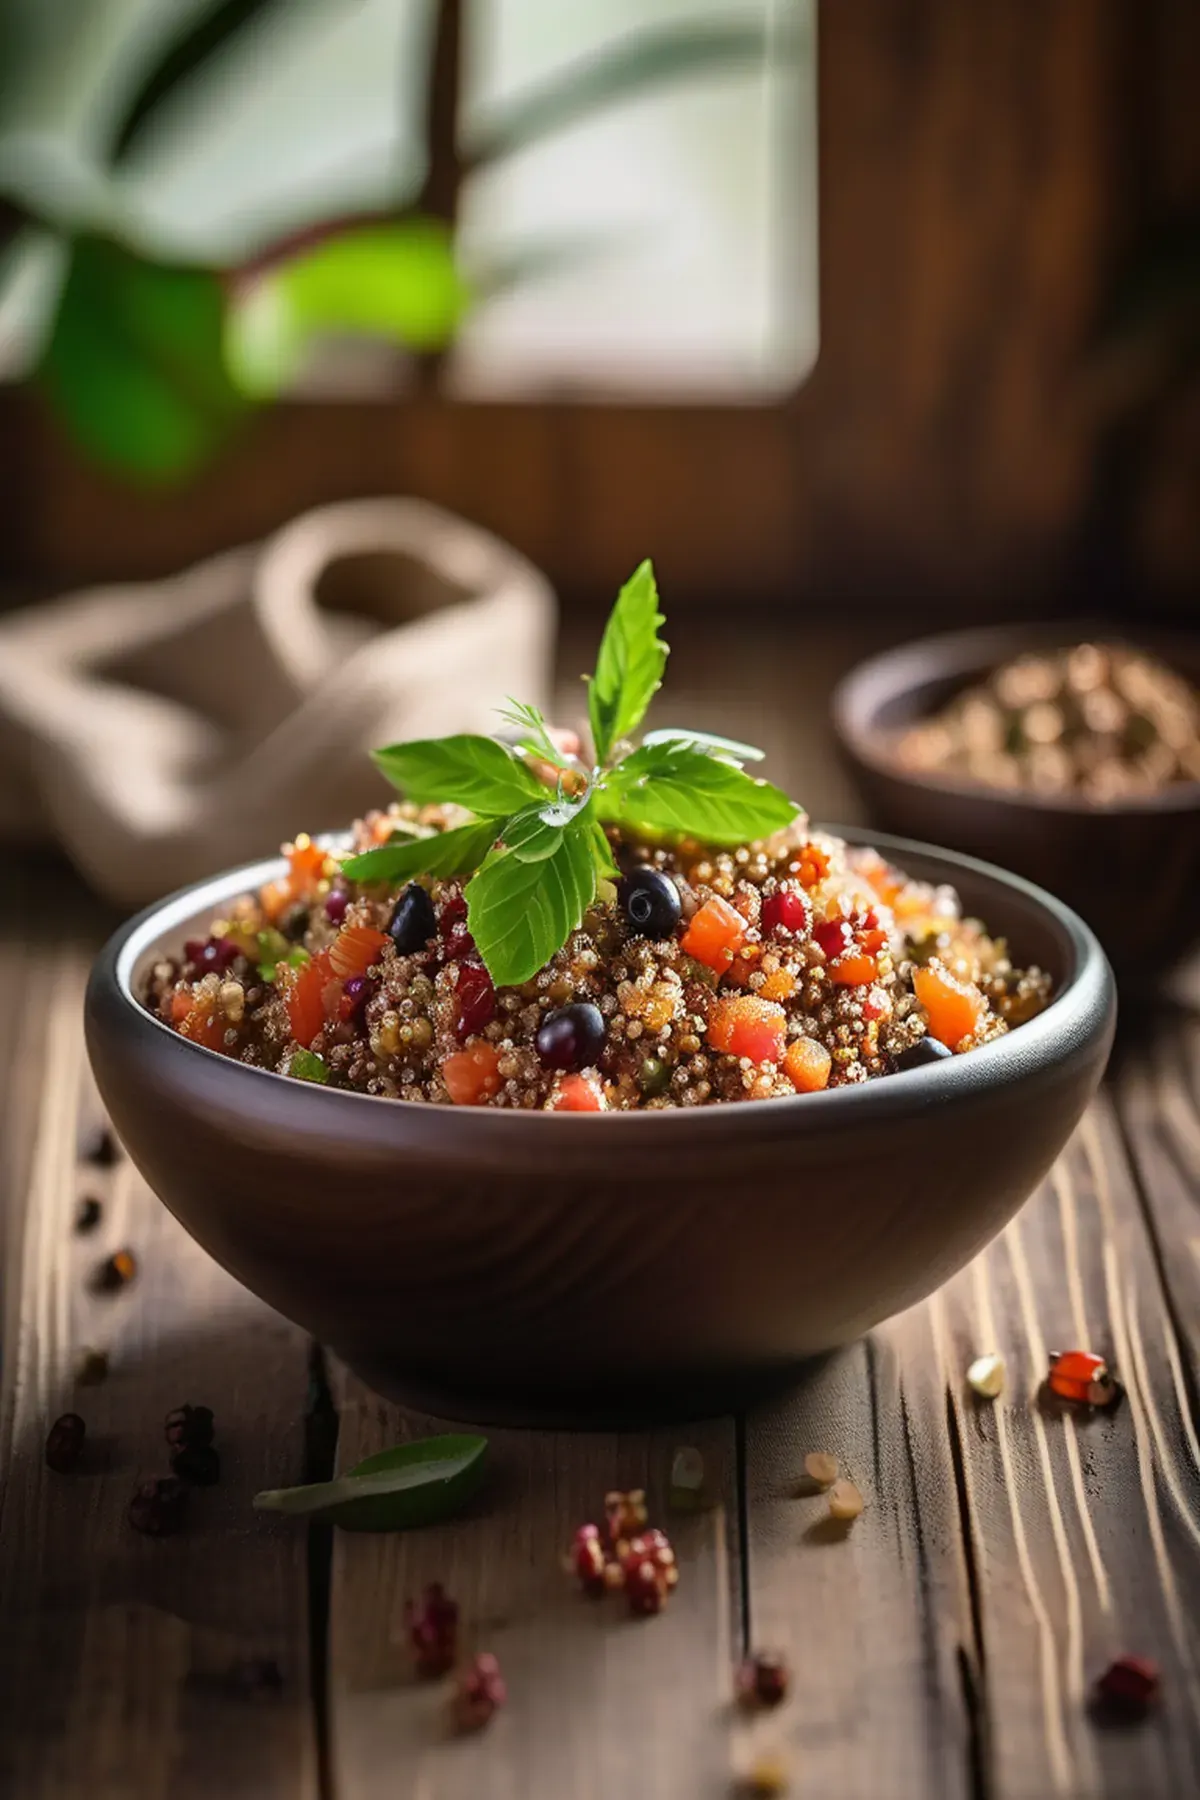
Tropical Quinoa
This tropical quinoa bowl has become my go to weeknight dinner because it comes together in just forty minutes and tastes like a mini vacation on a plate. Quinoa is one of my favorite ingredients since it's a complete protein with all nine essential amino acids, making it so satisfying and perfect for keeping energy levels steady. The combination of papaya, red bell pepper, and fresh cilantro brings vibrant flavors and colors, while the rice wine vinegar and orange zest add just the right brightness. Best part is the ingredient list is simple and affordable, yet feels fancy enough to impress anyone at your table.
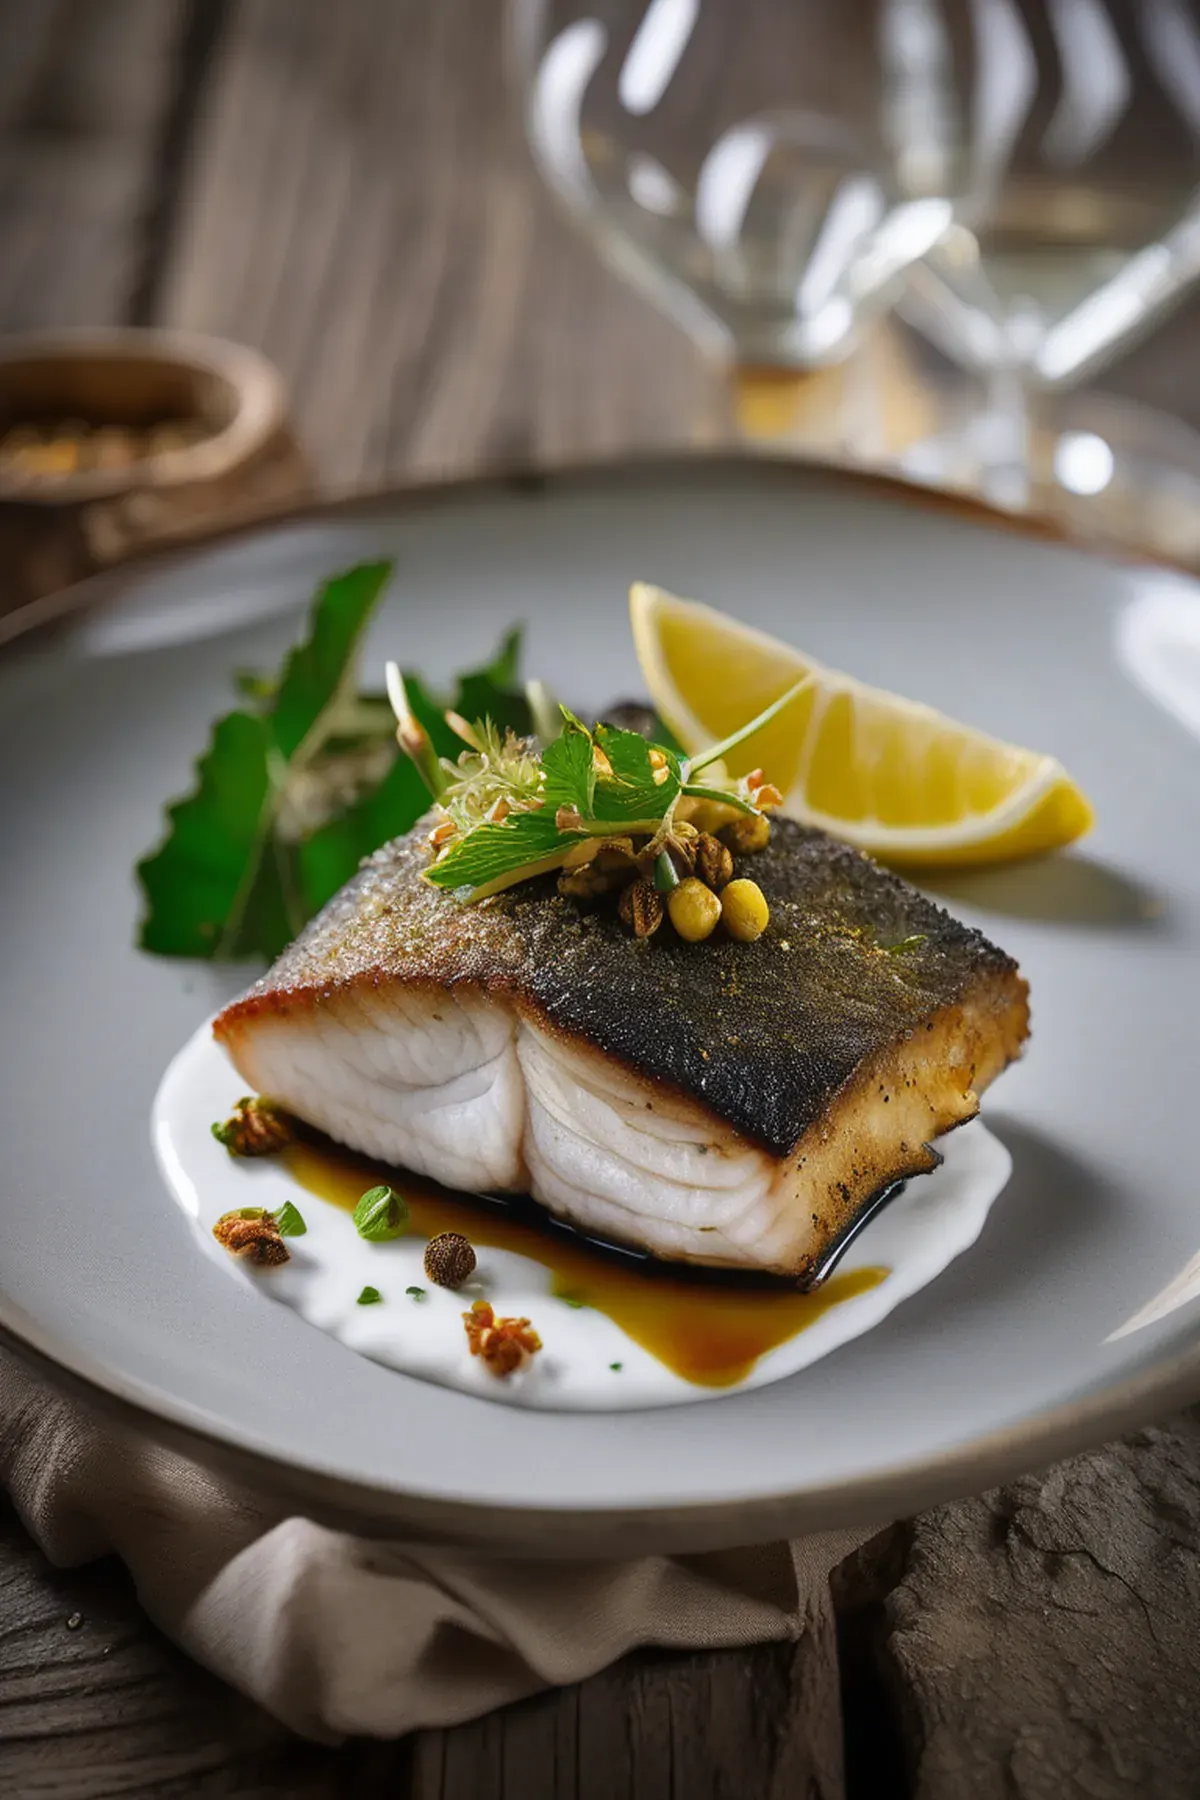
Crispy seabass with preserved lemon yogurt
This is one of my favorite quick weeknight dinners because it comes together in just ten minutes flat. Crispy seabass with preserved lemon yogurt is that perfect balance of impressive and effortless, with tangy Greek yogurt and zingy preserved lemon creating a sauce that feels restaurant quality but tastes like home. The seabass gets beautifully golden and flaky while the freekeh provides substantial whole grains packed with fiber and protein. It's the kind of meal that makes you feel like you're treating yourself without any fuss.
Reviews
Sign in to write a review.