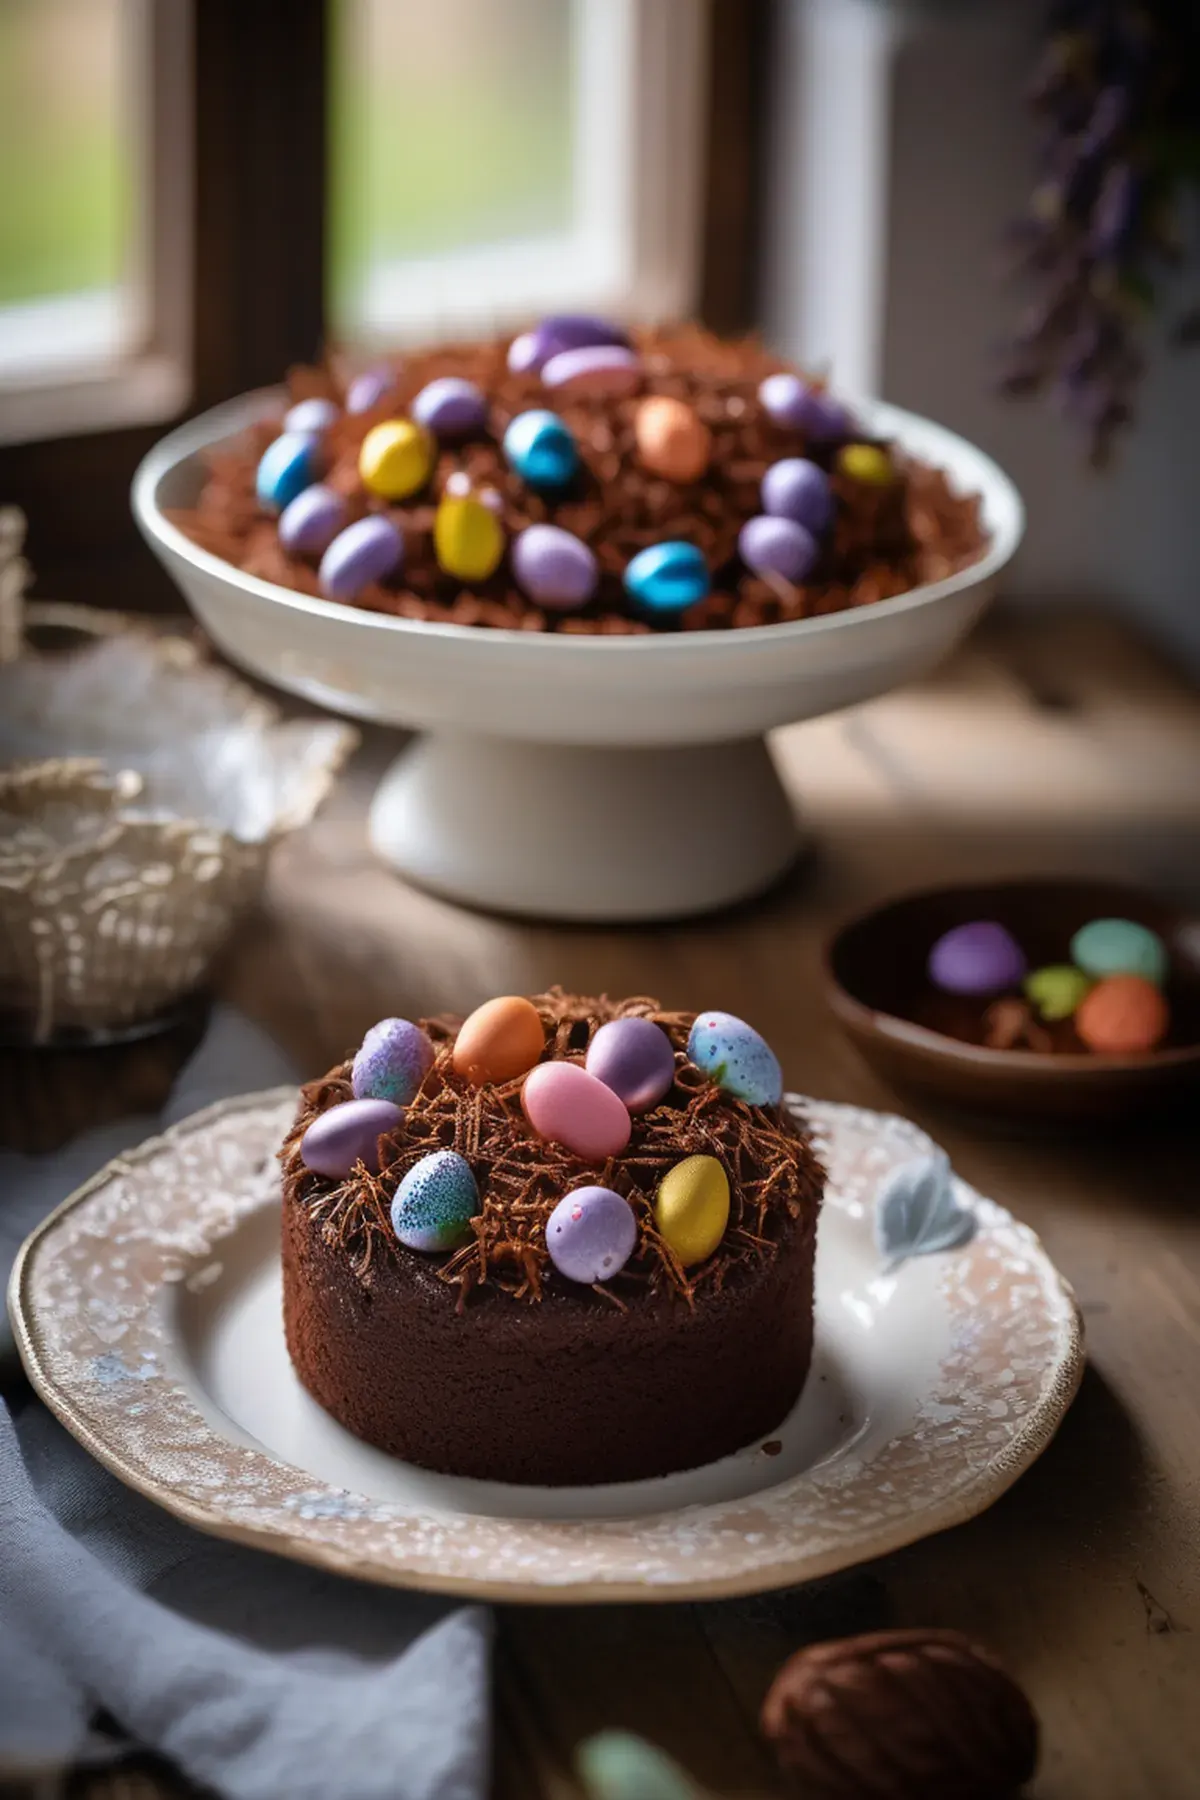
Easter nest cake
Prep
45 mins
Cook
30 mins
Servings
15
Difficulty
Medium
Making this Easter nest cake is one of my favorite springtime traditions, and honestly, it couldn't be simpler. The whole thing comes together in just 75 minutes from start to finish, which means you can whip up something showstopping without spending your entire day in the kitchen. I love that the rich chocolate cake base uses buttermilk, which adds a lovely tangy depth to the flavor while being packed with probiotics that support digestive health. The real magic happens when you top it with a marshmallow and pretzel nest that looks absolutely stunning but requires almost no baking skill. It's the perfect dessert for impressing family and guests this Easter season.
Ella x
Ingredients
- 200 mlvegetable oil plus extra for the tin
- 250 gplain flour
- 6 tbspcocoa powder
- 2 tspbaking powder
- 1 tspbicarbonate of soda
- 280 gsoft light brown sugar
- 250 mlbuttermilk
- 2 tspvanilla extract
- 3 largeeggs
- 200 gmarshmallows
- 100 gbutter chopped into chunks
- 75 gsalted pretzels crushed
- 14 wheat cereal biscuits crushed
- 1chocolate eggs(to decorate)
- 150 gslightly salted butter softened
- 300 gicing sugar
- 4 tbspmilk
Detail level
Instructions
- 1
Heat oven to 180C/160C fan/gas 4. Oil and line two 20cm round cake tins. Add the flour, cocoa powder, baking powder, bicarb, sugar and a large pinch of salt to a bowl. Mix with a whisk, squeezing any large lumps of sugar through your fingers, until you have a fine, sandy mix.
- 2
Whisk the oil with the buttermilk in a jug. Stir in the vanilla and eggs, then pour the wet ingredients into the dry and mix until there are no more streaks of flour. Divide the mixture between the tins and bake for 25 mins. Test the cakes by inserting a skewer into the centre – if there is any wet mixture on the skewer, return the cakes to the oven for 5 mins more, then check again. Leave the cakes to cool in the tins for 15 mins, then transfer to wire racks to cool fully.
- 3
Next, make the nest. Clean one tin and line it with some oiled baking parchment. Put the marshmallows and butter in a heatproof bowl and microwave on high for 1 min, stirring halfway through (or heat gently in a pan on the hob). Continue microwaving in 20-second blasts until you get a runny mixture. Stir in the cocoa, pretzels and shredded wheat until well combined. Tip the mixture into your lined tin and use the back of your spoon to create a nest shape. Leave to cool at room temperature for a few hrs, or chill in the fridge if you need it to set faster.
- 4
To make the icing, beat the butter, cocoa, icing sugar and milk together until smooth, adding a splash more milk if the mixture is too stiff. Assemble the cake by stacking the sponges with icing in between, topping with more icing and the nest. Fill your nest with as many chocolate eggs as it will hold, then serve. It may be easier to cut the cake if you remove the nest – you can then chop the nest into chunks and serve alongside the cake.
Recipe Variations
Get AI-powered ingredient substitution suggestions.
You Might Also Like

Beergarita
My go to drink for summer gatherings is this refreshing Beergarita, and let me tell you, it's a total crowd pleaser. The combination of tequila, triple sec, fresh lime juice, and a cold Corona creates something that tastes way more complicated than it actually is. Lime juice is packed with vitamin C, which is great for your immune system, and the whole thing takes just five minutes to throw together. Best part? It's incredibly budget friendly since you're probably already stocking most of these ingredients anyway.
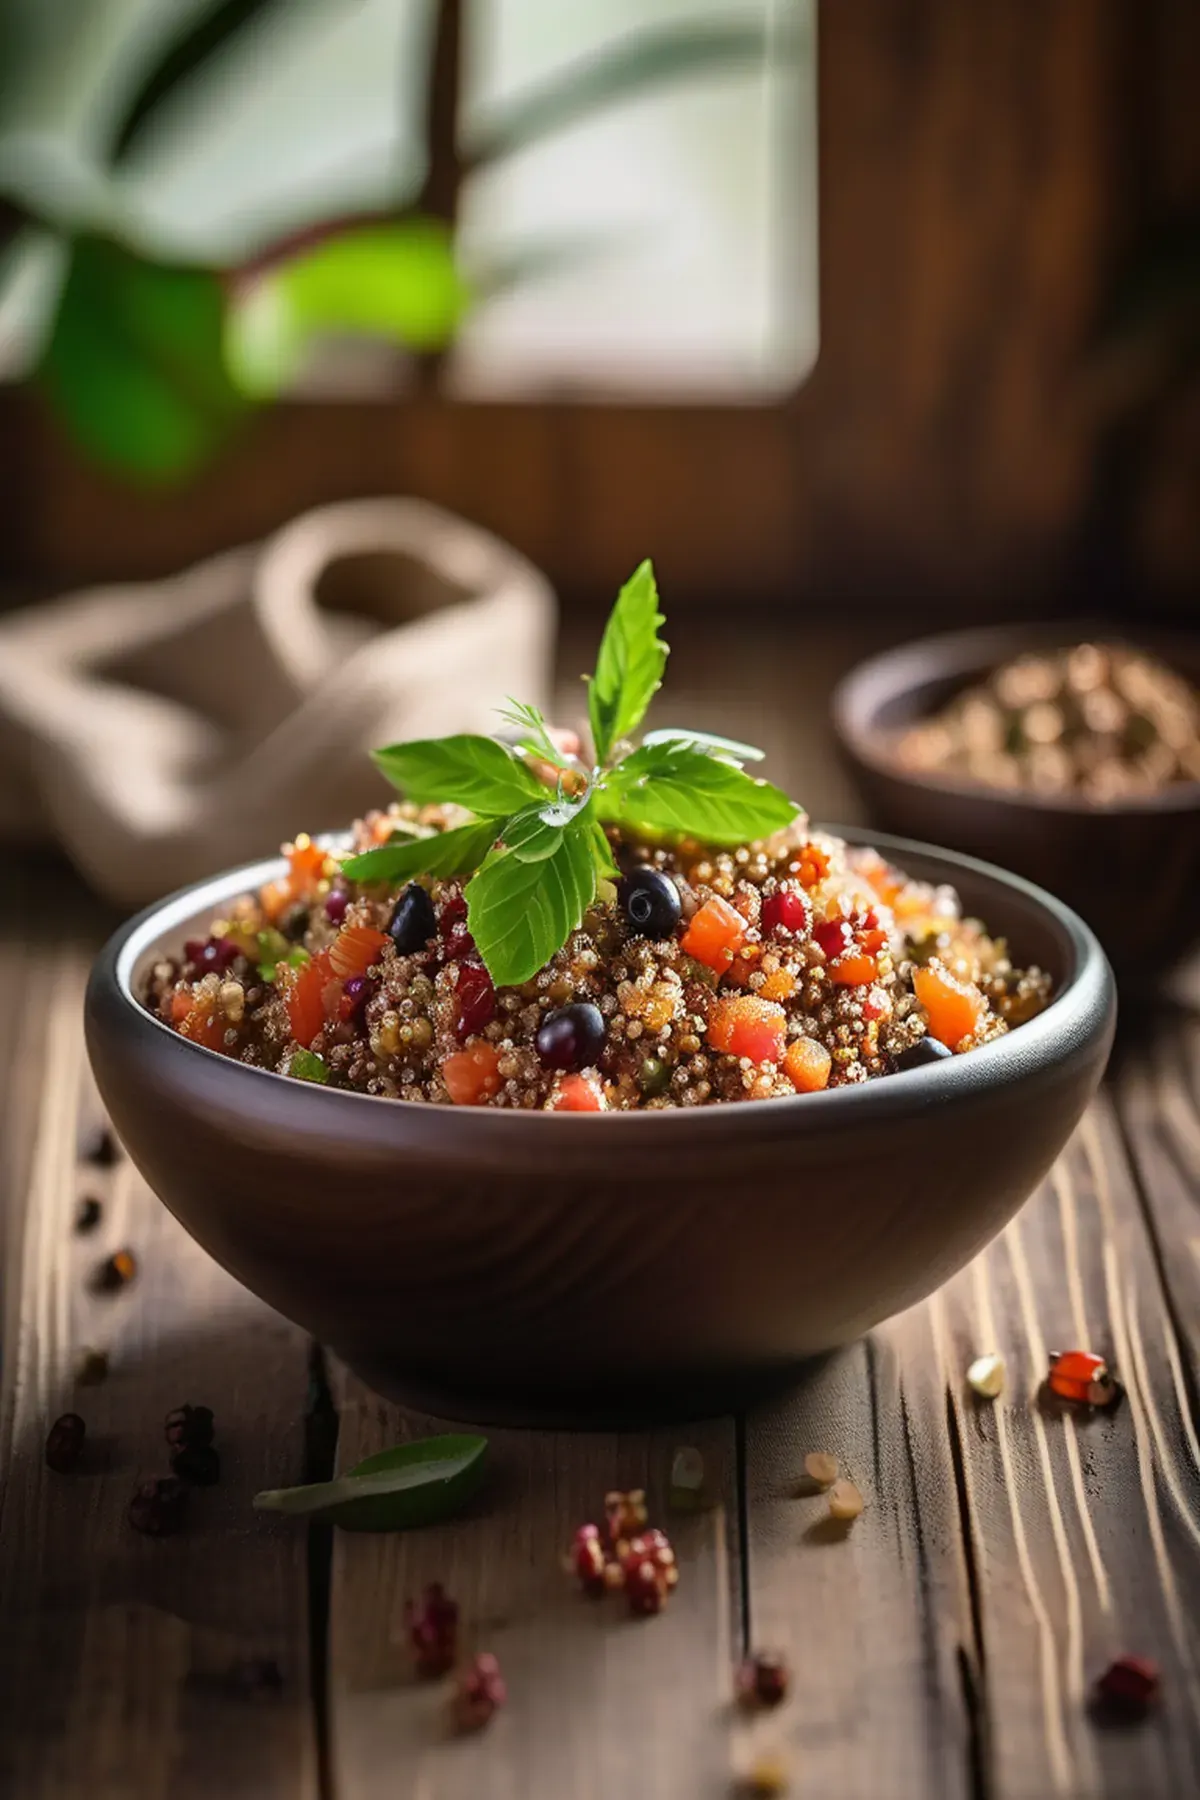
Tropical Quinoa
This tropical quinoa bowl has become my go to weeknight dinner because it comes together in just forty minutes and tastes like a mini vacation on a plate. Quinoa is one of my favorite ingredients since it's a complete protein with all nine essential amino acids, making it so satisfying and perfect for keeping energy levels steady. The combination of papaya, red bell pepper, and fresh cilantro brings vibrant flavors and colors, while the rice wine vinegar and orange zest add just the right brightness. Best part is the ingredient list is simple and affordable, yet feels fancy enough to impress anyone at your table.
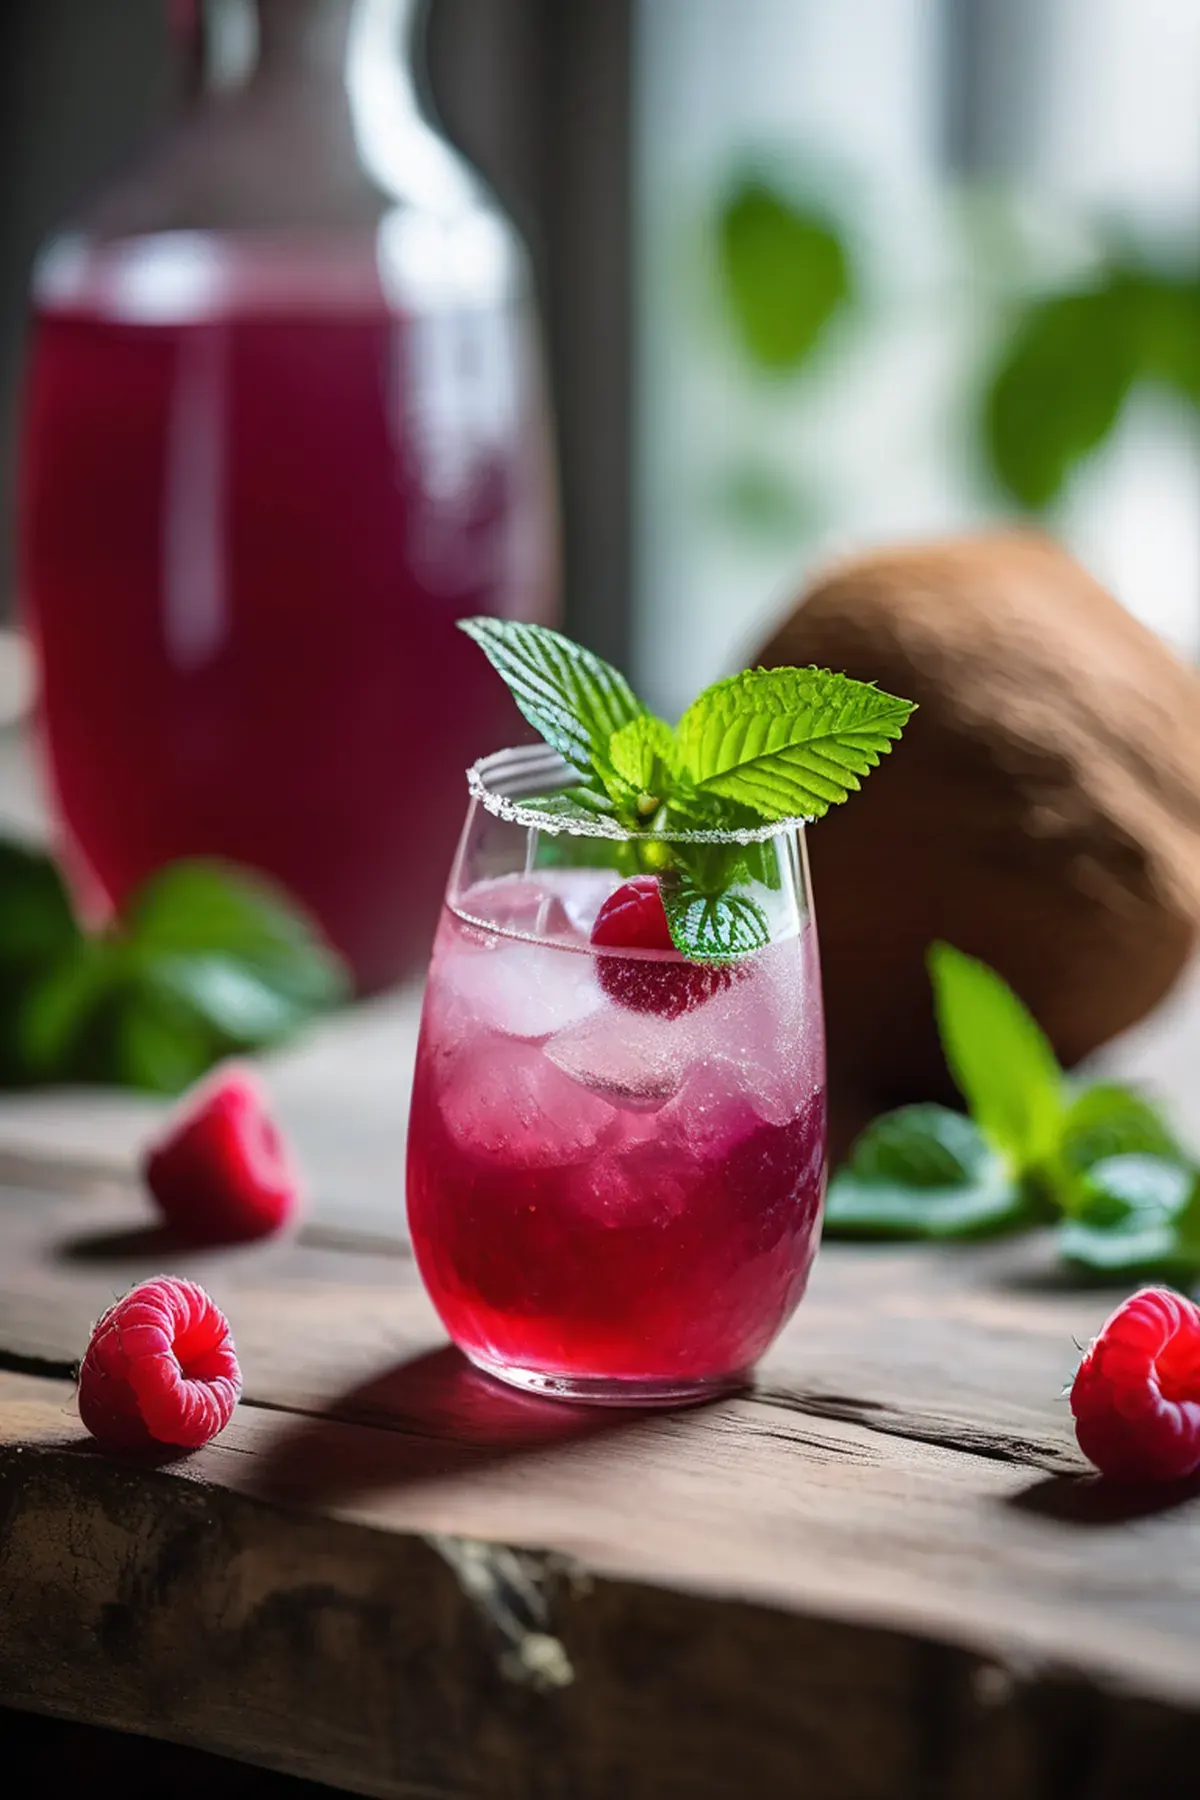
Coconut & raspberry crush
Have you tried making a drink that's both refreshing and genuinely good for you? This coconut and raspberry crush is my go to when I want something special without the fuss. The best part is how quick it comes together in just ten minutes of prep. Coconut water is absolutely fantastic for hydration, packed with natural electrolytes that your body actually needs. I love combining it with tart raspberries and a hint of mint for that perfect balance of sweet and zingy. It's simple, it's delicious, and honestly, it feels like you're treating yourself to something fancy.
Reviews
Sign in to write a review.