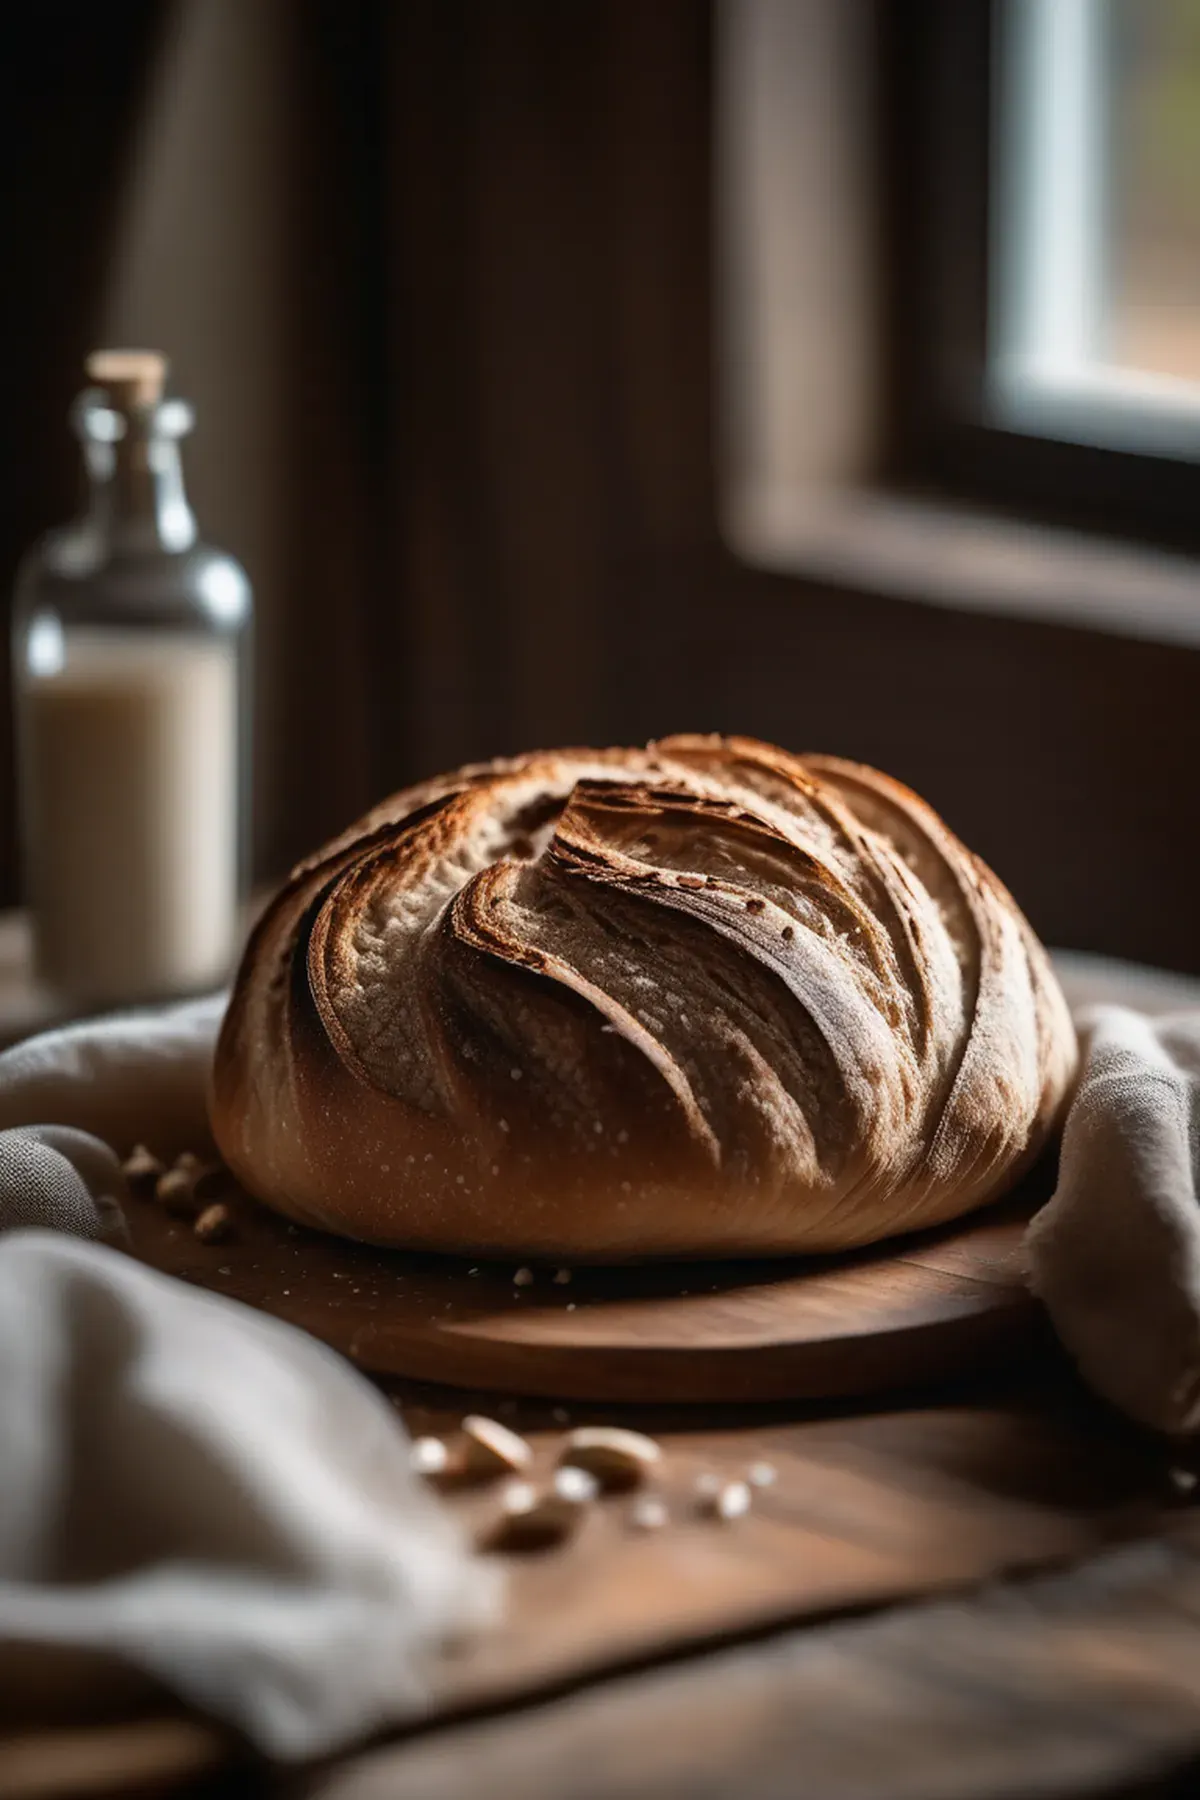
Garlic Sourdough
Prep
8 hrs
Cook
45 mins
Servings
8
Difficulty
Medium
This garlic sourdough has become my go to bread for everything from simple weeknight dinners to weekend entertaining. There's something magical about how the roasted garlic mellows into sweet, savory notes while the sourdough develops that wonderful tangy flavor we all crave. What I love most is that garlic is packed with allicin, which supports heart health and immunity. The best part? Once you mix everything together, the long fermentation does most of the work for you, so you're really just letting time and nature handle the heavy lifting. Your kitchen will smell absolutely incredible, and you'll have a crusty, aromatic loaf that tastes like it came straight from a bakery.
Ella x
Ingredients
- 200 mlsourdough starter(active and bubbly)
- 500 gbread flour
- 320 mlwater(lukewarm)
- 10 gsalt
- 12garlic cloves(roasted)
- 40 mlolive oil
- 5 gdried rosemary
- 3 gdried thyme
- 2 gblack pepper(freshly ground)
- 10 ghoney
Detail level
Instructions
- 1
Roast the garlic cloves in the oven at 180°C for 20 minutes until golden and soft, then squeeze out the flesh into a small bowl and mash with a fork.
Tip: Roasting mellows the garlic's sharpness and makes it spreadable.
- 2
Mix the sourdough starter, water, and flour together in a large bowl until no dry flour remains. Let it rest for 30 minutes.
Tip: This resting period, called autolyse, helps develop gluten naturally.
- 3
Add the salt, mashed roasted garlic, olive oil, rosemary, thyme, pepper, and honey to the dough. Mix thoroughly until fully incorporated.
Tip: Incorporate the salt after autolyse to prevent it from inhibiting fermentation.
- 4
Perform a series of stretches and folds every 30 minutes for 2 hours, folding the dough over itself from all four sides in your bowl.
Tip: These folds build strength without aggressive kneading.
- 5
Allow the dough to bulk ferment at room temperature for 4-6 hours until it increases by about 50-75% in volume.
Tip: You should see visible bubbles on the surface when ready.
- 6
Turn the dough onto a floured surface, gently pre-shape it into a round, and let it rest for 20 minutes.
Tip: This bench rest allows the gluten to relax before final shaping.
- 7
Shape the dough into a tight round boule, place it seam-side up in a floured banneton basket, and cover it. Refrigerate for 8-12 hours for a cold final proof.
Tip: Cold fermentation develops complex flavours and makes scoring easier.
- 8
Preheat a Dutch oven at 250°C for 30 minutes. Turn the cold dough onto parchment paper, score the top with a sharp blade, and bake covered for 25 minutes.
Tip: The Dutch oven traps steam to create a crispy crust.
- 9
Remove the lid and bake for another 20 minutes until the crust is deep golden brown.
Tip: Watch the colour carefully to avoid over-browning.
- 10
Cool the bread on a wire rack for at least 1 hour before slicing to allow the interior to set properly.
Tip: Cutting too early will cause gumminess.
Recipe Variations
Get AI-powered ingredient substitution suggestions.
You Might Also Like

Beergarita
My go to drink for summer gatherings is this refreshing Beergarita, and let me tell you, it's a total crowd pleaser. The combination of tequila, triple sec, fresh lime juice, and a cold Corona creates something that tastes way more complicated than it actually is. Lime juice is packed with vitamin C, which is great for your immune system, and the whole thing takes just five minutes to throw together. Best part? It's incredibly budget friendly since you're probably already stocking most of these ingredients anyway.
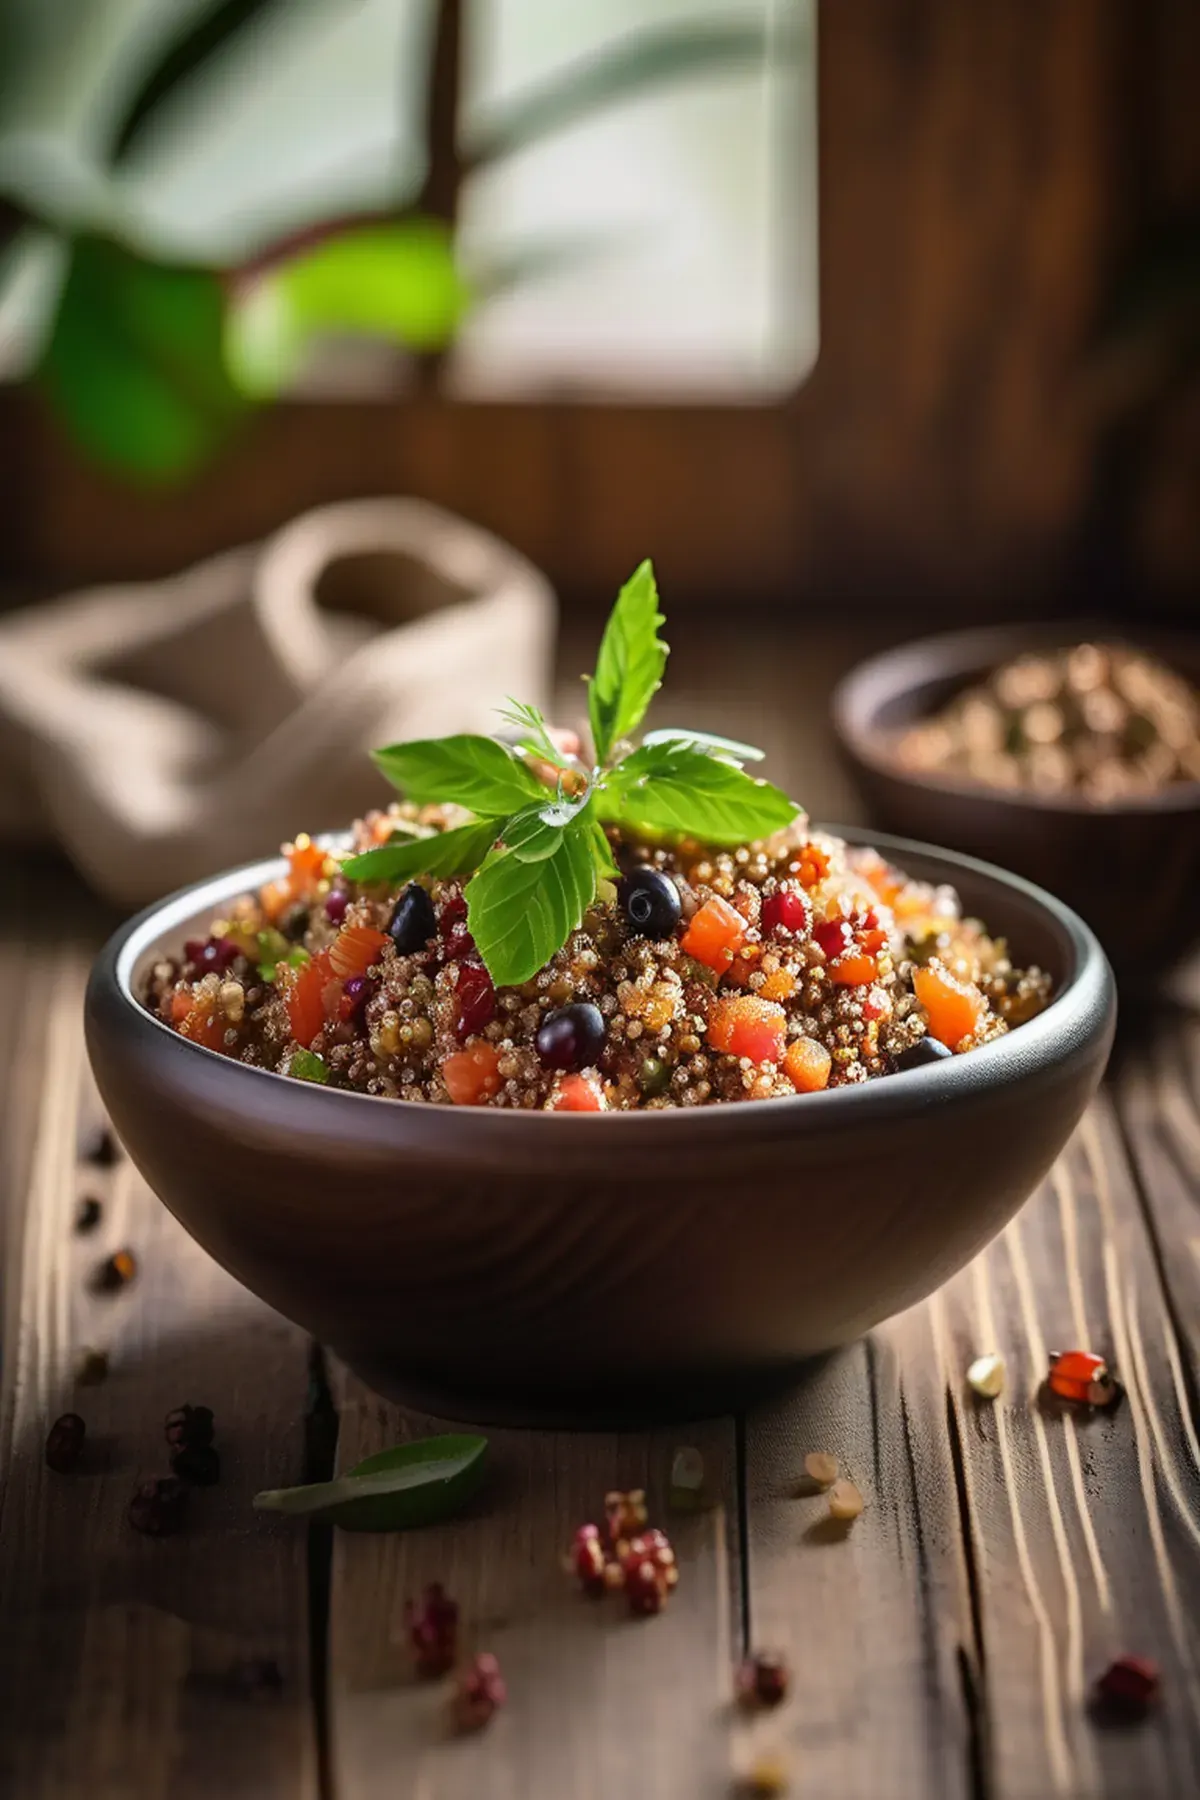
Tropical Quinoa
This tropical quinoa bowl has become my go to weeknight dinner because it comes together in just forty minutes and tastes like a mini vacation on a plate. Quinoa is one of my favorite ingredients since it's a complete protein with all nine essential amino acids, making it so satisfying and perfect for keeping energy levels steady. The combination of papaya, red bell pepper, and fresh cilantro brings vibrant flavors and colors, while the rice wine vinegar and orange zest add just the right brightness. Best part is the ingredient list is simple and affordable, yet feels fancy enough to impress anyone at your table.
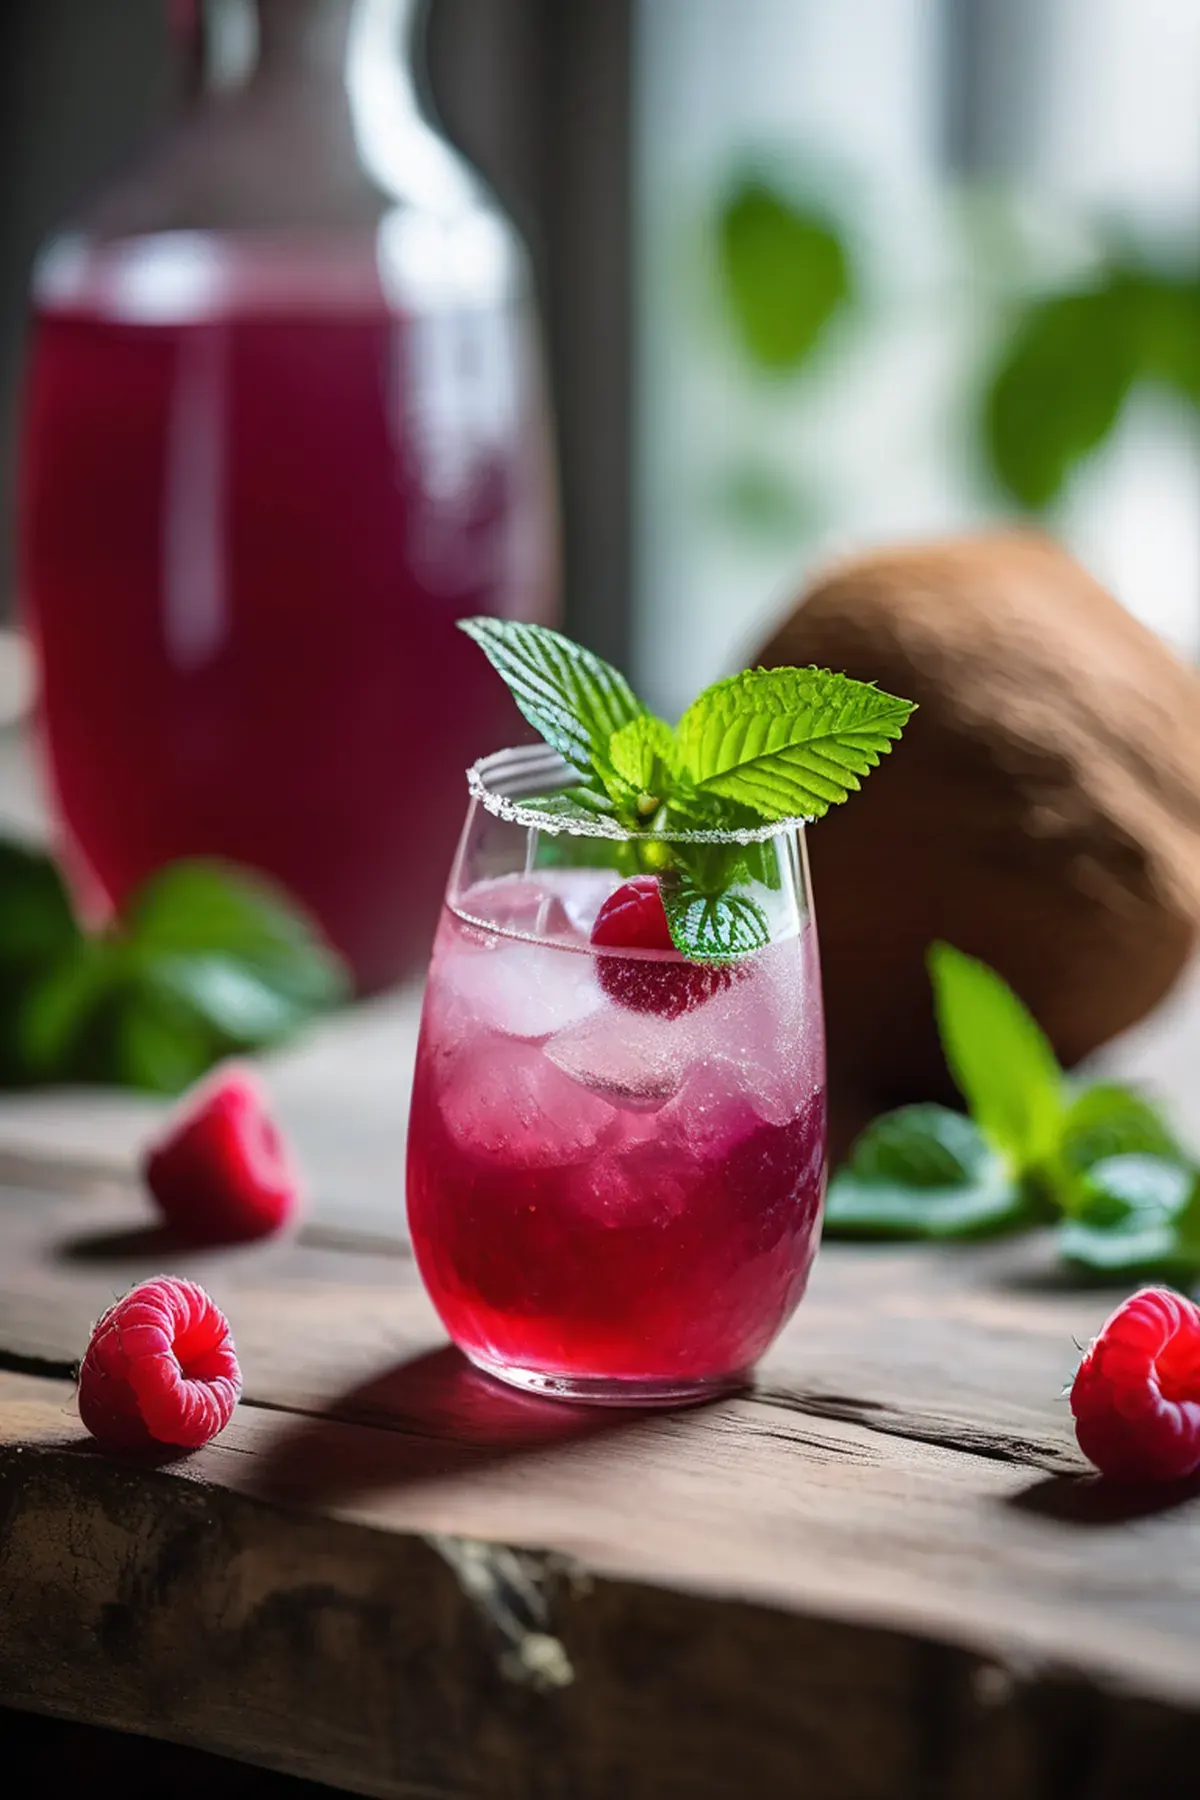
Coconut & raspberry crush
Have you tried making a drink that's both refreshing and genuinely good for you? This coconut and raspberry crush is my go to when I want something special without the fuss. The best part is how quick it comes together in just ten minutes of prep. Coconut water is absolutely fantastic for hydration, packed with natural electrolytes that your body actually needs. I love combining it with tart raspberries and a hint of mint for that perfect balance of sweet and zingy. It's simple, it's delicious, and honestly, it feels like you're treating yourself to something fancy.
Reviews
Sign in to write a review.