
Herb Crisps
Prep
15 mins
Cook
30 mins
Servings
4
Difficulty
Easy
These herb crisps are my go to snack when I want something crunchy and satisfying without all the guilt. They're incredibly easy to make, coming together in just 45 minutes from start to finish, and they're so affordable since you probably have most of these ingredients in your kitchen already. Fresh herbs like basil and parsley are packed with antioxidants that support your immune system, making these not just delicious but genuinely good for you. I love how versatile they are too, perfect for munching straight from the tin or crumbling over soups and salads.
Ella x
Ingredients
- 150 grolled oats
- 100 ggrated parmesan cheese
- 30 gfresh basil leaves(roughly chopped)
- 30 gfresh parsley leaves(roughly chopped)
- 15 gfresh thyme leaves
- 60 mlolive oil
- 5 gsea salt
- 2 gblack pepper
- 3 ggarlic powder
- 1egg white
- 25 gnutritional yeast
Detail level
Instructions
- 1
Preheat your oven to 180 degrees Celsius and line a baking sheet with parchment paper.
Tip: Having everything prepped before you start makes the process much smoother.
- 2
In a large bowl, combine the rolled oats, Parmesan cheese, nutritional yeast, garlic powder, salt, and black pepper.
Tip: Mixing dry ingredients first ensures even distribution of flavors throughout the crisps.
- 3
Add the chopped basil, parsley, and thyme leaves to the dry mixture and toss everything together gently.
Tip: Don't crush the herbs too much as you want to see flecks of green throughout the finished crisps.
- 4
Pour in the olive oil and egg white, then mix with a fork or your hands until the mixture comes together in a crumbly but slightly moist texture.
Tip: The egg white acts as a binder and helps the crisps hold their shape while baking.
- 5
Drop small spoonfuls of the mixture onto the prepared baking sheet, spacing them about 2 centimeters apart, then gently flatten each one with the back of the spoon.
Tip: Thinner crisps will be crunchier, so aim for about half a centimeter thickness.
- 6
Bake for 25 to 30 minutes until the edges turn golden brown and the crisps feel dry and crispy when you tap them.
Tip: Oven temperatures vary, so start checking at 20 minutes to avoid burning.
- 7
Remove from the oven and let the crisps cool on the baking sheet for 5 minutes before transferring them to a wire rack.
Tip: They'll continue to crisp up slightly as they cool down.
- 8
Store the cooled crisps in an airtight container for up to 5 days or serve immediately with dips or alongside salads.
Tip: These crisps make excellent accompaniments to hummus, tzatziki, or soft cheeses.
Recipe Variations
Get AI-powered ingredient substitution suggestions.
You Might Also Like

Beergarita
My go to drink for summer gatherings is this refreshing Beergarita, and let me tell you, it's a total crowd pleaser. The combination of tequila, triple sec, fresh lime juice, and a cold Corona creates something that tastes way more complicated than it actually is. Lime juice is packed with vitamin C, which is great for your immune system, and the whole thing takes just five minutes to throw together. Best part? It's incredibly budget friendly since you're probably already stocking most of these ingredients anyway.
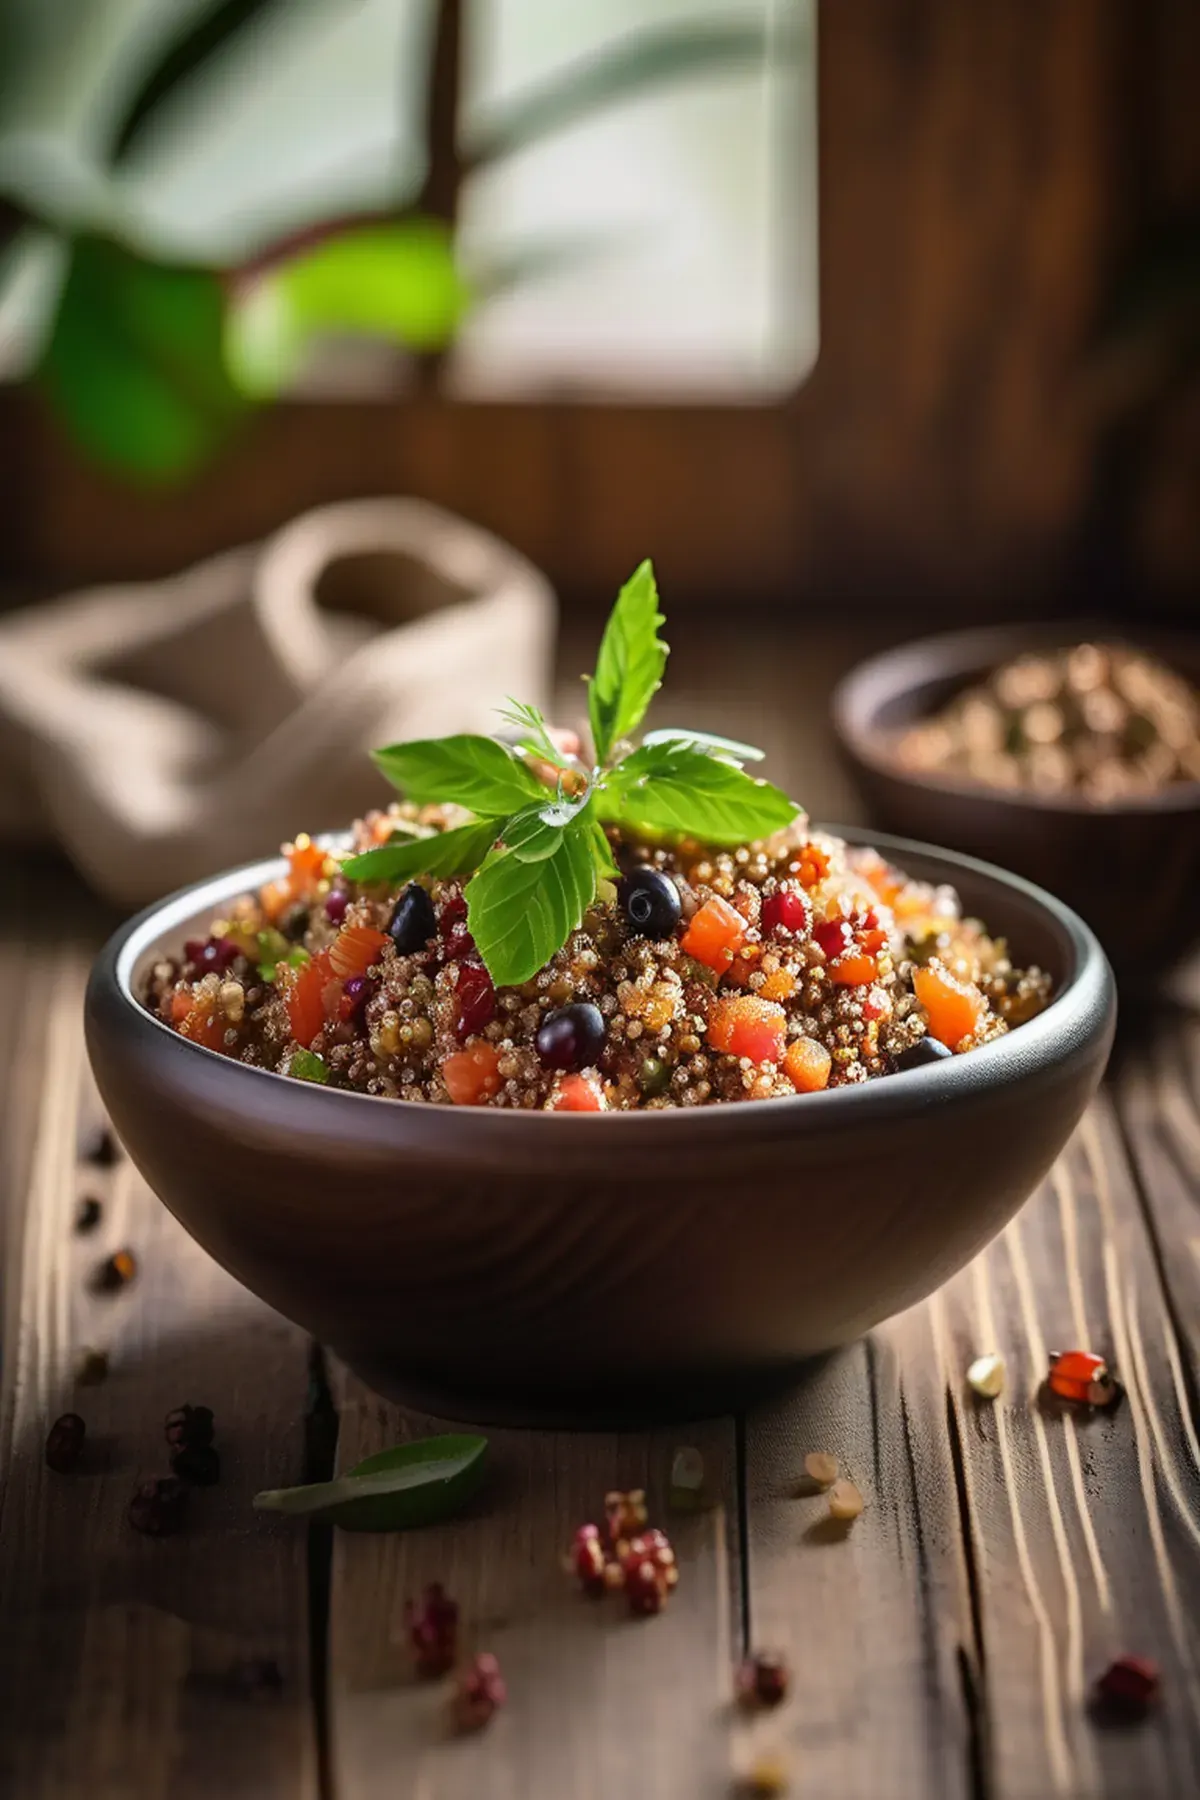
Tropical Quinoa
This tropical quinoa bowl has become my go to weeknight dinner because it comes together in just forty minutes and tastes like a mini vacation on a plate. Quinoa is one of my favorite ingredients since it's a complete protein with all nine essential amino acids, making it so satisfying and perfect for keeping energy levels steady. The combination of papaya, red bell pepper, and fresh cilantro brings vibrant flavors and colors, while the rice wine vinegar and orange zest add just the right brightness. Best part is the ingredient list is simple and affordable, yet feels fancy enough to impress anyone at your table.
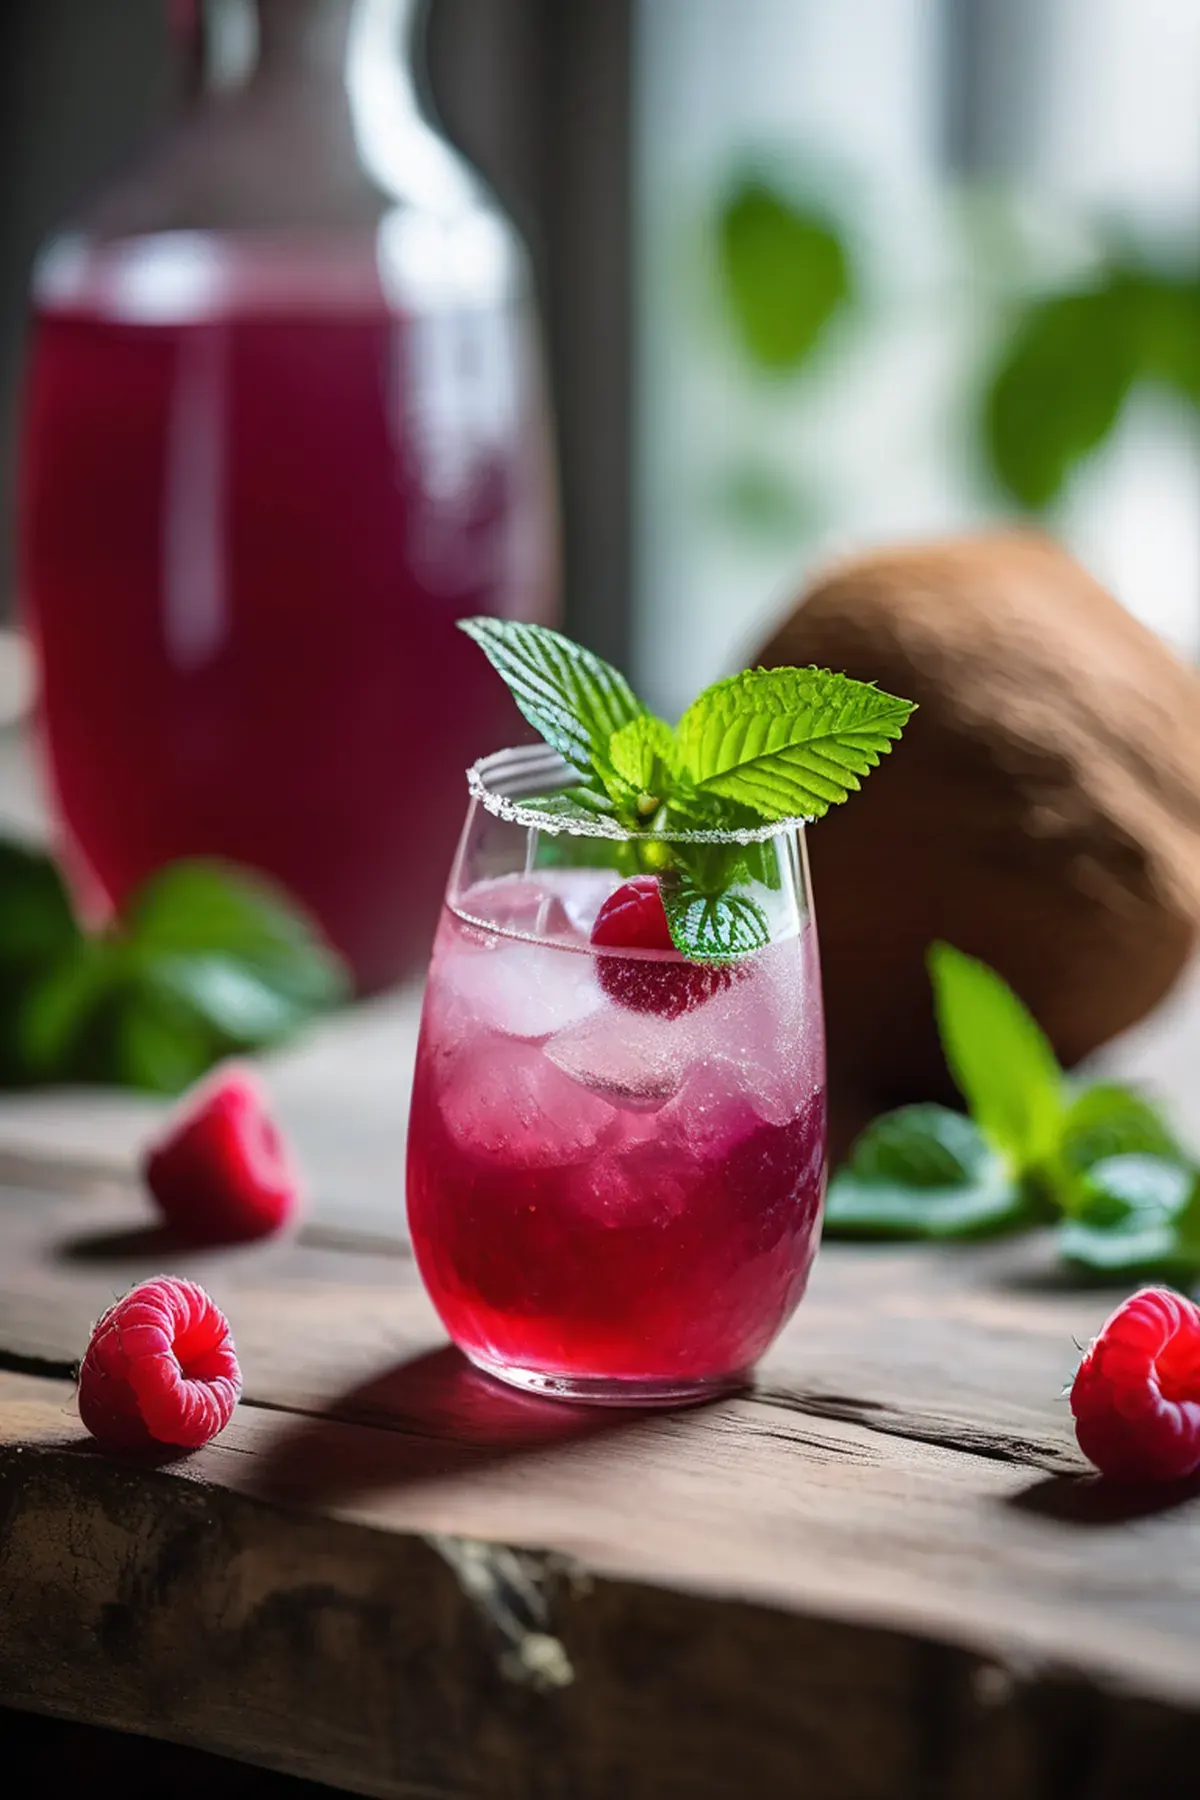
Coconut & raspberry crush
Have you tried making a drink that's both refreshing and genuinely good for you? This coconut and raspberry crush is my go to when I want something special without the fuss. The best part is how quick it comes together in just ten minutes of prep. Coconut water is absolutely fantastic for hydration, packed with natural electrolytes that your body actually needs. I love combining it with tart raspberries and a hint of mint for that perfect balance of sweet and zingy. It's simple, it's delicious, and honestly, it feels like you're treating yourself to something fancy.
Reviews
Sign in to write a review.