

Homemade Herb and Olive Oil Pita
Prep
20 mins
Cook
25 mins
Servings
8
Difficulty
Medium
Homemade Herb and Olive Oil Pita is a warm, soft flatbread infused with aromatic herbs and rich olive oil. Made from strong bread flour, instant yeast, sea salt and water, the dough is flavoured with dried oregano, thyme and garlic powder, then drizzled with extra virgin olive oil and honey. Ready in just 45 minutes from start to finish, with 20 minutes preparation and 25 minutes cooking time, this recipe suits anyone craving freshly baked pita bread at home.
Ella x
Ingredients
- 500 gstrong bread flour
- 320 mlwarm water
- 7 ginstant yeast
- 10 gsea salt
- 30 mlextra virgin olive oil
- 5 gdried oregano
- 3 gdried thyme
- 2 ggarlic powder
- 10 ghoney
Detail level
Instructions
- 1
Combine warm water, yeast, and honey in a large bowl. Let sit for 5 minutes until foamy, indicating the yeast is active.
Tip: If the mixture doesn't foam, your yeast may be expired. Start over with fresh yeast.
- 2
Add flour, salt, olive oil, oregano, thyme, and garlic powder to the yeast mixture. Mix with a wooden spoon until a shaggy dough forms.
Tip: Don't overwork the dough at this stage; it will come together as you knead.
- 3
Transfer dough to a lightly floured surface and knead for 8-10 minutes until smooth and elastic. The dough should feel soft but not sticky.
Tip: If dough is too sticky, add a tablespoon of flour at a time. If too dry, add water drop by drop.
- 4
Place dough in an oiled bowl, cover with a damp cloth, and let rise at room temperature for 90 minutes until doubled in size.
Tip: You can prepare the dough the night before and let it rise slowly in the refrigerator for better flavor.
- 5
Punch down the dough and divide into 8 equal portions. Shape each portion into a ball and let them rest on a floured surface for 10 minutes.
Tip: Resting the balls allows the gluten to relax, making them easier to flatten.
- 6
Preheat your oven to 240°C. Place a baking stone or large cast-iron skillet in the oven to heat.
Tip: A hot surface is essential for pitas to puff up properly.
- 7
Flatten each dough ball into a disc about 8mm thick using your hands or a rolling pin. Let flattened dough rest for 5 minutes.
Tip: The brief rest prevents the dough from shrinking back and helps achieve better puffing.
- 8
Carefully transfer 2-3 pitas to the preheated baking stone and bake for 6-8 minutes until they puff up and develop light golden spots. Remove and wrap in a clean kitchen towel to keep warm.
Tip: Wrapping hot pitas in a towel traps steam, keeping them soft and flexible.
- 9
Repeat with remaining dough until all pitas are baked. Serve warm or at room temperature.
Tip: Leftover pitas can be stored in an airtight container for up to 3 days or frozen for up to 2 months.
Recipe Variations
Get AI-powered ingredient substitution suggestions.
You Might Also Like
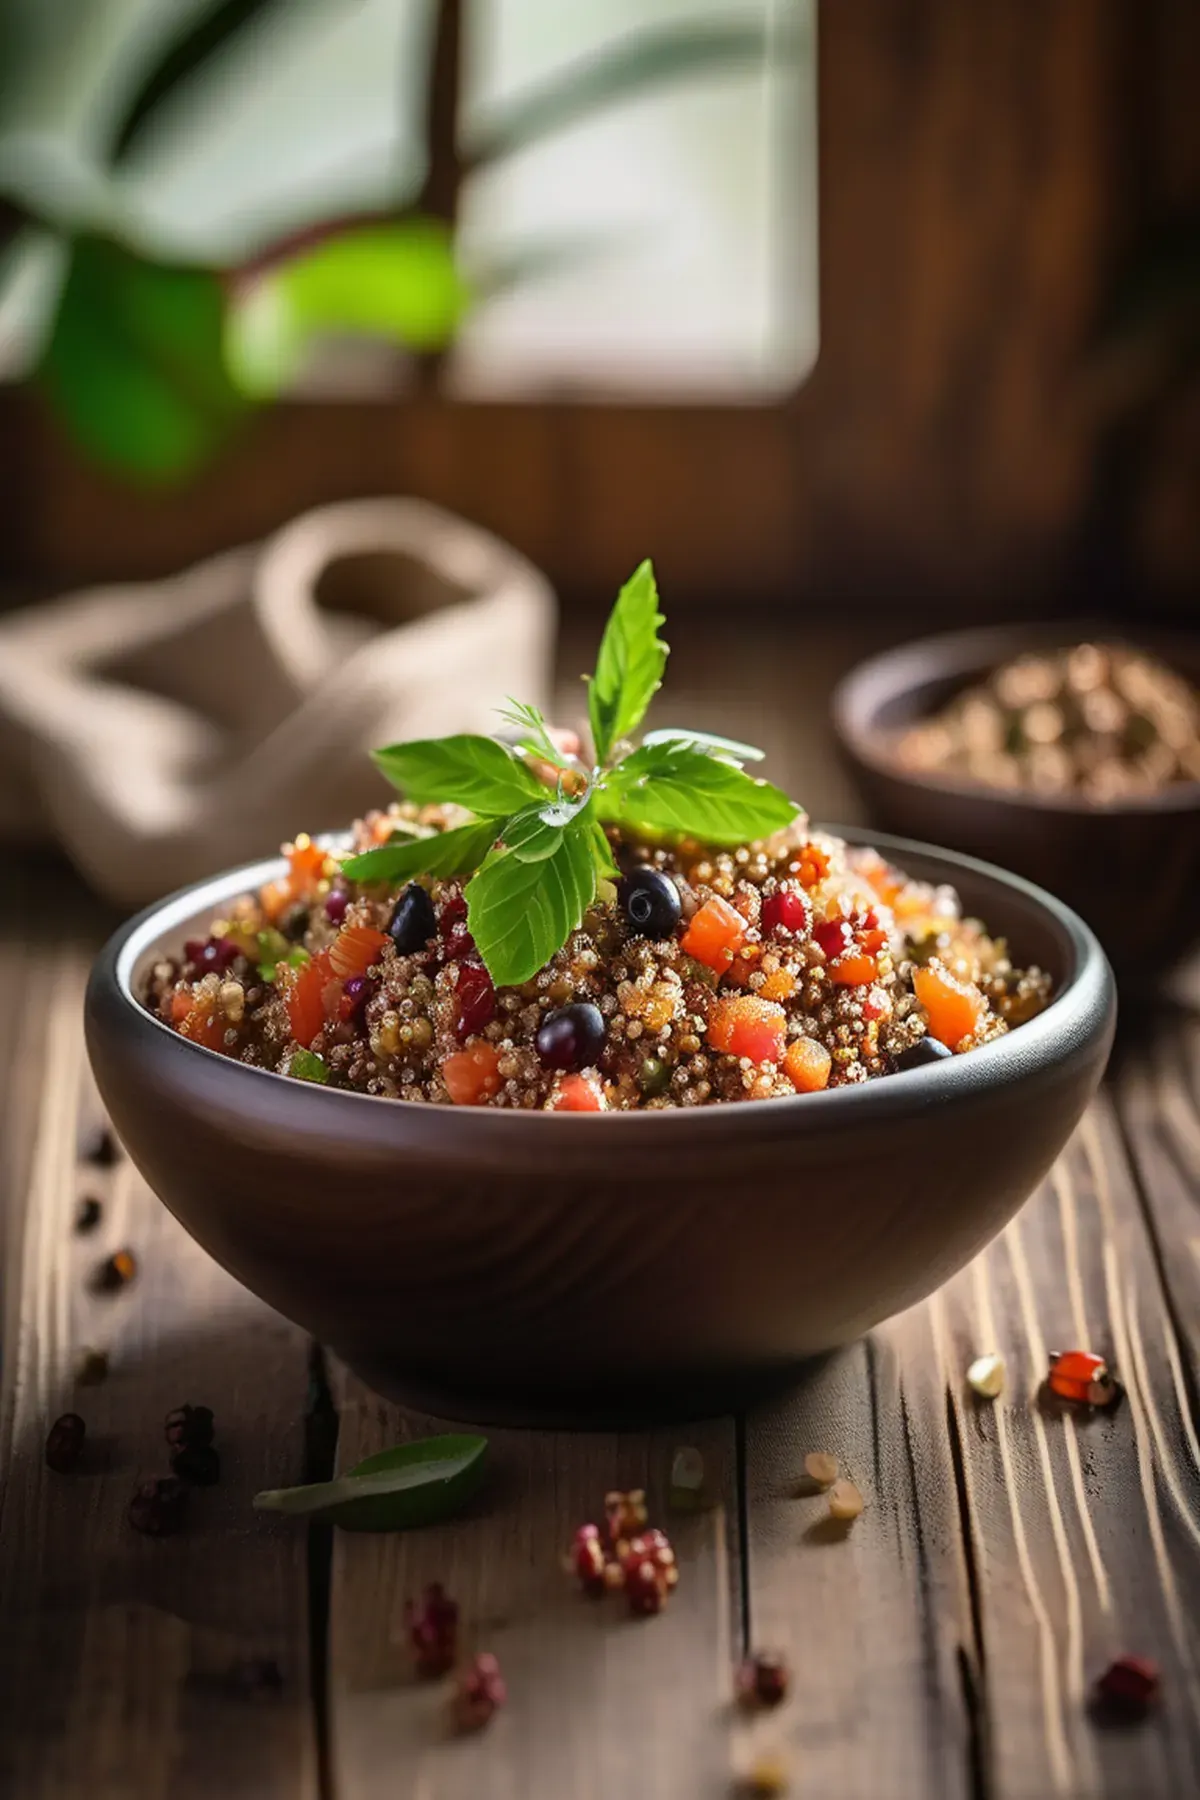
Tropical Quinoa
This tropical quinoa bowl has become my go to weeknight dinner because it comes together in just forty minutes and tastes like a mini vacation on a plate. Quinoa is one of my favorite ingredients since it's a complete protein with all nine essential amino acids, making it so satisfying and perfect for keeping energy levels steady. The combination of papaya, red bell pepper, and fresh cilantro brings vibrant flavors and colors, while the rice wine vinegar and orange zest add just the right brightness. Best part is the ingredient list is simple and affordable, yet feels fancy enough to impress anyone at your table.

Beergarita
My go to drink for summer gatherings is this refreshing Beergarita, and let me tell you, it's a total crowd pleaser. The combination of tequila, triple sec, fresh lime juice, and a cold Corona creates something that tastes way more complicated than it actually is. Lime juice is packed with vitamin C, which is great for your immune system, and the whole thing takes just five minutes to throw together. Best part? It's incredibly budget friendly since you're probably already stocking most of these ingredients anyway.
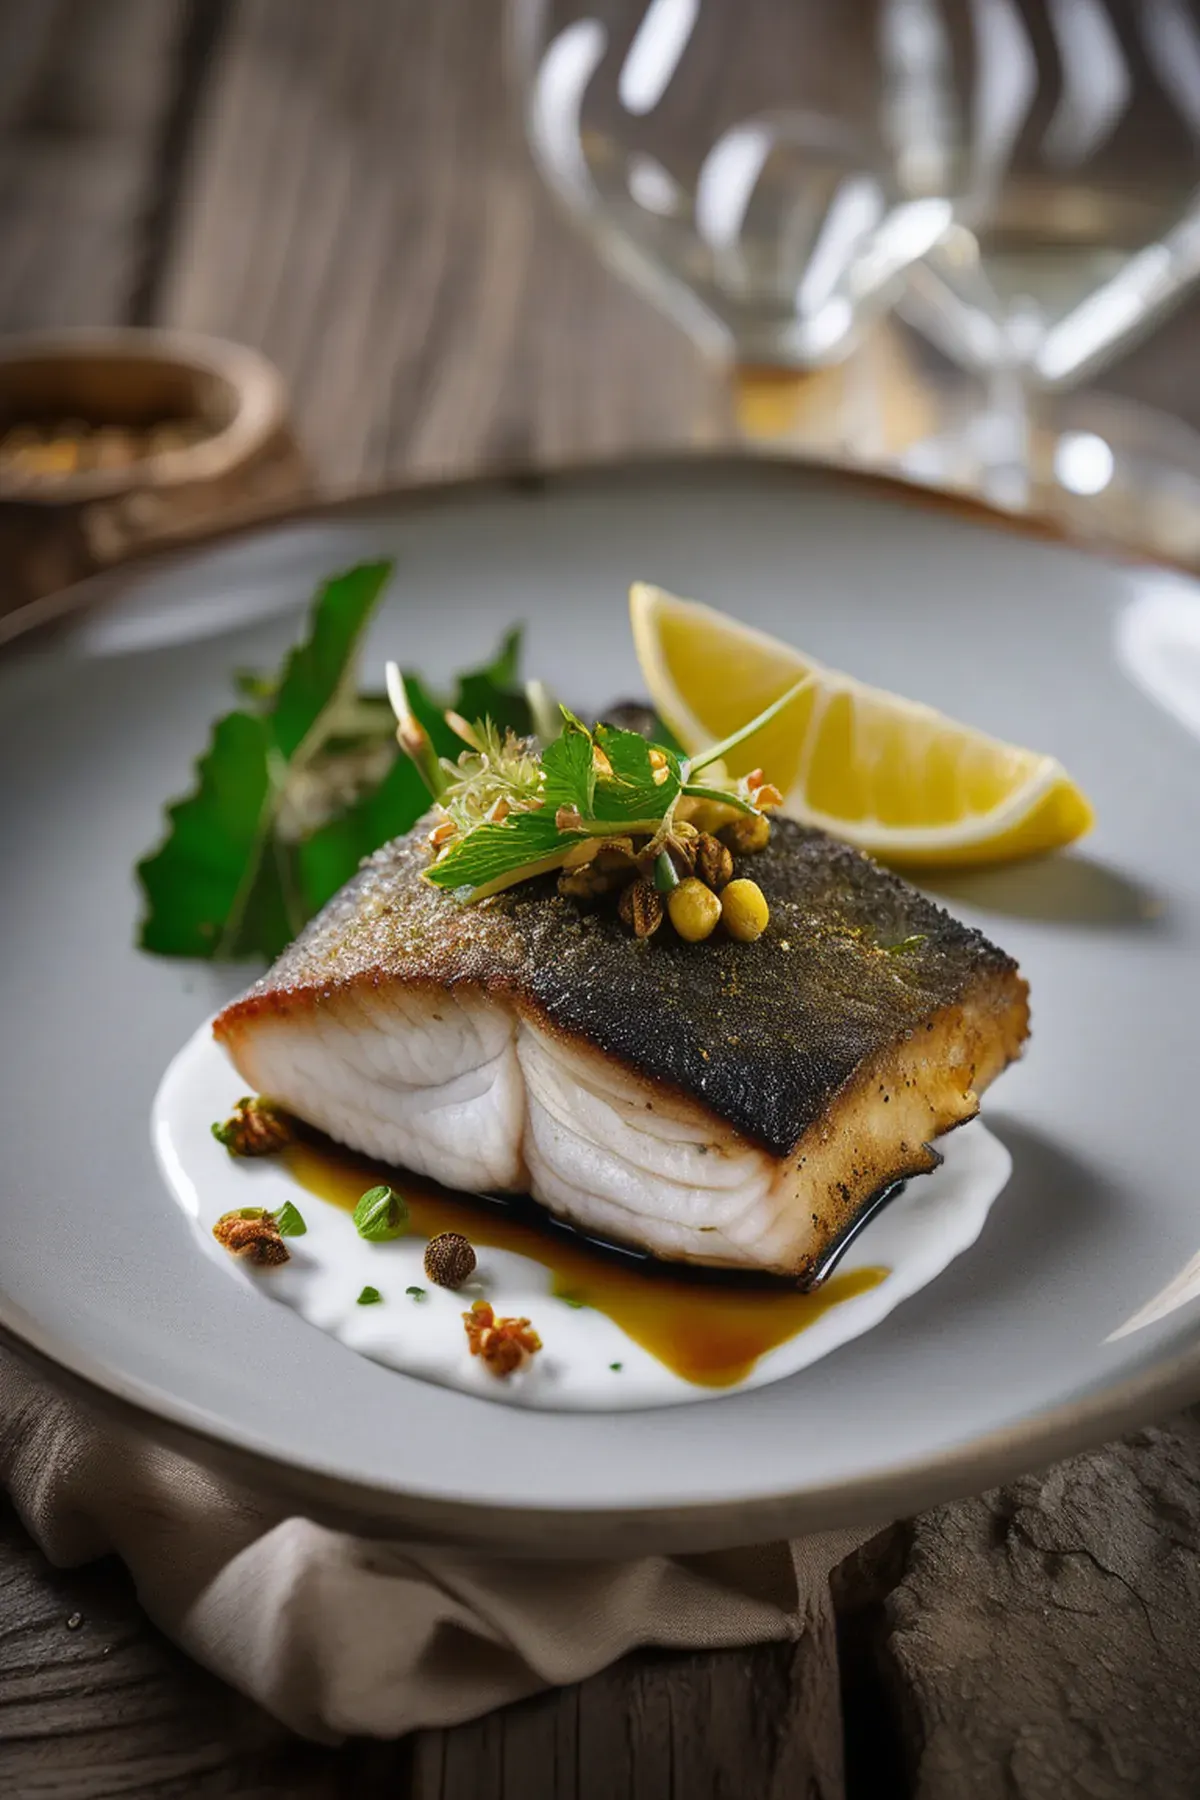
Crispy seabass with preserved lemon yogurt
This is one of my favorite quick weeknight dinners because it comes together in just ten minutes flat. Crispy seabass with preserved lemon yogurt is that perfect balance of impressive and effortless, with tangy Greek yogurt and zingy preserved lemon creating a sauce that feels restaurant quality but tastes like home. The seabass gets beautifully golden and flaky while the freekeh provides substantial whole grains packed with fiber and protein. It's the kind of meal that makes you feel like you're treating yourself without any fuss.
Reviews
Sign in to write a review.