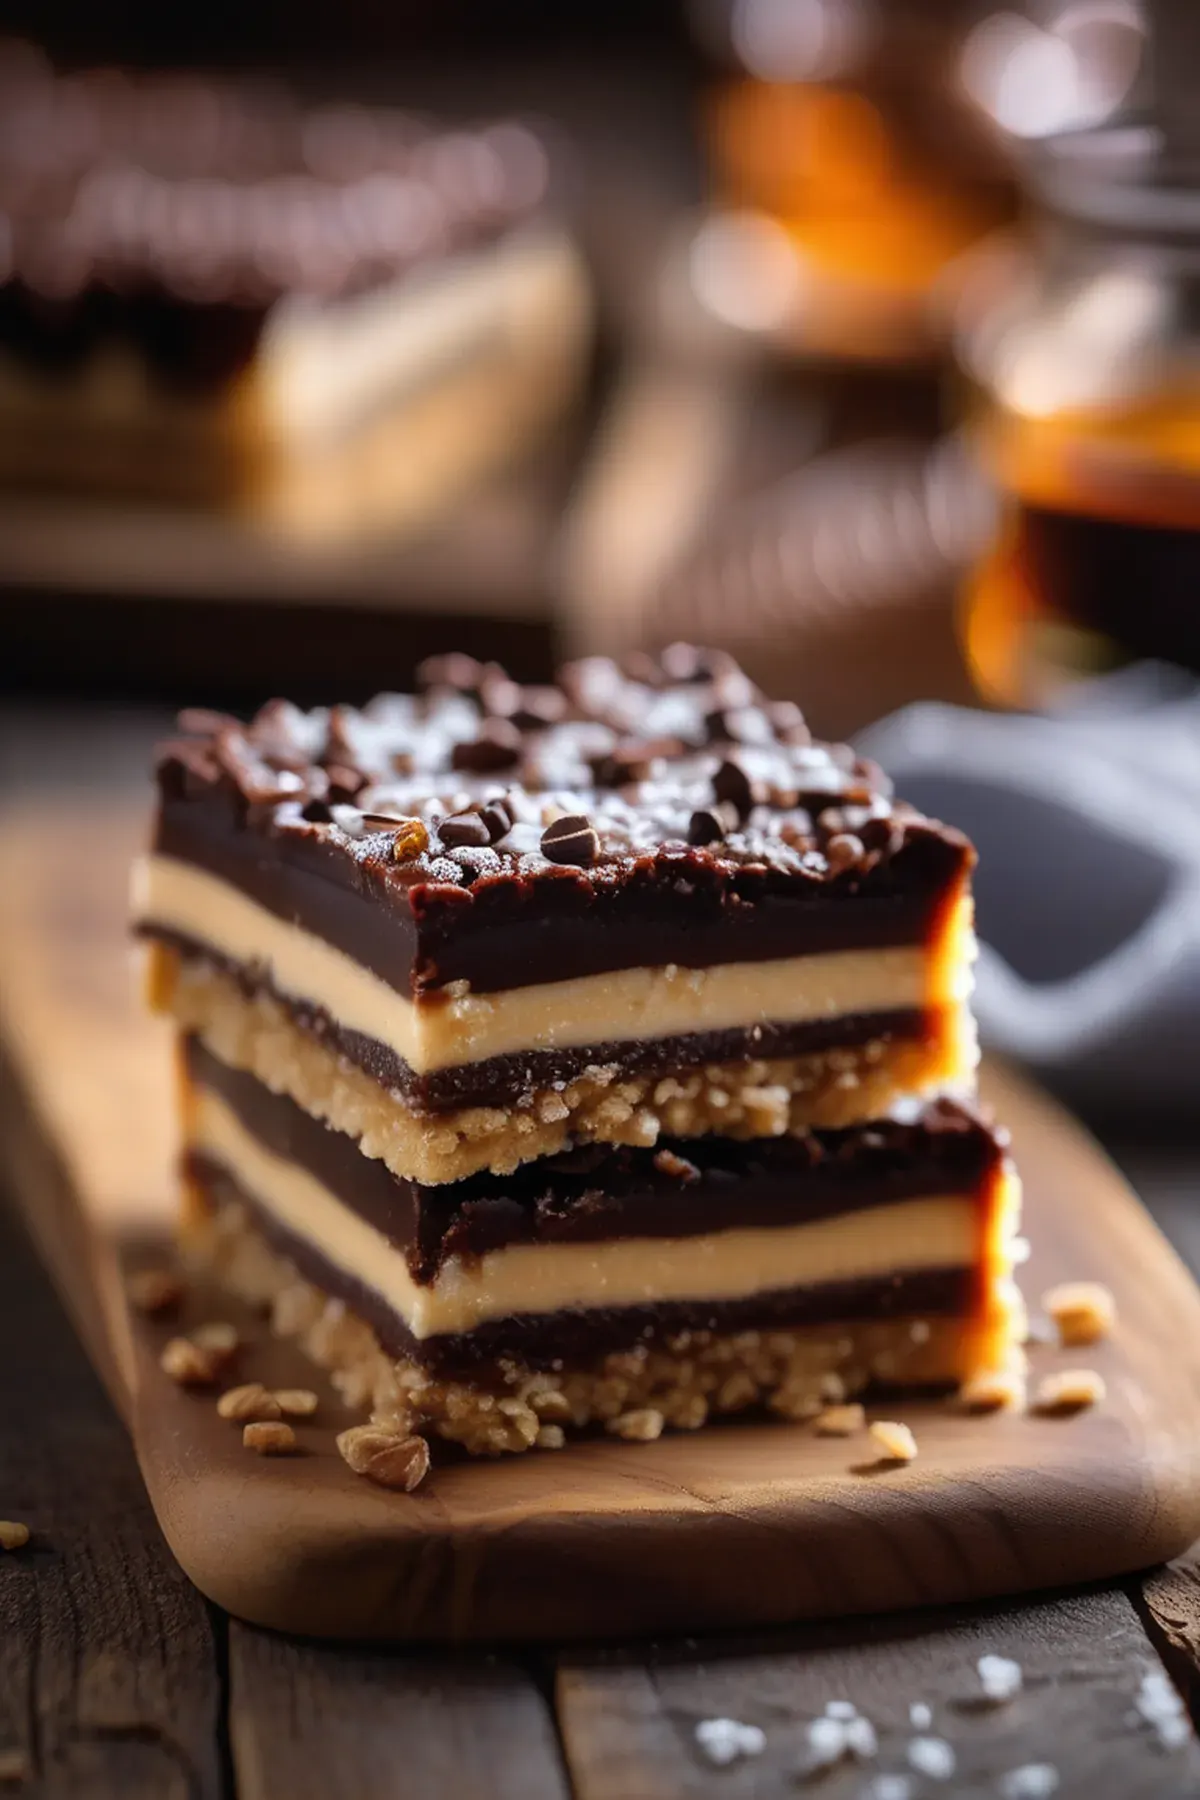
Honey Nanaimo Bars
Prep
20 mins
Cook
25 mins
Servings
6
Difficulty
Easy
These Honey Nanaimo Bars are my go to when I want to impress without spending hours in the kitchen. What I love most is how quickly they come together in just 45 minutes from start to finish. The three decadent layers of chocolate, creamy filling, and nutty base taste like they took all day, but honestly they're remarkably simple to make. Plus, the honey adds natural sweetness and wonderful antioxidants that make these treats feel just a tiny bit better for you. Whether you're baking for a potluck or simply craving something special on a quiet afternoon, this recipe delivers maximum flavor with minimal fuss.
Ella x
Ingredients
- 250 gall-purpose flour(null)
- 150 gconfectioner's sugar(null)
- 120 gunsalted butter(softened)
- 200 ggranulated sugar(null)
- 50 ghoney(null)
- 2 nulllarge eggs(null)
- 100 gunsalted butter, melted(null)
- 400 gchocolate chips(null)
- 100 gpeanuts(chopped)
- 5 gsalt(null)
- 1 mLvanilla extract(null)
- 100 gsemisweet chocolate(null)
- null nullunsalted butter, for greasing(null)
Detail level
Instructions
- 1
Preheat the oven to 180°C. Line an 18x18 cm baking dish with parchment paper and grease with butter.
Tip: Make sure the parchment paper is securely in place to prevent the bars from sticking.
- 2
In a medium bowl, whisk together the flour, confectioner's sugar, and salt. Set aside.
Tip: Make sure to sift the confectioner's sugar for a smooth finish.
- 3
In a large bowl, cream together the butter and granulated sugar until light and fluffy.
Tip: Use an electric mixer for this step, if desired.
- 4
Add the honey and vanilla extract to the bowl and mix until well combined.
Tip: Be careful not to add too much honey, as it can make the mixture too sticky.
- 5
Beat in the eggs one at a time, until well combined.
Tip: Make sure to scrape down the sides of the bowl after each addition.
- 6
Gradually add the flour mixture to the bowl and mix until a dough forms.
Tip: Use a rubber spatula to scrape the sides of the bowl, if needed.
- 7
Press the dough evenly into the prepared baking dish.
Tip: Make sure to get the dough into all the corners of the dish.
- 8
Bake the crust for 15 minutes, or until lightly golden.
Tip: Keep an eye on the crust during the last few minutes of baking, as it can go from golden to burnt quickly.
- 9
While the crust is baking, melt the chocolate chips in a double boiler or in the microwave in 30-second increments, stirring between each interval.
Tip: Make sure the chocolate is smooth and melted before proceeding.
- 10
Remove the crust from the oven and pour the melted chocolate over the top.
Tip: Use a spatula to spread the chocolate evenly, if needed.
- 11
Sprinkle the chopped peanuts over the top of the chocolate layer.
Tip: Make sure to spread them evenly, but avoid over-sprinkling.
- 12
Let the bars cool completely in the pan before cutting into squares.
Tip: This will help the bars set and make them easier to cut.
- 13
Cut the bars into 6 equal squares and serve.
Tip: Store any leftovers in an airtight container at room temperature for up to 3 days.
Recipe Variations
Get AI-powered ingredient substitution suggestions.
You Might Also Like
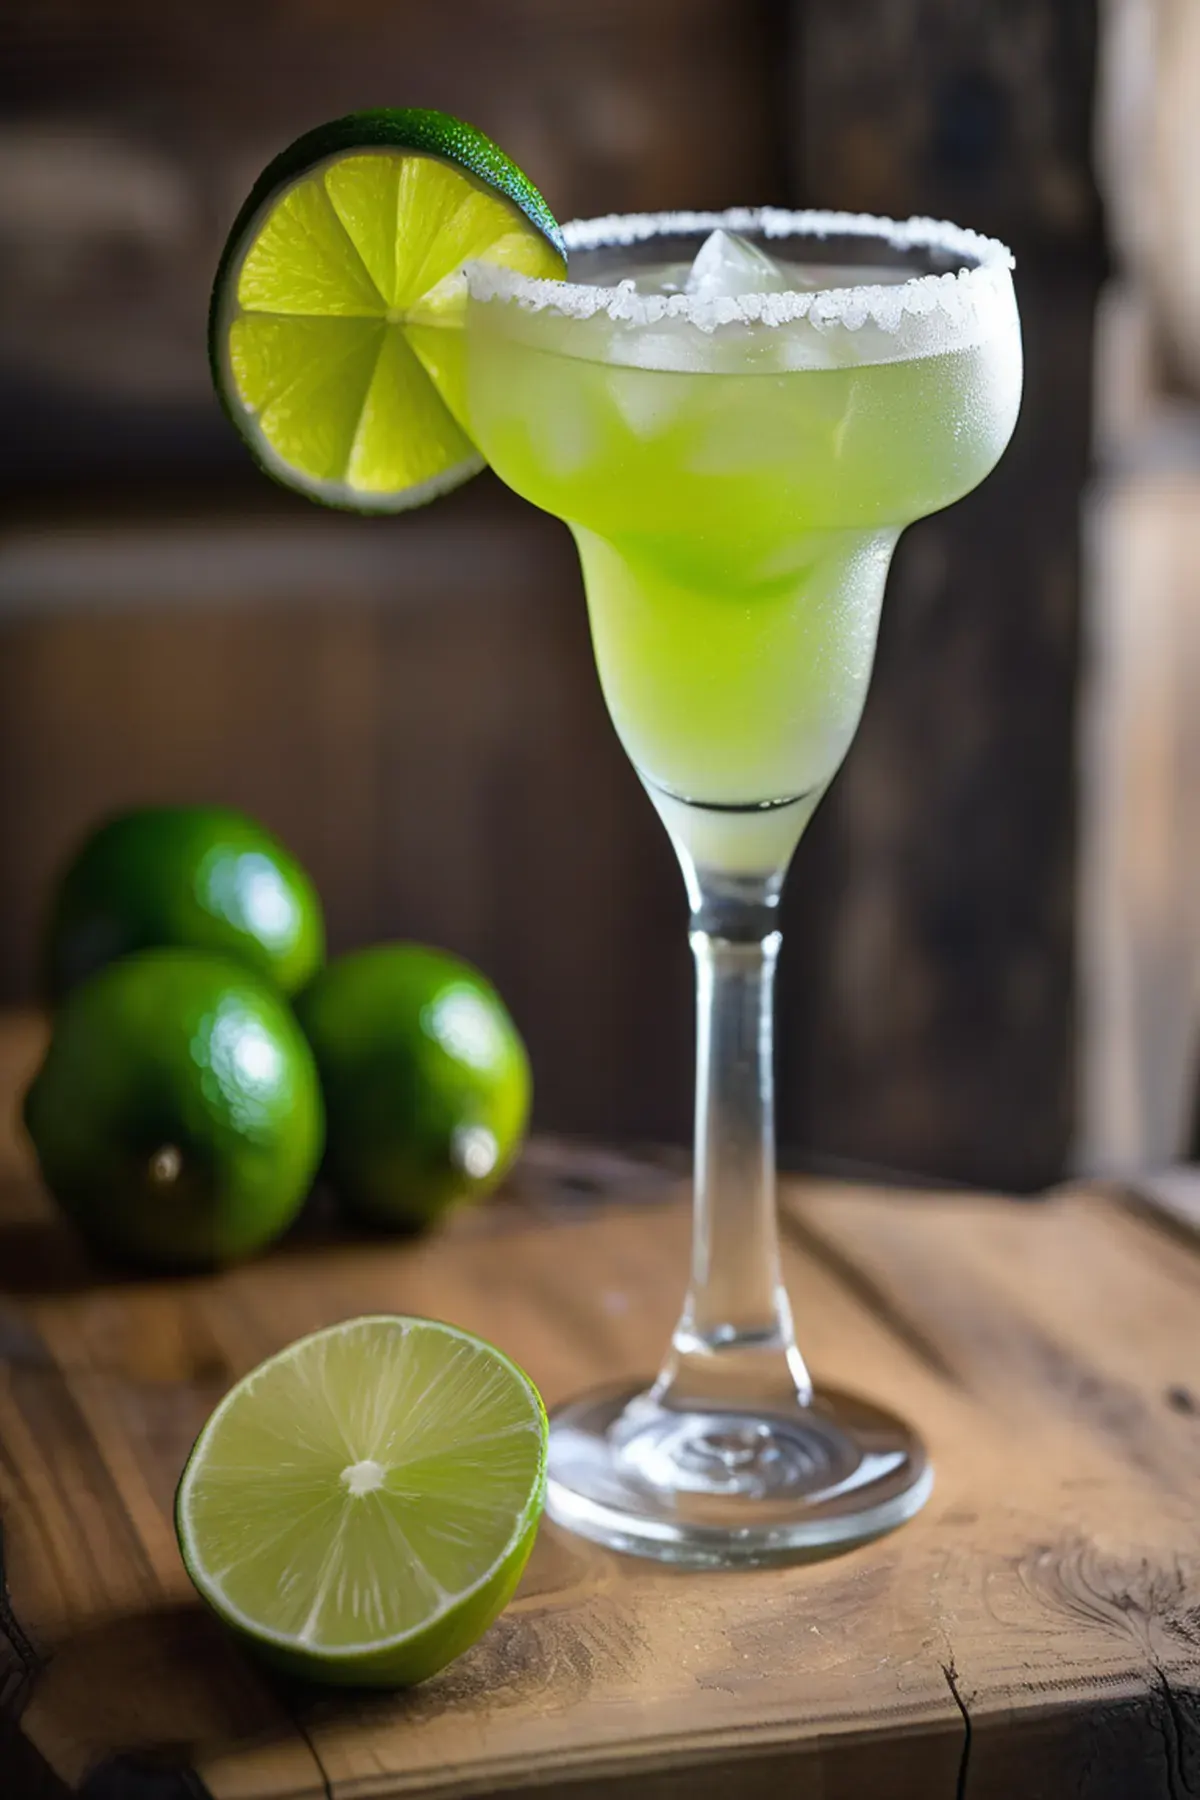
Beergarita
My go to drink for summer gatherings is this refreshing Beergarita, and let me tell you, it's a total crowd pleaser. The combination of tequila, triple sec, fresh lime juice, and a cold Corona creates something that tastes way more complicated than it actually is. Lime juice is packed with vitamin C, which is great for your immune system, and the whole thing takes just five minutes to throw together. Best part? It's incredibly budget friendly since you're probably already stocking most of these ingredients anyway.
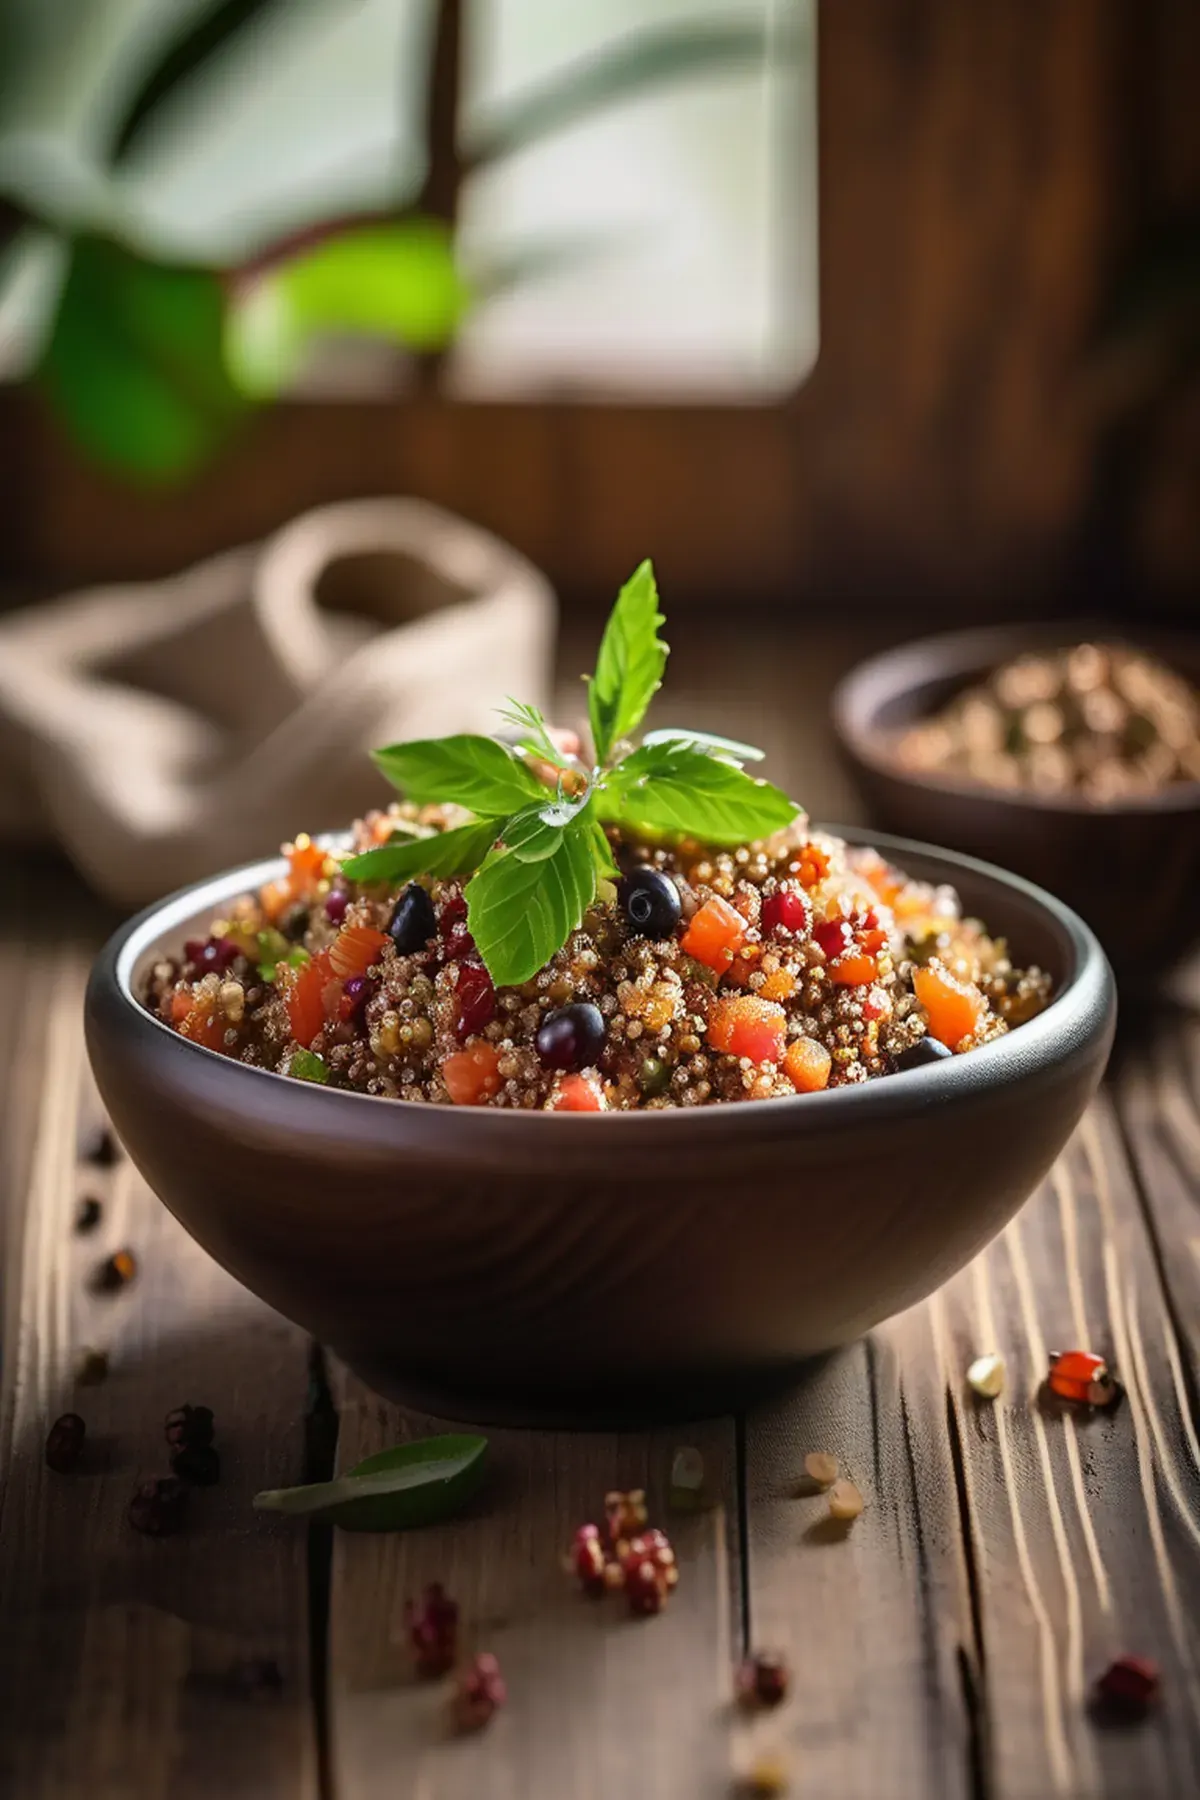
Tropical Quinoa
This tropical quinoa bowl has become my go to weeknight dinner because it comes together in just forty minutes and tastes like a mini vacation on a plate. Quinoa is one of my favorite ingredients since it's a complete protein with all nine essential amino acids, making it so satisfying and perfect for keeping energy levels steady. The combination of papaya, red bell pepper, and fresh cilantro brings vibrant flavors and colors, while the rice wine vinegar and orange zest add just the right brightness. Best part is the ingredient list is simple and affordable, yet feels fancy enough to impress anyone at your table.
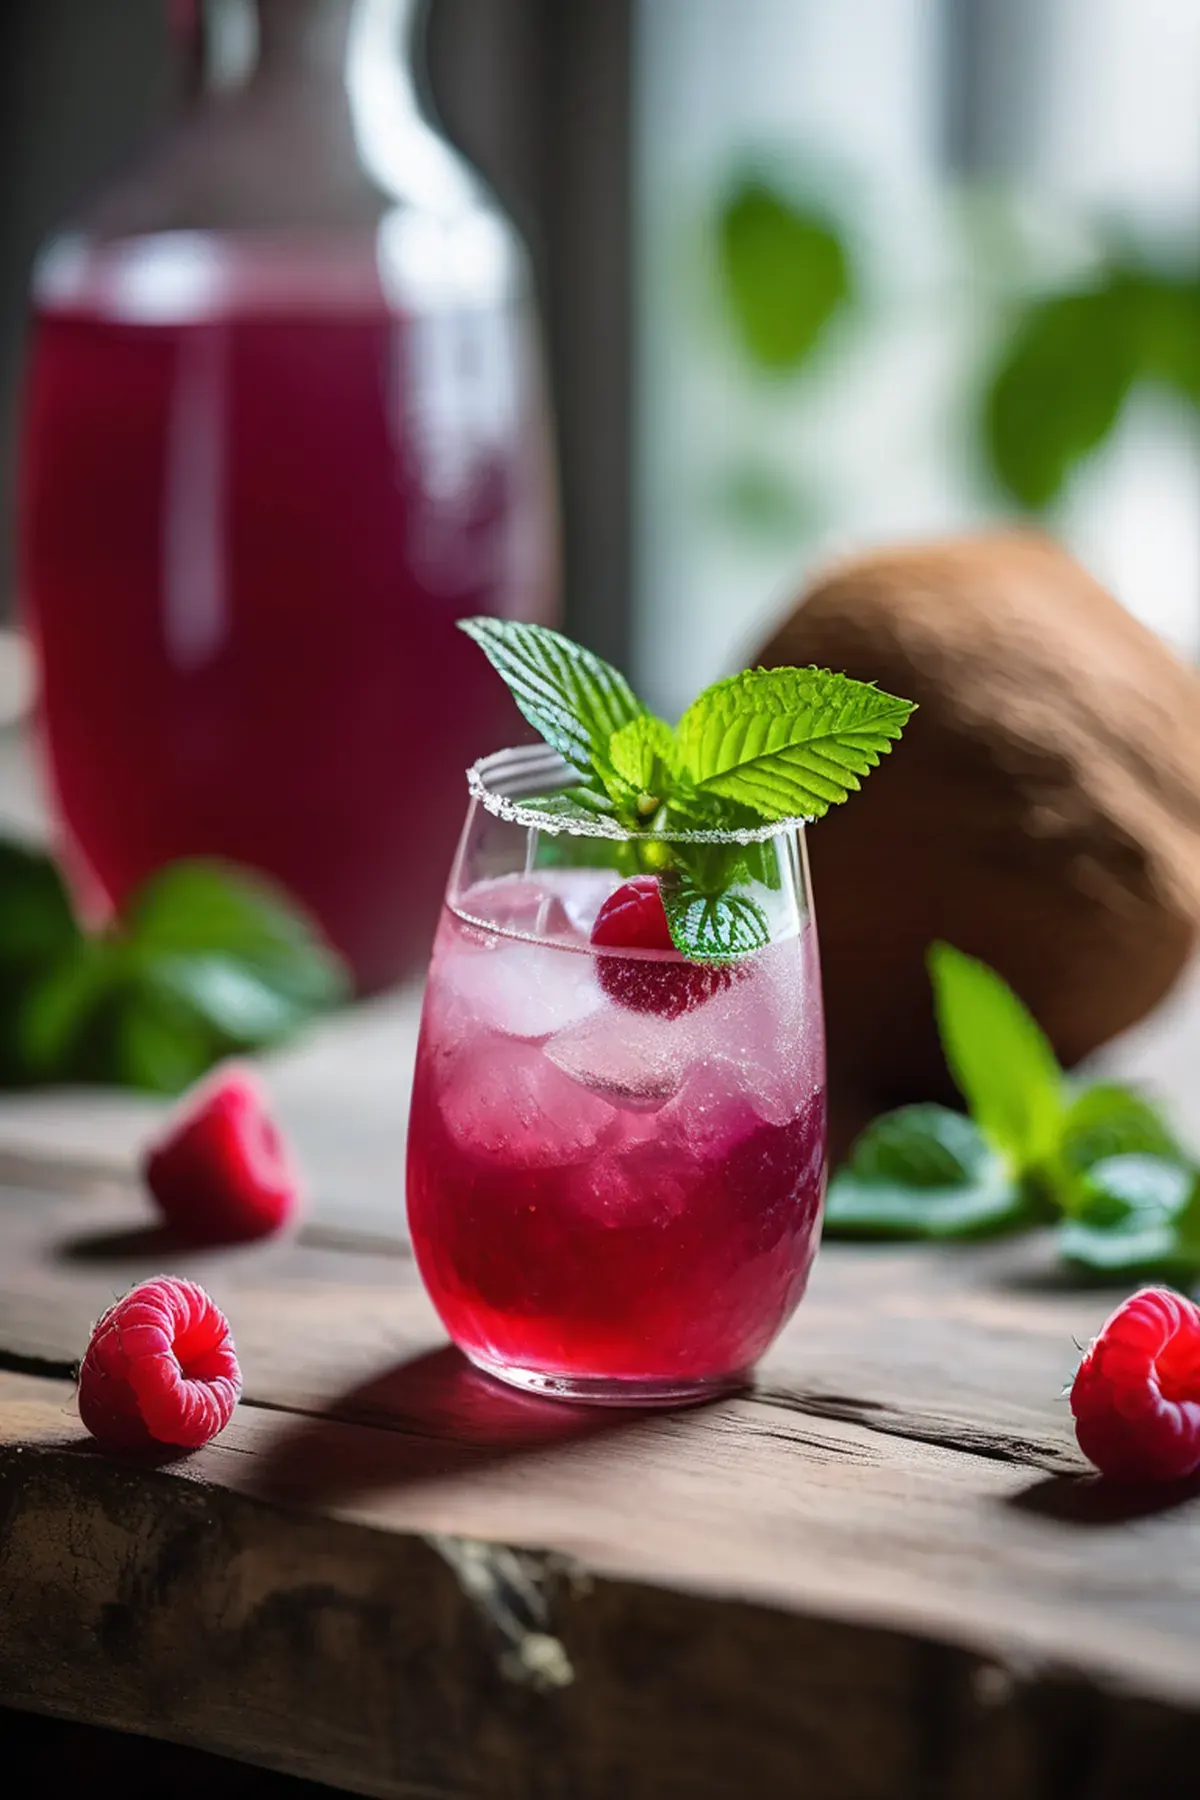
Coconut & raspberry crush
Have you tried making a drink that's both refreshing and genuinely good for you? This coconut and raspberry crush is my go to when I want something special without the fuss. The best part is how quick it comes together in just ten minutes of prep. Coconut water is absolutely fantastic for hydration, packed with natural electrolytes that your body actually needs. I love combining it with tart raspberries and a hint of mint for that perfect balance of sweet and zingy. It's simple, it's delicious, and honestly, it feels like you're treating yourself to something fancy.
Reviews
Sign in to write a review.