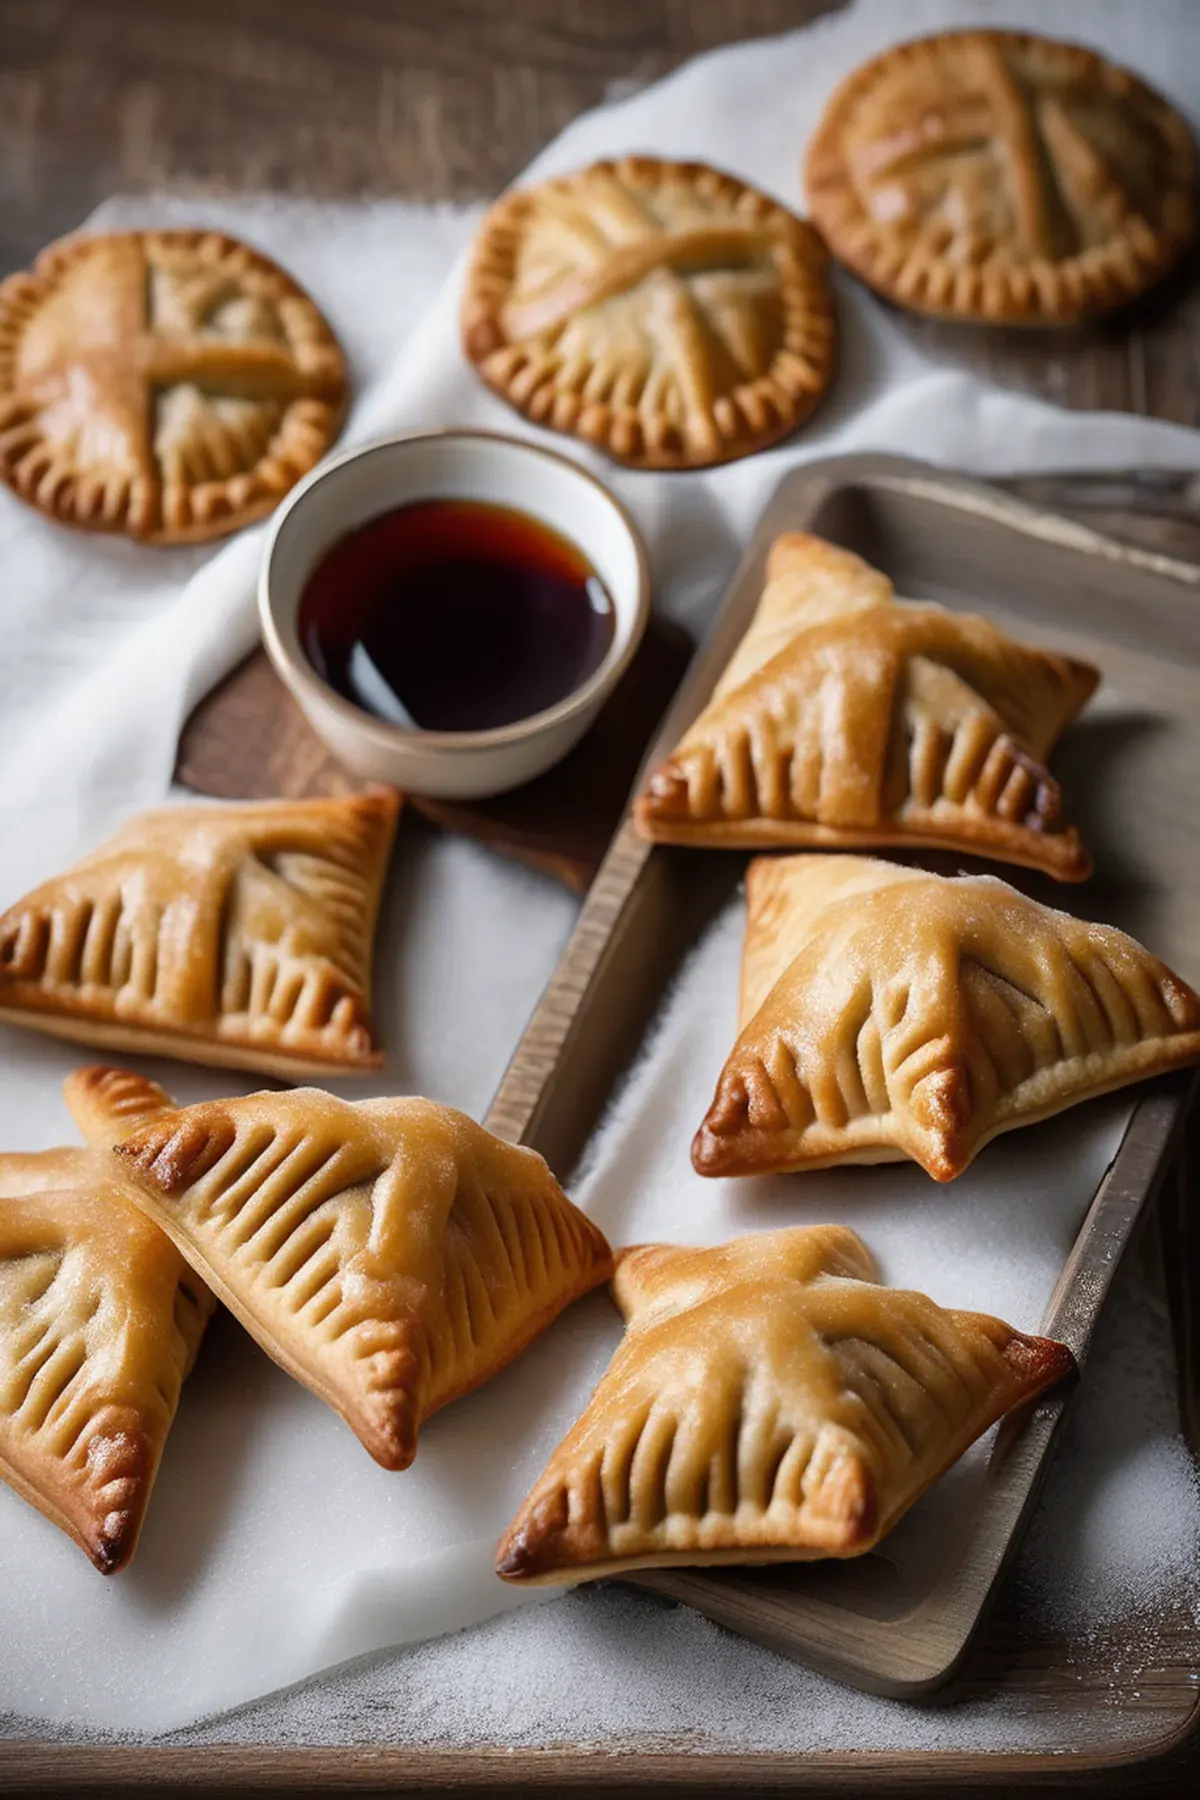
Maple Hand Pies
Prep
20 mins
Cook
25 mins
Servings
8
Difficulty
Easy
These maple hand pies are a favorite of mine that I love making when I want something special without spending hours in the kitchen. The beauty of hand pies is that they're perfectly portable and honestly quite simple to put together. With just twenty minutes of prep and twenty five minutes in the oven, you'll have warm, fragrant pastries that taste like autumn in every bite. I use pure Canadian maple syrup because it adds such wonderful depth, and maple actually contains beneficial minerals like manganese that support bone health. These are ideal for meal prep or bringing to gatherings, and the whole project won't break the bank either.
Ella x
Ingredients
- 250 gall-purpose flour
- 150 gcold unsalted butter
- 120 mlice water
- 200 ggranulated sugar
- 120 mlpure canadian maple syrup
- 2 nullegg
- 10 gsalt
- 15 gground cinnamon
- 50 gconfectioners' sugar
- 60 mlunsalted milk
Detail level
Instructions
- 1
In a large bowl, combine the flour, salt, and cinnamon. Add the cold butter and use a pastry blender or your fingertips to work the butter into the flour until the mixture resembles coarse crumbs.
Tip: Make sure the butter is well-distributed for a flaky crust.
- 2
Gradually pour in the ice water, stirring with a fork until the dough comes together in a ball.
Tip: If the dough is too sticky, add a little more flour.
- 3
Turn the dough out onto a lightly floured surface and roll it out to a thickness of about 3mm.
Tip: Make sure the dough is evenly rolled to prevent the pies from sticking to the pie dish.
- 4
Scoop out 8 equal-sized balls of dough onto a baking sheet lined with parchment paper.
Tip: Leave about 2cm of space between each pie for even baking.
- 5
Divide the maple syrup and granulated sugar into 4 equal parts.
Tip: This will help you evenly distribute the filling throughout the pies.
- 6
Spoon a portion of the maple syrup mixture into the center of each dough ball, leaving a 1cm border around the edges.
Tip: Make sure to leave a small border around the edges to prevent the filling from spilling over.
- 7
Fold the dough over the filling, pressing the edges together to seal the pie.
Tip: Make sure the edges are well-sealed to prevent the filling from escaping during baking.
- 8
Brush the tops of the pies with a little bit of milk and sprinkle with confectioners' sugar.
Tip: This will give the pies a nice golden glaze.
- 9
Bake the pies in a preheated oven at 375°F (190°C) for 20-25 minutes, or until the crust is golden brown.
Tip: Make sure to check the pies frequently to prevent burning.
- 10
Allow the pies to cool for 5 minutes before serving.
Tip: This will help the filling set and prevent it from oozing out.
Recipe Variations
Get AI-powered ingredient substitution suggestions.
You Might Also Like
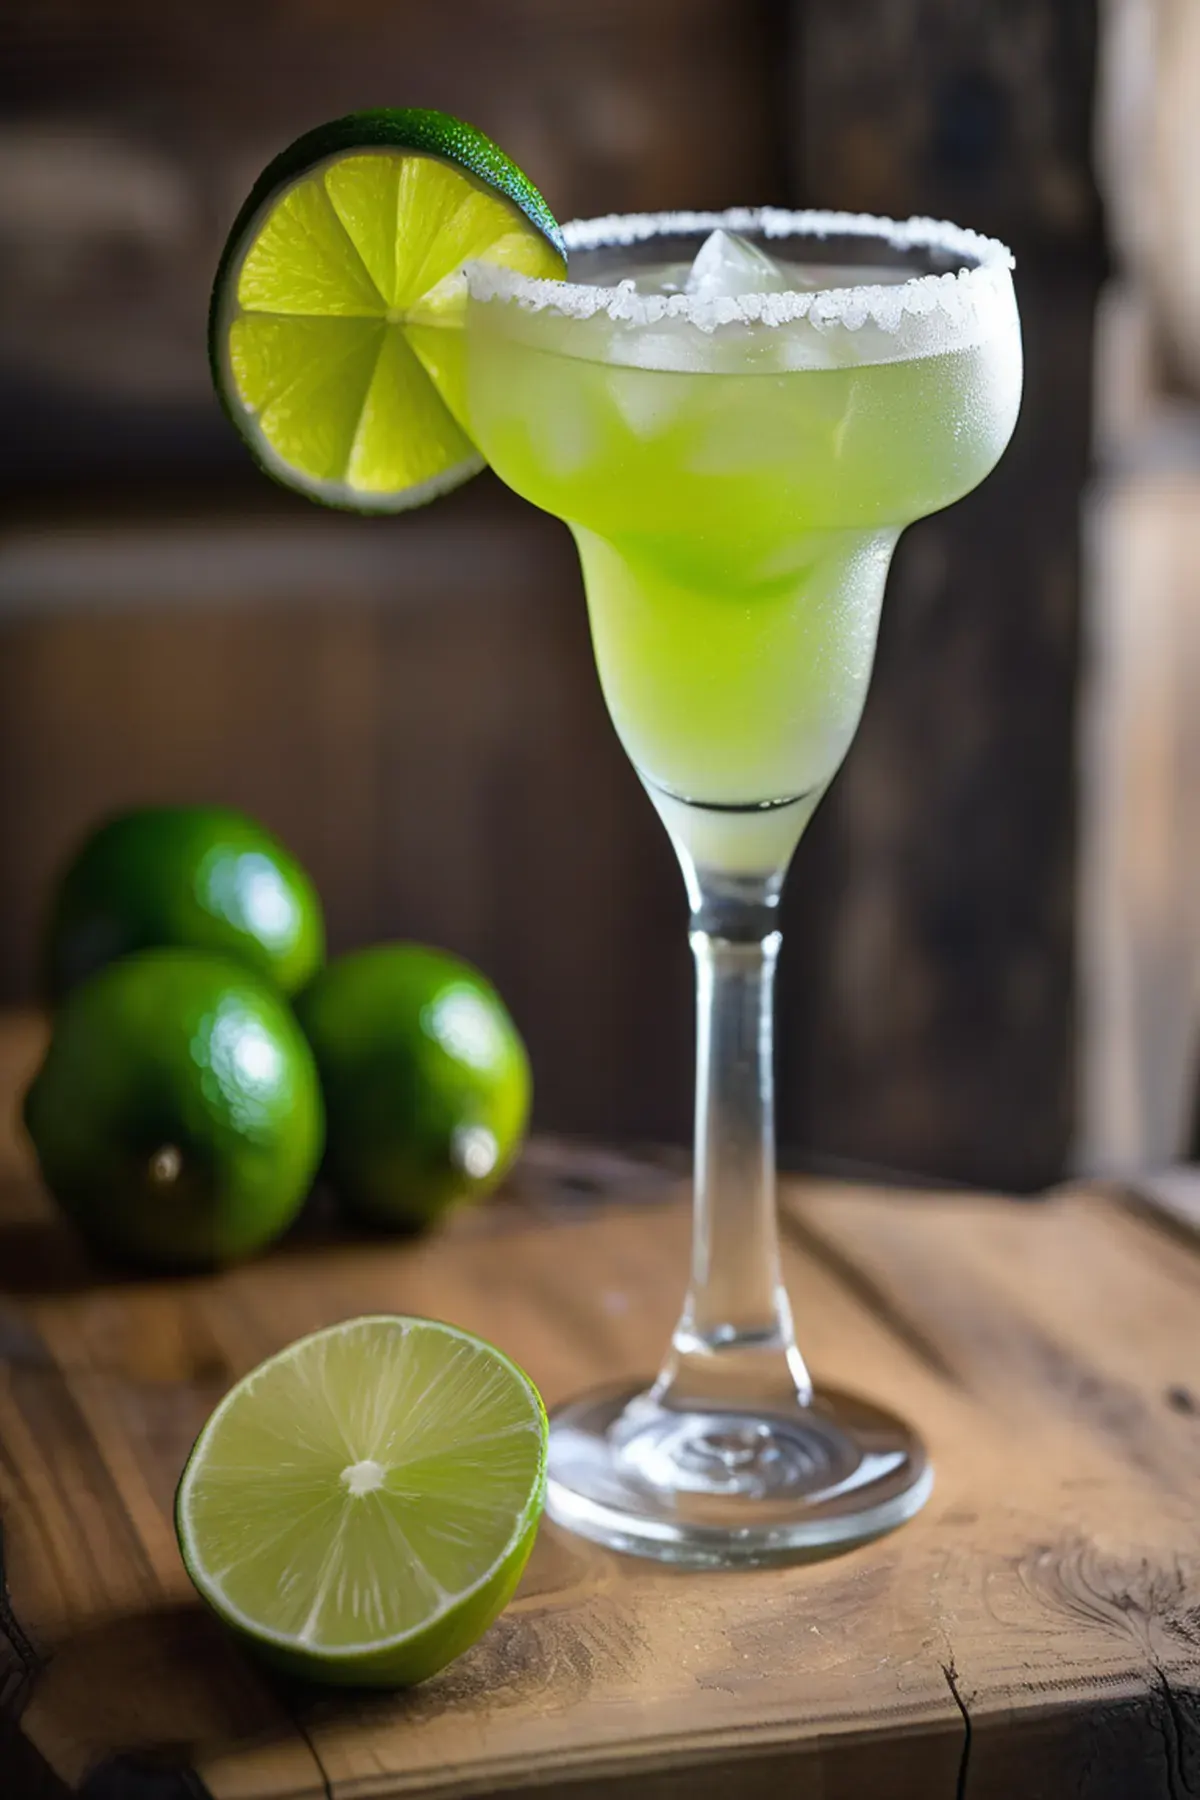
Beergarita
My go to drink for summer gatherings is this refreshing Beergarita, and let me tell you, it's a total crowd pleaser. The combination of tequila, triple sec, fresh lime juice, and a cold Corona creates something that tastes way more complicated than it actually is. Lime juice is packed with vitamin C, which is great for your immune system, and the whole thing takes just five minutes to throw together. Best part? It's incredibly budget friendly since you're probably already stocking most of these ingredients anyway.
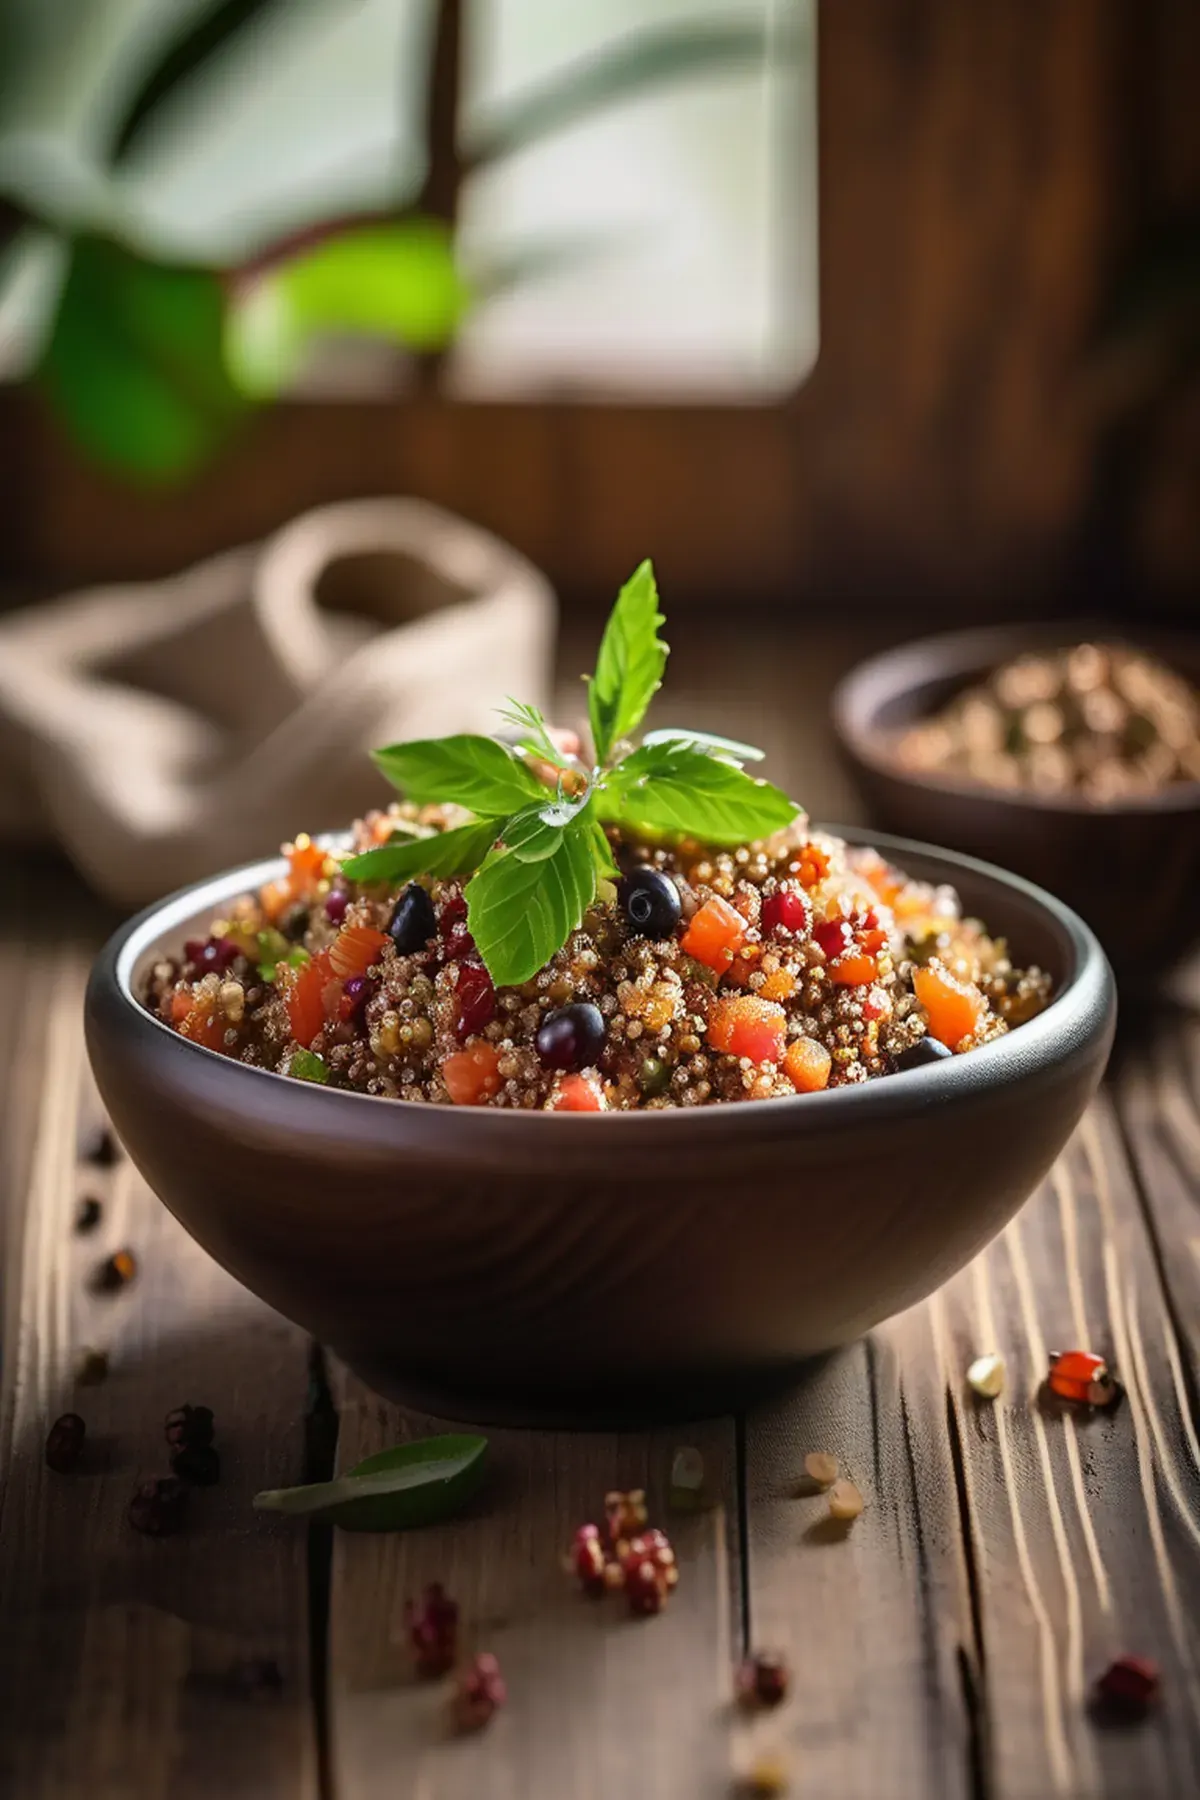
Tropical Quinoa
This tropical quinoa bowl has become my go to weeknight dinner because it comes together in just forty minutes and tastes like a mini vacation on a plate. Quinoa is one of my favorite ingredients since it's a complete protein with all nine essential amino acids, making it so satisfying and perfect for keeping energy levels steady. The combination of papaya, red bell pepper, and fresh cilantro brings vibrant flavors and colors, while the rice wine vinegar and orange zest add just the right brightness. Best part is the ingredient list is simple and affordable, yet feels fancy enough to impress anyone at your table.
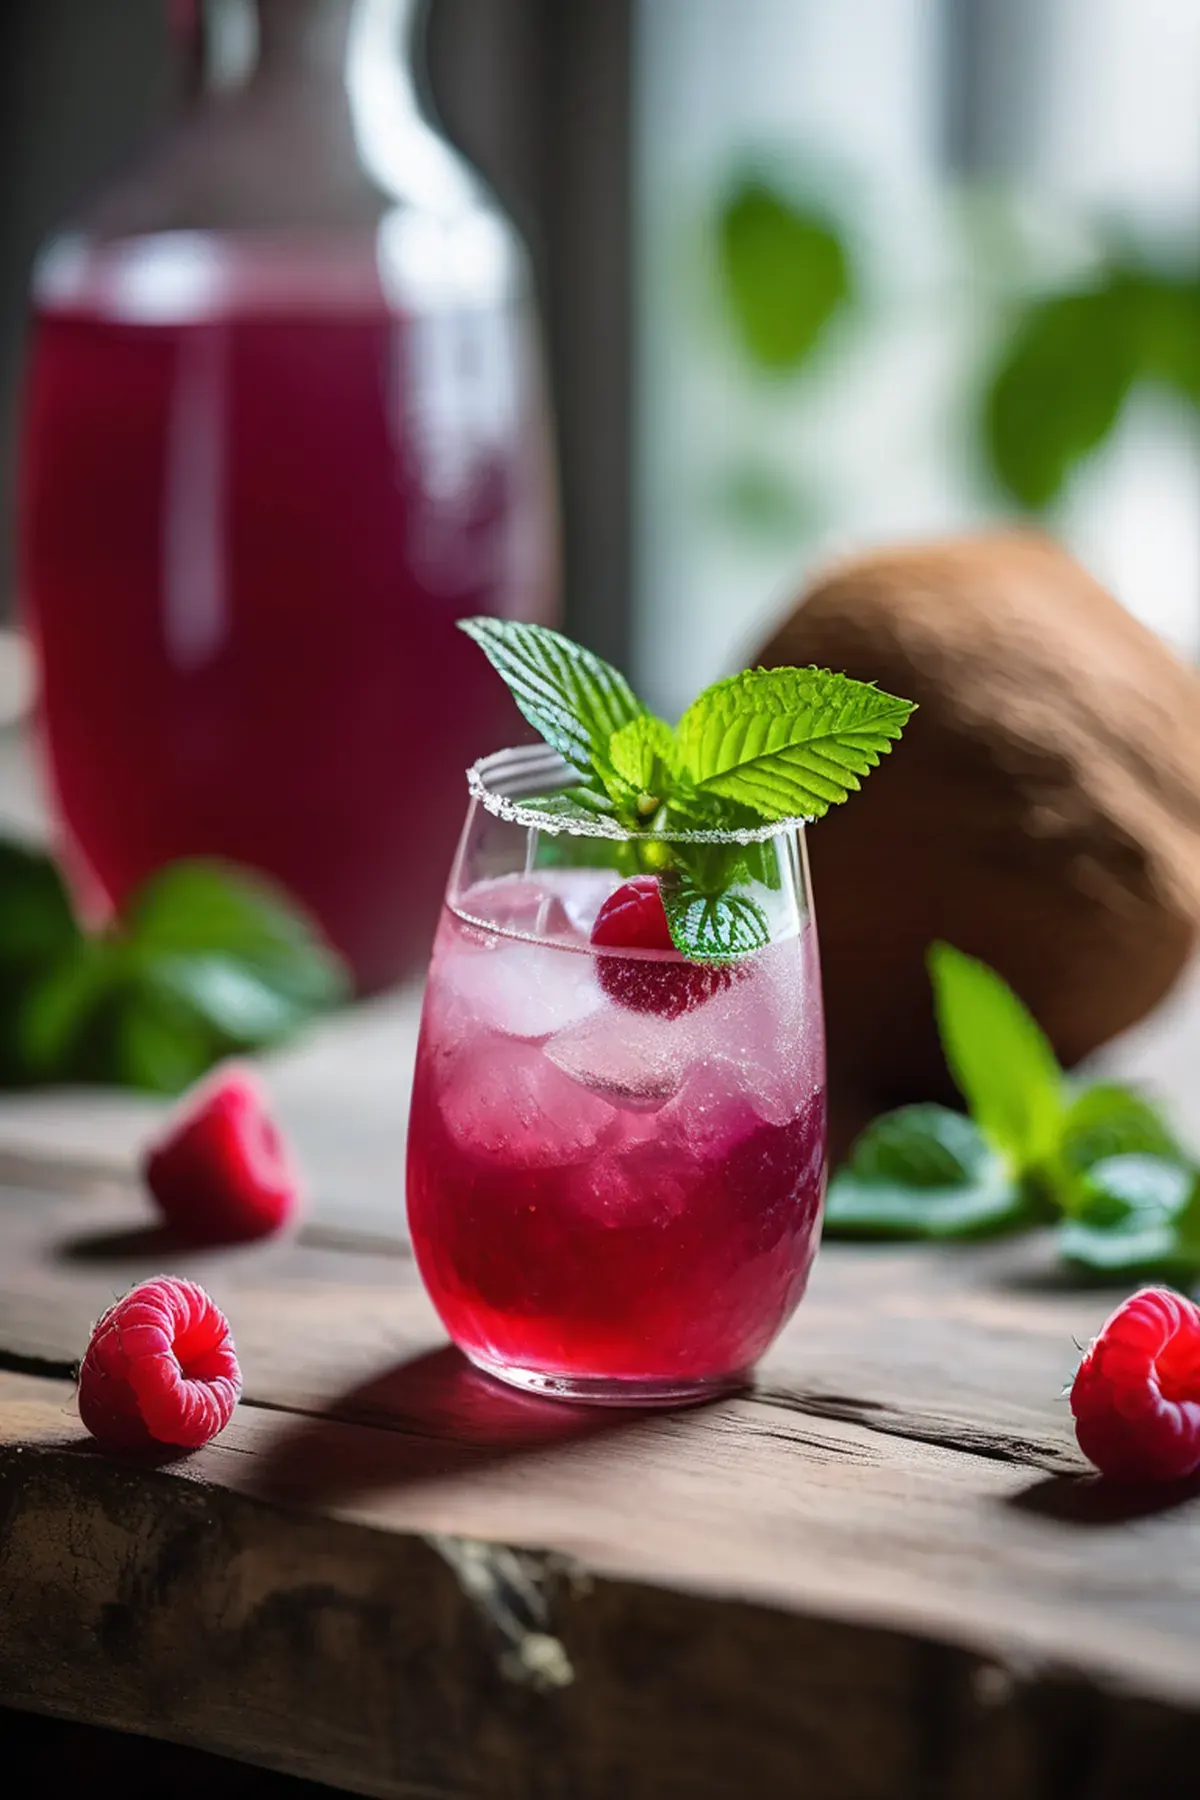
Coconut & raspberry crush
Have you tried making a drink that's both refreshing and genuinely good for you? This coconut and raspberry crush is my go to when I want something special without the fuss. The best part is how quick it comes together in just ten minutes of prep. Coconut water is absolutely fantastic for hydration, packed with natural electrolytes that your body actually needs. I love combining it with tart raspberries and a hint of mint for that perfect balance of sweet and zingy. It's simple, it's delicious, and honestly, it feels like you're treating yourself to something fancy.
Reviews
Sign in to write a review.