
Milk Chocolate Marble Cake
Prep
20 mins
Cook
35 mins
Servings
6
Difficulty
Easy
This marble cake has become my go to dessert for busy weekends because it comes together in just 55 minutes start to finish. The beauty of it is how simple the technique really is, you just swirl two batters together and let the oven do the work. I love using milk chocolate chips here since they're more affordable than premium chocolate bars, plus eggs in this recipe provide wonderful protein that keeps you satisfied longer than most cakes. The result is this gorgeous swirled creation with pockets of rich cocoa flavor throughout, and honestly, it tastes far fancier than the minimal effort required to make it.
Ella x
Ingredients
- 250all-purpose flour
- 200 ggranulated sugar
- 150 gunsalted butter
- 3large eggs
- 50 gunsweetened cocoa powder
- 15 gbaking powder
- 5 gsalt
- 120 mlmilk
- 100 gmilk chocolate chips
- 50 gwhite chocolate chips
- 5 mlfood coloring
Detail level
Instructions
- 1
Preheat the oven to 180°C (350ºfF). Grease two 20cm round cake pans and line the bottoms with parchment paper.
Tip: Use a non-stick spray for easy cake release.
- 2
In a medium bowl, whisk together the flour, sugar, cocoa powder, baking powder, and salt.
Tip: Make sure to sift the dry ingredients for a smooth batter.
- 3
In a large mixing bowl, combine the butter and eggs. Beat until light and fluffy.
Tip: Use a stand mixer or a whisk for efficient mixing.
- 4
Gradually add the dry ingredients to the butter mixture, alternating with the milk, beginning and ending with the dry ingredients.
Tip: Don't overmix the batter, or it will become dense.
- 5
Melt the milk chocolate chips in a double boiler or in the microwave in 30-second increments, stirring between each interval.
Tip: Let the chocolate cool slightly before folding it into the batter.
- 6
Fold the white chocolate chips into the batter until they are evenly distributed.
Tip: Be gentle to avoid deflating the batter.
- 7
Add a few drops of food coloring to tint the batter, if desired.
Tip: Use a toothpick to create a marbled design.
- 8
Divide the batter evenly between the prepared pans and smooth the tops.
Tip: Use a spatula to create a swirly design.
- 9
Bake for 25-30 minutes or until a toothpick inserted into the center comes out clean.
Tip: Don't overbake, or the cake will be dry.
- 10
Let the cakes cool in the pans for 5 minutes before transferring them to a wire rack to cool completely.
Tip: Let the cakes cool completely before assembling the cake.
- 11
Once the cakes are cool, place one cake layer on a serving plate and spread a layer of frosting on top. Place the second cake layer on top and frost the entire cake.
Tip: Use a piping bag to create a smooth, even frosting.
Recipe Variations
Get AI-powered ingredient substitution suggestions.
You Might Also Like

Beergarita
My go to drink for summer gatherings is this refreshing Beergarita, and let me tell you, it's a total crowd pleaser. The combination of tequila, triple sec, fresh lime juice, and a cold Corona creates something that tastes way more complicated than it actually is. Lime juice is packed with vitamin C, which is great for your immune system, and the whole thing takes just five minutes to throw together. Best part? It's incredibly budget friendly since you're probably already stocking most of these ingredients anyway.
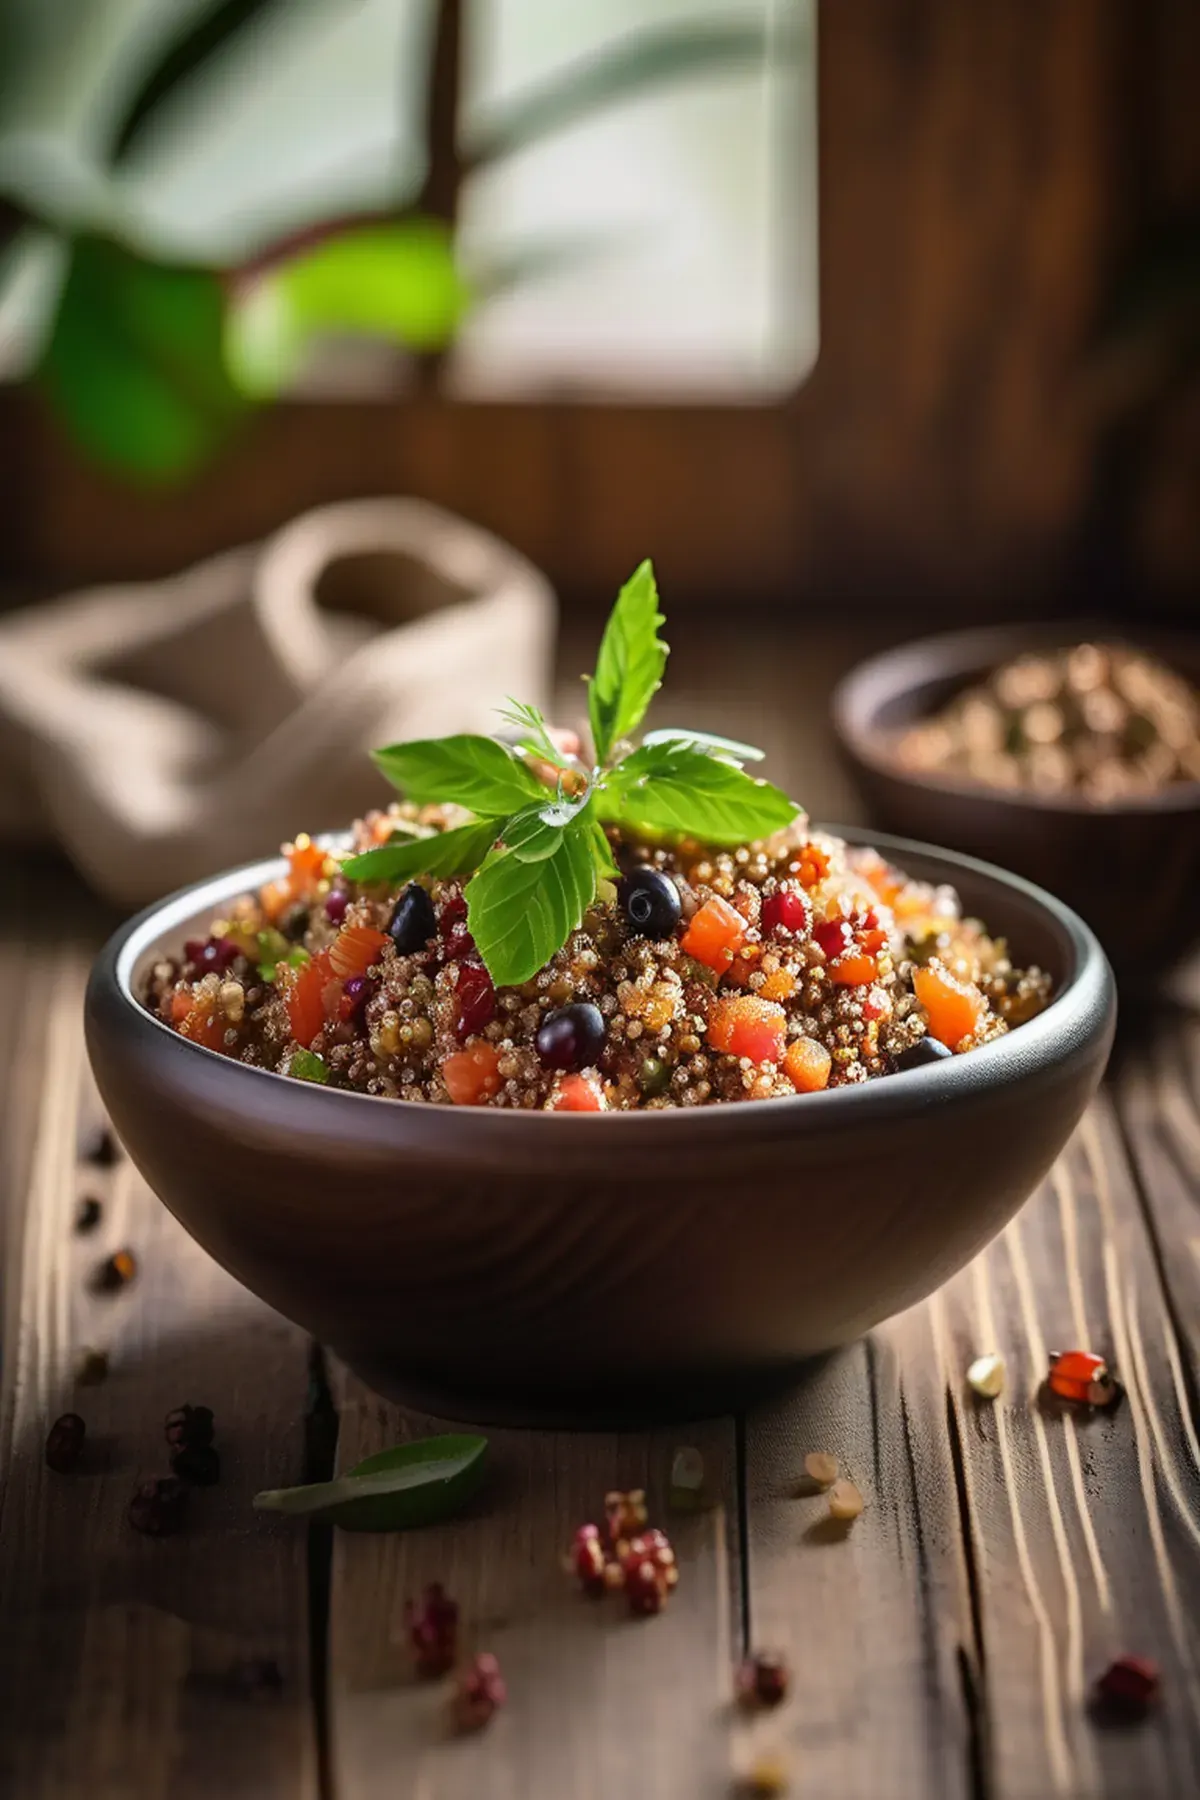
Tropical Quinoa
This tropical quinoa bowl has become my go to weeknight dinner because it comes together in just forty minutes and tastes like a mini vacation on a plate. Quinoa is one of my favorite ingredients since it's a complete protein with all nine essential amino acids, making it so satisfying and perfect for keeping energy levels steady. The combination of papaya, red bell pepper, and fresh cilantro brings vibrant flavors and colors, while the rice wine vinegar and orange zest add just the right brightness. Best part is the ingredient list is simple and affordable, yet feels fancy enough to impress anyone at your table.
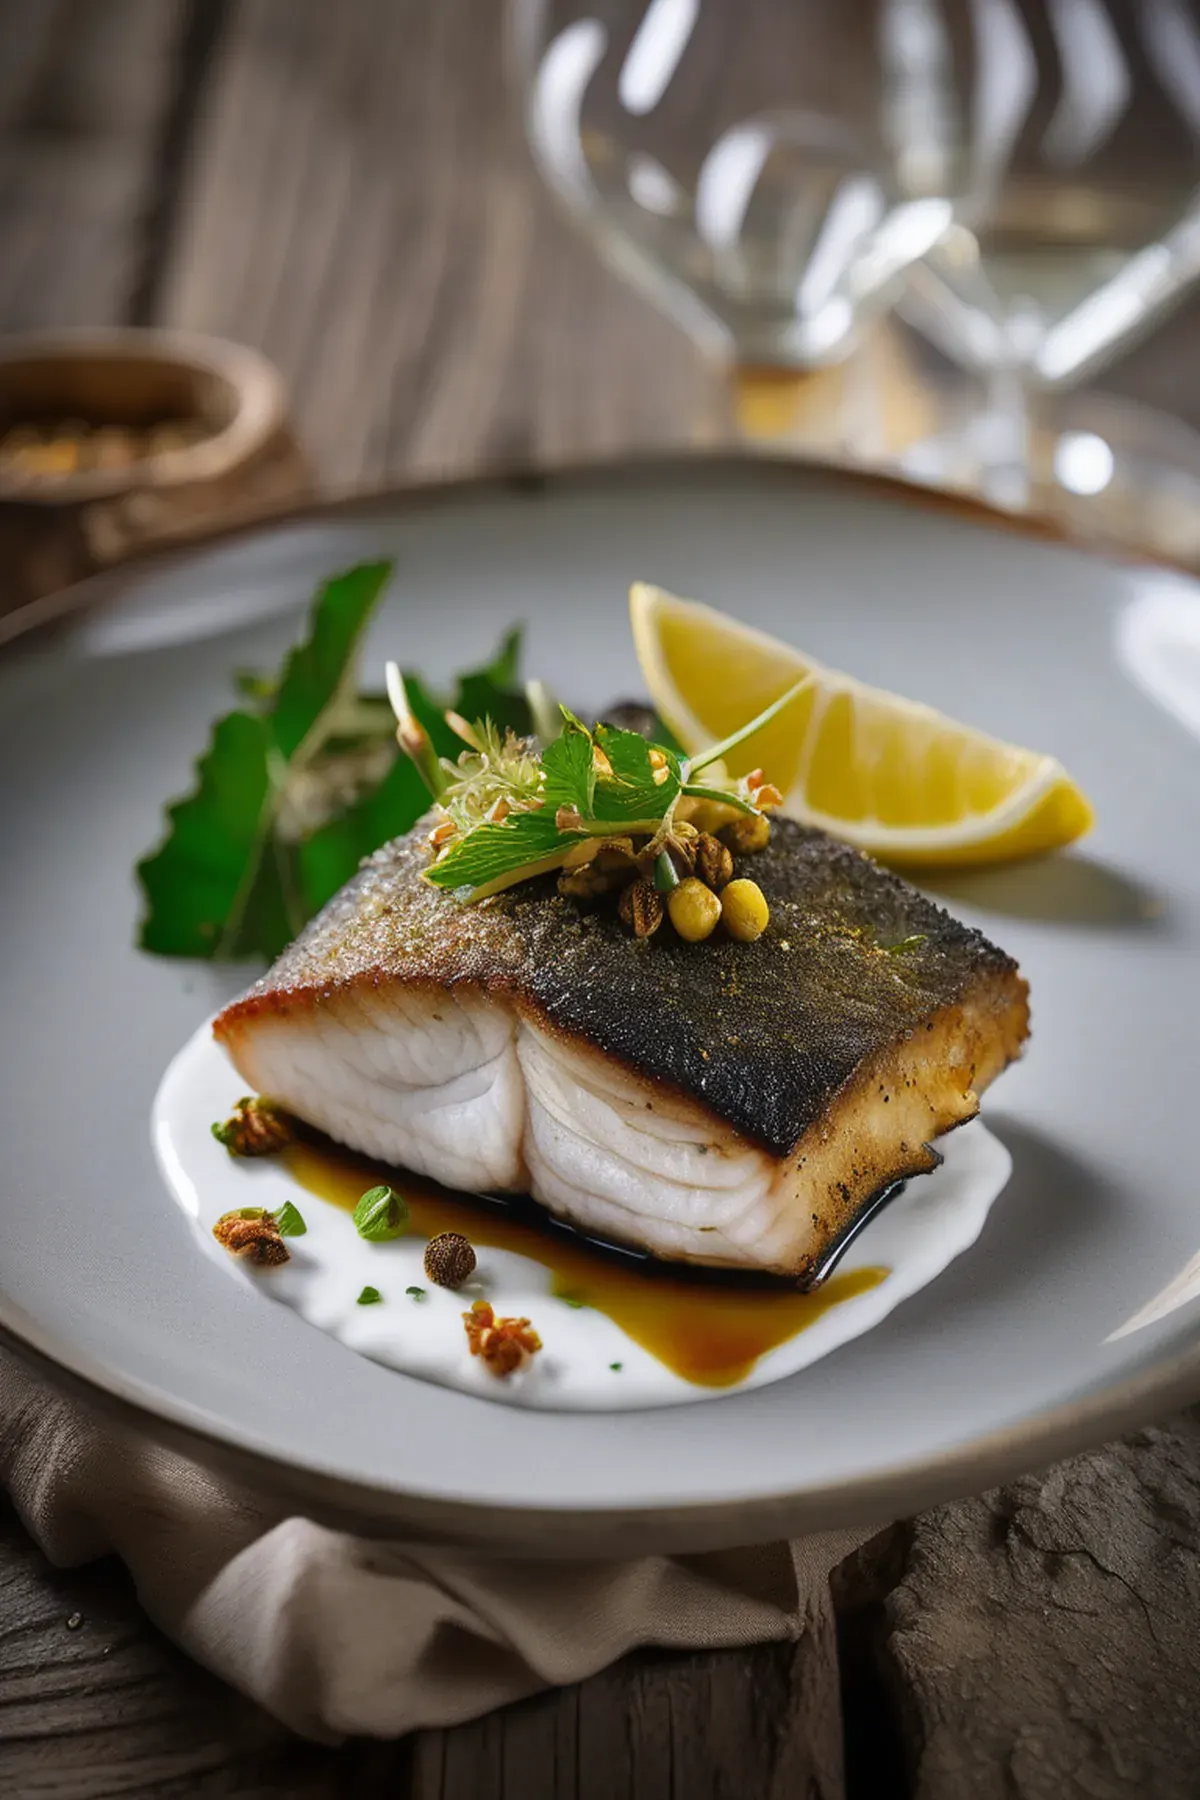
Crispy seabass with preserved lemon yogurt
This is one of my favorite quick weeknight dinners because it comes together in just ten minutes flat. Crispy seabass with preserved lemon yogurt is that perfect balance of impressive and effortless, with tangy Greek yogurt and zingy preserved lemon creating a sauce that feels restaurant quality but tastes like home. The seabass gets beautifully golden and flaky while the freekeh provides substantial whole grains packed with fiber and protein. It's the kind of meal that makes you feel like you're treating yourself without any fuss.
Reviews
Sign in to write a review.