
Orange Chocolate Scones
Prep
20 mins
Cook
25 mins
Servings
8
Difficulty
Easy
These orange chocolate scones are my go to treat when I want something bakery fresh without the fuss. The bright citrus pairs beautifully with rich dark chocolate, and the whole thing comes together in under an hour. What I love most is how simple they are to make with just basic pantry staples, so you're not hunting down weird ingredients or spending a fortune. Plus, dark chocolate is packed with antioxidants, so you can feel a little better about indulging. Whether you're serving them for breakfast or afternoon tea, these scones deliver impressive results that make you look like a baking pro.
Ella x
Ingredients
- 250 gall-purpose flour
- 100 ggranulated sugar
- 10 gbaking powder
- 5 gsalt
- 150 gunsalted butter
- 120 mlorange juice
- 20 gorange zest
- 100 gdark chocolate chips
- 2large eggs
- 50 gplain yogurt
- 10 gorange extract
Detail level
Instructions
- 1
Preheat oven to 180°C (350°F) and line a baking tray with parchment paper.
Tip: Make sure the parchment paper is large enough to accommodate the scones without them sticking.
- 2
In a large mixing bowl, whisk together the flour, sugar, baking powder, and salt.
Tip: Use a whisk to ensure the dry ingredients are well combined.
- 3
Add the cold butter to the dry ingredients and use a pastry blender or your fingertips to work the butter into the mixture until it resembles coarse crumbs.
Tip: Don't overmix the dough.
- 4
In a separate bowl, whisk together the orange juice, orange zest, eggs, yogurt, and orange extract.
Tip: Make sure the mixture is smooth and well combined.
- 5
Pour the wet ingredients into the dry ingredients and gently fold the mixture until it forms a shaggy dough.
Tip: Don't overmix the dough.
- 6
Gently fold in the dark chocolate chips.
Tip: Make sure the chocolate chips are evenly distributed throughout the dough.
- 7
Turn the dough out onto a floured surface and gently knead it a few times until it comes together.
Tip: Don't overwork the dough.
- 8
Pat the dough into a circle that is about 2.5 cm thick.
Tip: Make sure the scones are evenly thick.
- 9
Use a biscuit cutter or the rim of a glass to cut out the scones.
Tip: Make sure the scones are evenly sized.
- 10
Place the scones on the prepared baking tray, leaving about 5 cm of space between each scone.
Tip: Make sure the scones are not touching each other.
- 11
Bake the scones for 18-20 minutes, or until they are golden brown.
Tip: Check the scones after 15 minutes and cover them with foil if they start to brown too quickly.
- 12
Remove the scones from the oven and let them cool on a wire rack for 5-10 minutes before serving.
Tip: Make sure the scones are cool enough to handle before serving.
Recipe Variations
Get AI-powered ingredient substitution suggestions.
You Might Also Like

Beergarita
My go to drink for summer gatherings is this refreshing Beergarita, and let me tell you, it's a total crowd pleaser. The combination of tequila, triple sec, fresh lime juice, and a cold Corona creates something that tastes way more complicated than it actually is. Lime juice is packed with vitamin C, which is great for your immune system, and the whole thing takes just five minutes to throw together. Best part? It's incredibly budget friendly since you're probably already stocking most of these ingredients anyway.
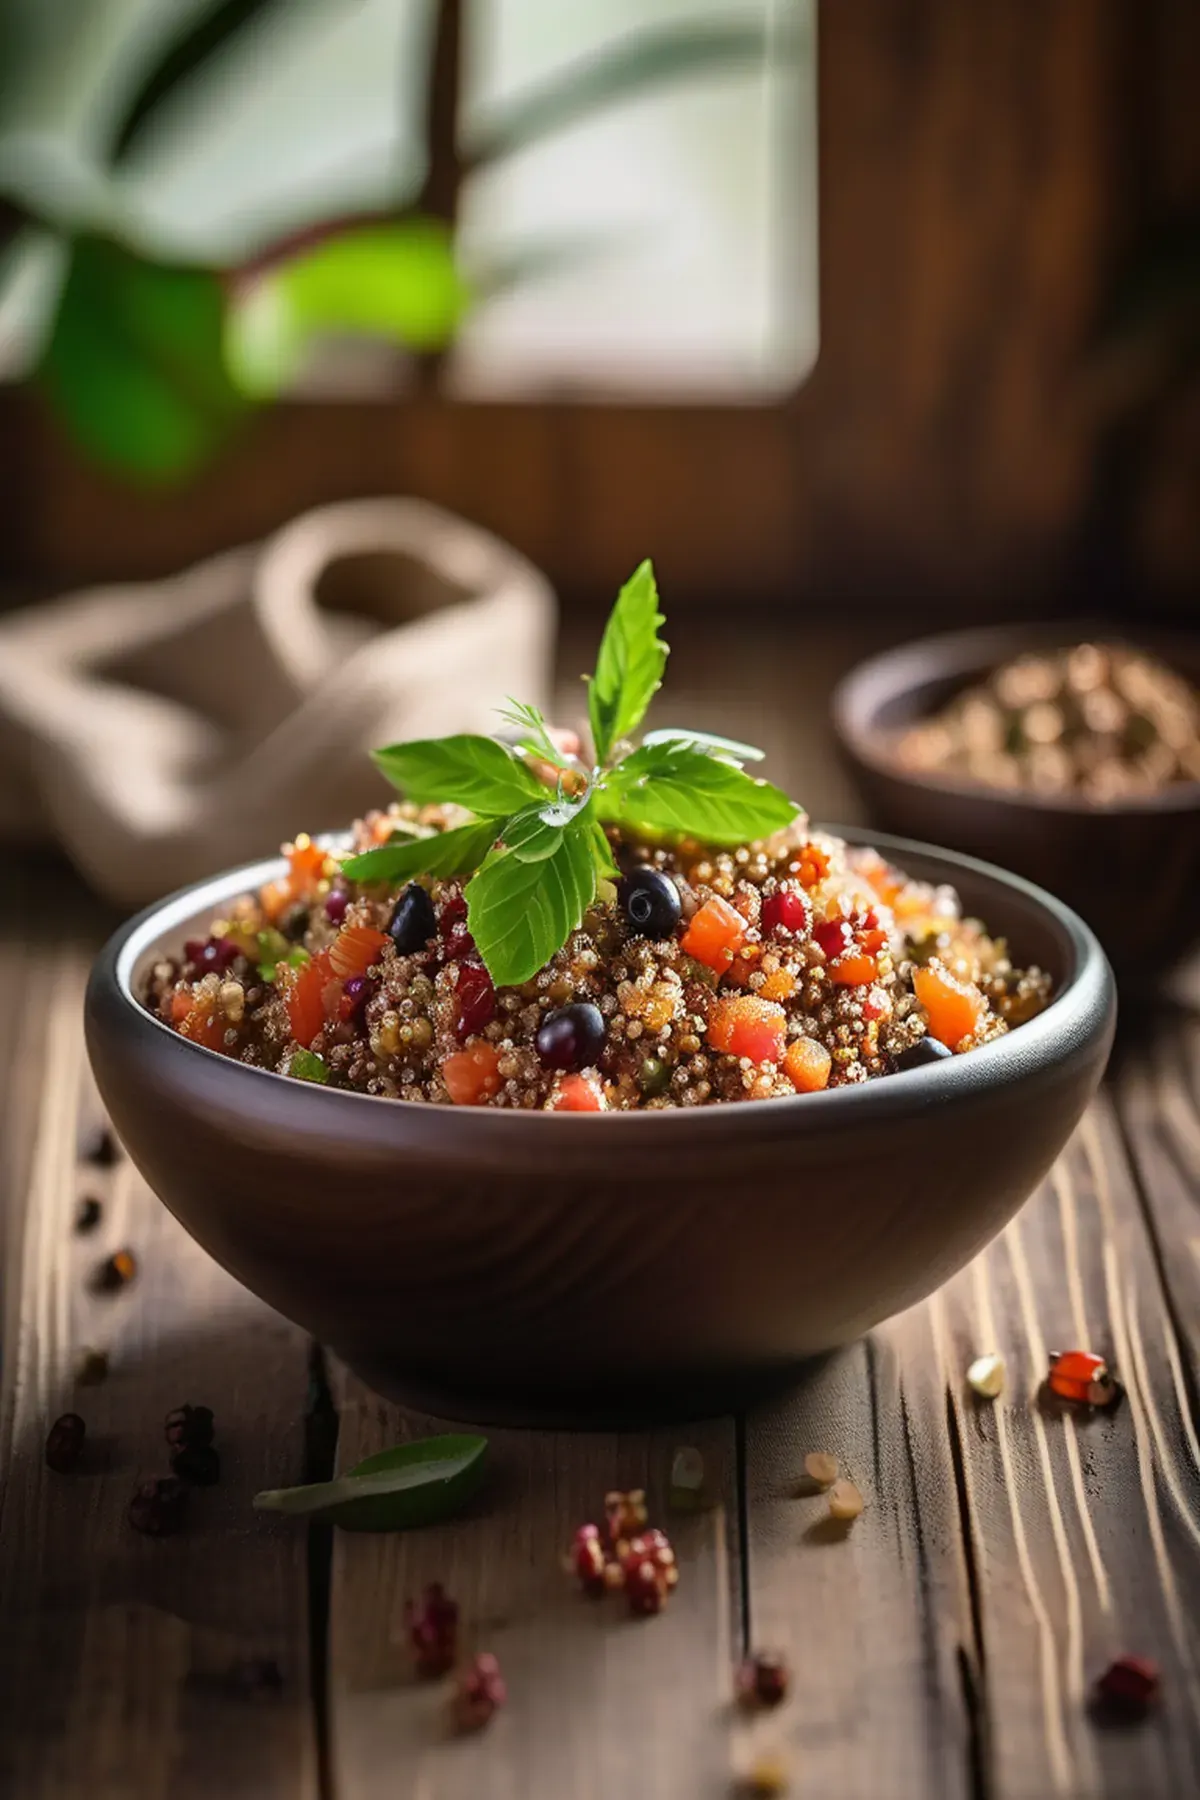
Tropical Quinoa
This tropical quinoa bowl has become my go to weeknight dinner because it comes together in just forty minutes and tastes like a mini vacation on a plate. Quinoa is one of my favorite ingredients since it's a complete protein with all nine essential amino acids, making it so satisfying and perfect for keeping energy levels steady. The combination of papaya, red bell pepper, and fresh cilantro brings vibrant flavors and colors, while the rice wine vinegar and orange zest add just the right brightness. Best part is the ingredient list is simple and affordable, yet feels fancy enough to impress anyone at your table.

Crispy seabass with preserved lemon yogurt
This is one of my favorite quick weeknight dinners because it comes together in just ten minutes flat. Crispy seabass with preserved lemon yogurt is that perfect balance of impressive and effortless, with tangy Greek yogurt and zingy preserved lemon creating a sauce that feels restaurant quality but tastes like home. The seabass gets beautifully golden and flaky while the freekeh provides substantial whole grains packed with fiber and protein. It's the kind of meal that makes you feel like you're treating yourself without any fuss.
Reviews
Sign in to write a review.