
Rosemary and Sea Salt Buns
Prep
20 mins
Cook
25 mins
Servings
8
Difficulty
Medium
These fragrant rosemary and sea salt buns are my go to when I want something special but don't have hours to spare. The whole process takes just 45 minutes from start to finish, making them perfect for a weeknight dinner or weekend breakfast. Fresh rosemary isn't just delicious, it's packed with antioxidants that support brain health and digestion. What I love most is how simple the ingredient list is, nothing fancy or expensive, yet somehow these buns taste like they came from a proper bakery. The combination of herbaceous rosemary with crunchy sea salt creates an irresistible flavor that elevates even the plainest meal.
Ella x
Ingredients
- 250 mlwarm water
- 7 gactive dry yeast
- 500 gbread flour
- 8 gsea salt(divided)
- 30 mlolive oil
- 15 gfresh rosemary(finely chopped)
- 15 mlhoney
- 1egg(for egg wash)
- 5 gcoarse sea salt(for topping)
Detail level
Instructions
- 1
Dissolve the yeast in warm water with honey and let sit for 5 minutes until foamy. This activates the yeast for proper rising.
Tip: If the yeast doesn't foam, it may be expired—start with fresh yeast for best results.
- 2
In a large bowl, combine flour and 8g sea salt. Pour the yeast mixture and olive oil into the dry ingredients, then mix until a shaggy dough forms.
Tip: Mix by hand or with a stand mixer—don't overwork the dough at this stage.
- 3
Knead the dough for 8-10 minutes until smooth and elastic. Fold in the chopped rosemary during the final minute of kneading, distributing it evenly throughout.
Tip: If using a stand mixer, use the dough hook for 6-7 minutes on medium speed.
- 4
Shape the dough into a ball and place in an oiled bowl. Cover with a damp cloth and let rise in a warm place for 1 hour until doubled in size.
Tip: An oven with the light on works well as a warm rising environment.
- 5
Divide the risen dough into 8 equal pieces. Shape each piece into a smooth ball by pulling the surface taut, then arrange on a lined baking tray with 5cm spacing.
Tip: Tight shaping helps the buns rise upward rather than spreading outward.
- 6
Cover the tray loosely with plastic wrap and let the buns proof for 30 minutes until puffy and light to the touch.
Tip: They should increase in size noticeably but shouldn't be over-proofed or they'll collapse during baking.
- 7
Preheat your oven to 200°C. Whisk the egg with 1 tablespoon of water to make an egg wash, then brush it gently over each bun.
Tip: A light egg wash creates a beautiful golden-brown finish without making the buns heavy.
- 8
Sprinkle coarse sea salt evenly over each bun, pressing lightly so it adheres. Bake for 22-25 minutes until golden brown and the buns sound hollow when tapped on the bottom.
Tip: If the tops brown too quickly, tent loosely with foil for the last 5 minutes.
- 9
Transfer the buns to a wire rack and cool for 5-10 minutes before serving. They're best enjoyed warm with butter or olive oil.
Tip: Warm buns are more fragrant and have a softer crust than completely cooled ones.
Recipe Variations
Get AI-powered ingredient substitution suggestions.
You Might Also Like

Coconut & raspberry crush
Have you tried making a drink that's both refreshing and genuinely good for you? This coconut and raspberry crush is my go to when I want something special without the fuss. The best part is how quick it comes together in just ten minutes of prep. Coconut water is absolutely fantastic for hydration, packed with natural electrolytes that your body actually needs. I love combining it with tart raspberries and a hint of mint for that perfect balance of sweet and zingy. It's simple, it's delicious, and honestly, it feels like you're treating yourself to something fancy.

Beergarita
My go to drink for summer gatherings is this refreshing Beergarita, and let me tell you, it's a total crowd pleaser. The combination of tequila, triple sec, fresh lime juice, and a cold Corona creates something that tastes way more complicated than it actually is. Lime juice is packed with vitamin C, which is great for your immune system, and the whole thing takes just five minutes to throw together. Best part? It's incredibly budget friendly since you're probably already stocking most of these ingredients anyway.
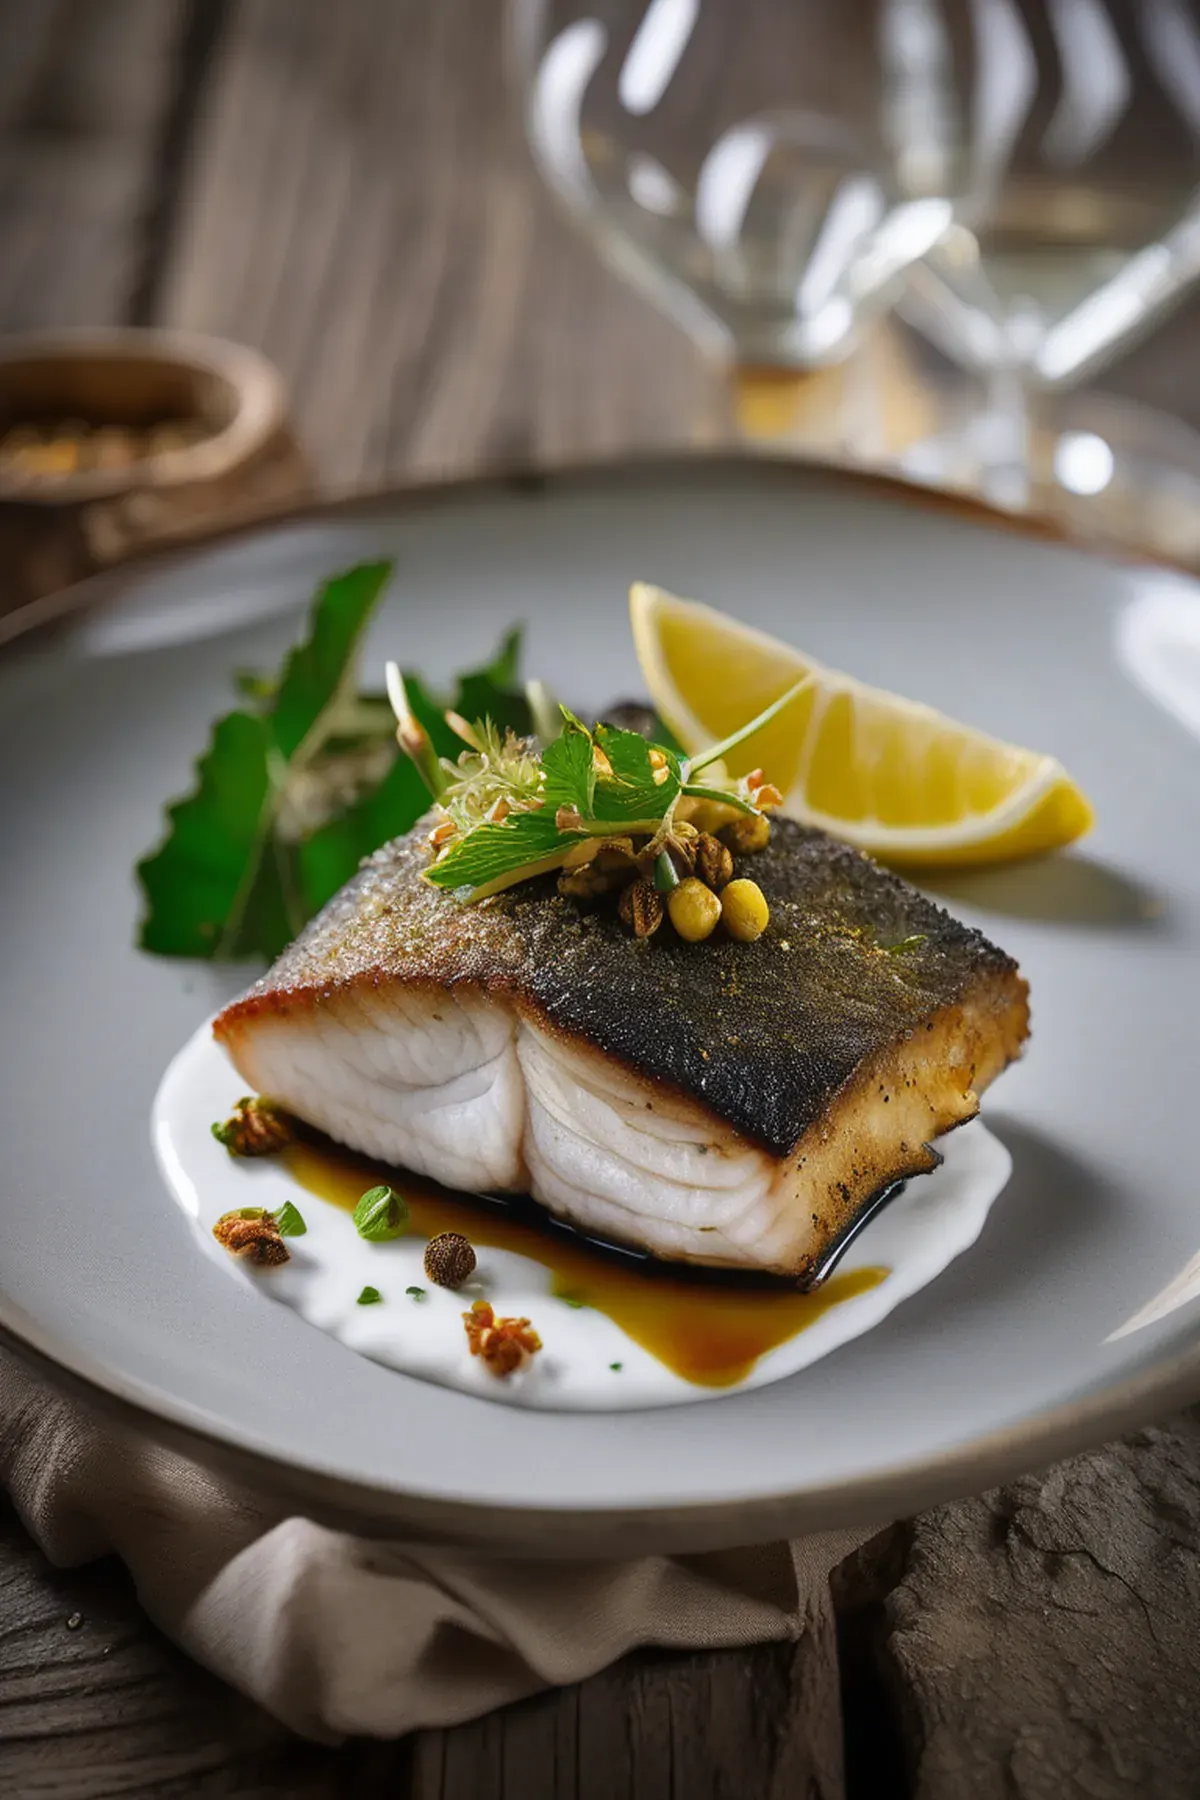
Crispy seabass with preserved lemon yogurt
This is one of my favorite quick weeknight dinners because it comes together in just ten minutes flat. Crispy seabass with preserved lemon yogurt is that perfect balance of impressive and effortless, with tangy Greek yogurt and zingy preserved lemon creating a sauce that feels restaurant quality but tastes like home. The seabass gets beautifully golden and flaky while the freekeh provides substantial whole grains packed with fiber and protein. It's the kind of meal that makes you feel like you're treating yourself without any fuss.
Reviews
Sign in to write a review.