
Rosemary and Sea Salt Sourdough
Prep
8 hrs
Cook
45 mins
Servings
2
Difficulty
Medium
Over the years, I've found that sourdough baking is one of the most rewarding kitchen projects, and this version with rosemary and sea salt has become my go to loaf. What I love about this recipe is how straightforward it is, especially since you likely already have the starter and basic pantry staples on hand, making it incredibly budget friendly. The fresh rosemary brings such wonderful aromatic depth to each slice, while sourdough itself is easier to digest than commercial bread thanks to the natural fermentation process. With just eight ingredients and simple techniques, you'll have a beautifully crusty, fragrant loaf that tastes like it came from an artisan bakery, all from your own oven.
Ella x
Ingredients
- 100 gactive sourdough starter(fed and bubbly)
- 400 gbread flour
- 260 mlwater(tepid)
- 8 gsea salt(fine, plus extra for topping)
- 3fresh rosemary sprigs(roughly chopped)
- 15 mlolive oil
- 5 gcoarse sea salt crystals(for finishing)
Detail level
Instructions
- 1
Mix the sourdough starter, water, and bread flour together in a large bowl until all flour is absorbed. Cover and let rest for 30 minutes at room temperature.
Tip: This autolyse period helps develop gluten naturally without additional kneading.
- 2
Sprinkle the fine sea salt over the dough and gently incorporate it with wet hands, folding the dough over itself several times until salt is fully distributed.
Tip: Wet hands prevent sticking and make the folding motion smoother.
- 3
Add the chopped rosemary and fold it into the dough using the same technique until evenly distributed throughout. Rub the olive oil around the bowl and dough surface.
Tip: The oil helps prevent a skin forming on the dough during bulk fermentation.
- 4
Perform a series of stretch and folds every 30 minutes for 2 hours, gently pulling the dough up from the sides and folding it over the centre. The dough will become smoother and more elastic.
Tip: Four sets of stretch and folds are ideal for developing structure without intensive kneading.
- 5
Let the dough bulk ferment at room temperature for another 4-6 hours until it increases by 50-75% in volume and shows visible air pockets when you gently poke it.
Tip: Cooler room temperatures will extend fermentation time; warmer rooms will shorten it.
- 6
Turn the dough out onto a lightly floured surface and gently pre-shape it into a round. Let it rest for 20 minutes to relax the gluten.
Tip: This rest period makes the final shaping much easier and helps maintain shape during scoring.
- 7
Shape the dough into a tight round boule by folding the edges toward the centre and rolling it along the work surface, creating surface tension. Place seam-side up in a banneton basket.
Tip: Proper tension in the shaping helps the bread rise upwards rather than spreading sideways.
- 8
Cover the banneton and refrigerate overnight (8-12 hours) for improved flavour development and easier scoring. Remove from fridge and preheat your Dutch oven in a 450°C oven for 45 minutes.
Tip: Cold dough is less sticky and scores more cleanly, creating that distinctive ear on top.
- 9
Carefully turn the dough onto parchment paper and score the top with a sharp blade in a single confident slash at a 30-degree angle. Sprinkle with coarse sea salt crystals.
Tip: Score just before baking to ensure maximum oven spring and a beautiful crust.
- 10
Place the dough on parchment into the preheated Dutch oven, cover with the lid, and bake for 30 minutes. Remove the lid and bake for another 15 minutes until deep golden brown.
Tip: The covered phase traps steam for a crispy crust; uncovering allows browning.
- 11
Cool the bread on a wire rack for at least 1 hour before slicing to allow the crumb structure to set properly.
Tip: Cutting too early will result in a gummy interior; patience is rewarded with perfect slices.
Recipe Variations
Get AI-powered ingredient substitution suggestions.
You Might Also Like

Beergarita
My go to drink for summer gatherings is this refreshing Beergarita, and let me tell you, it's a total crowd pleaser. The combination of tequila, triple sec, fresh lime juice, and a cold Corona creates something that tastes way more complicated than it actually is. Lime juice is packed with vitamin C, which is great for your immune system, and the whole thing takes just five minutes to throw together. Best part? It's incredibly budget friendly since you're probably already stocking most of these ingredients anyway.
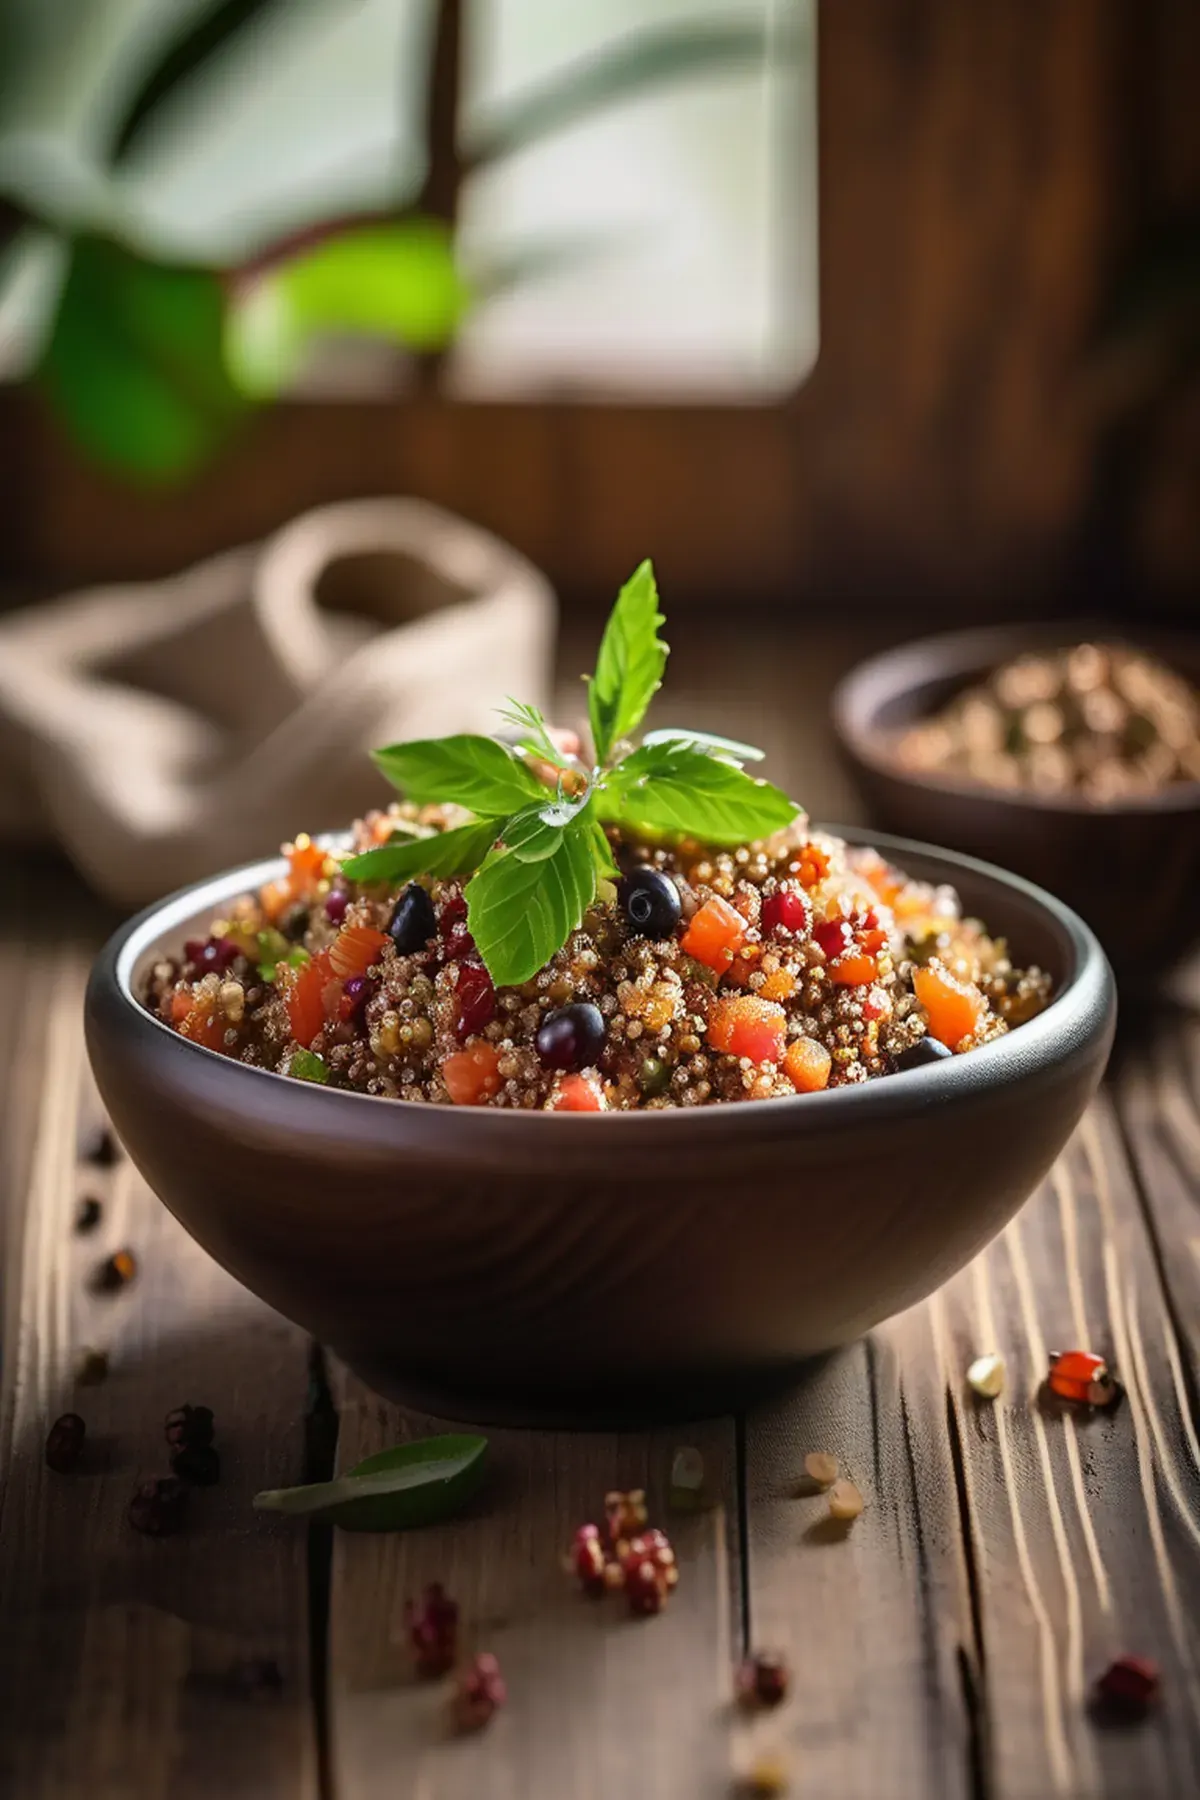
Tropical Quinoa
This tropical quinoa bowl has become my go to weeknight dinner because it comes together in just forty minutes and tastes like a mini vacation on a plate. Quinoa is one of my favorite ingredients since it's a complete protein with all nine essential amino acids, making it so satisfying and perfect for keeping energy levels steady. The combination of papaya, red bell pepper, and fresh cilantro brings vibrant flavors and colors, while the rice wine vinegar and orange zest add just the right brightness. Best part is the ingredient list is simple and affordable, yet feels fancy enough to impress anyone at your table.

Crispy seabass with preserved lemon yogurt
This is one of my favorite quick weeknight dinners because it comes together in just ten minutes flat. Crispy seabass with preserved lemon yogurt is that perfect balance of impressive and effortless, with tangy Greek yogurt and zingy preserved lemon creating a sauce that feels restaurant quality but tastes like home. The seabass gets beautifully golden and flaky while the freekeh provides substantial whole grains packed with fiber and protein. It's the kind of meal that makes you feel like you're treating yourself without any fuss.
Reviews
Sign in to write a review.