
Salted Chocolate Fairy Cakes
Prep
20 mins
Cook
40 mins
Servings
6
Difficulty
Easy
These little salted chocolate fairy cakes are my go to when I want something indulgent but still manageable. They come together in just an hour from start to finish, making them perfect for when you need a homemade treat without spending your whole afternoon in the kitchen. The magic happens when you bite into the tender chocolate cake and hit that beautiful flaky sea salt on top, which balances the richness perfectly. Dark chocolate is packed with antioxidants, so at least that's what I tell myself while enjoying a second cake. The best part is they're budget friendly and use ingredients you probably already have at home.
Ella x
Ingredients
- 250 gall-purpose flour
- 150 gunsalted butter
- 100 ggranulated sugar
- 4large eggs
- 50 gunsweetened cocoa powder
- 125 gplain flour
- 10 gsalt
- 10 gbaking powder
- 50 gcoconut oil
- 200 gchopped dark chocolate
- 20 gflaky sea salt
Detail level
Instructions
- 1
Preheat the oven to 180°C (350°F). Line a baking tray with parchment paper.
Tip: Ensure the parchment paper is large enough to accommodate the fairy cakes.
- 2
In a medium bowl, whisk together the flour, baking powder, and salt.
Tip: Use a whisk to avoid lumps.
- 3
In a large bowl, cream the butter and sugar until light and fluffy.
Tip: Use an electric mixer for efficient creaming.
- 4
Add the eggs one at a time, whisking well after each addition.
Tip: Beat the eggs until well combined to avoid lumps.
- 5
Melt the chocolate in a double boiler or in the microwave in 30-second increments, stirring between each interval.
Tip: Stir the chocolate until smooth and glossy.
- 6
In a separate bowl, whisk together the cocoa powder and coconut oil.
Tip: Use a whisk to ensure the cocoa powder is well combined.
- 7
Add the flour mixture to the chocolate mixture, whisking until just combined.
Tip: Avoid overmixing to maintain the cake's texture.
- 8
Spoon the batter into fairy cake liners or small ramekins.
Tip: Leave about 1cm of space at the top of each cake.
- 9
Bake for 15-20 minutes or until a toothpick inserted comes out clean.
Tip: Keep an eye on the cakes to avoid overcooking.
- 10
Allow the cakes to cool completely in the liners before frosting.
Tip: This will help the cakes set and make them easier to frost.
- 11
To make the salted chocolate glaze, melt the chopped chocolate in a double boiler or in the microwave in 30-second increments, stirring between each interval.
Tip: Stir the chocolate until smooth and glossy.
- 12
Drizzle the chocolate glaze over the cooled cakes and sprinkle with flaky sea salt.
Tip: This will add a touch of saltiness to balance the sweetness of the chocolate.
- 13
Serve immediately and enjoy!
Tip: The fairy cakes are best served fresh, but they can be stored in an airtight container at room temperature for up to 3 days.
Recipe Variations
Get AI-powered ingredient substitution suggestions.
You Might Also Like

Beergarita
My go to drink for summer gatherings is this refreshing Beergarita, and let me tell you, it's a total crowd pleaser. The combination of tequila, triple sec, fresh lime juice, and a cold Corona creates something that tastes way more complicated than it actually is. Lime juice is packed with vitamin C, which is great for your immune system, and the whole thing takes just five minutes to throw together. Best part? It's incredibly budget friendly since you're probably already stocking most of these ingredients anyway.
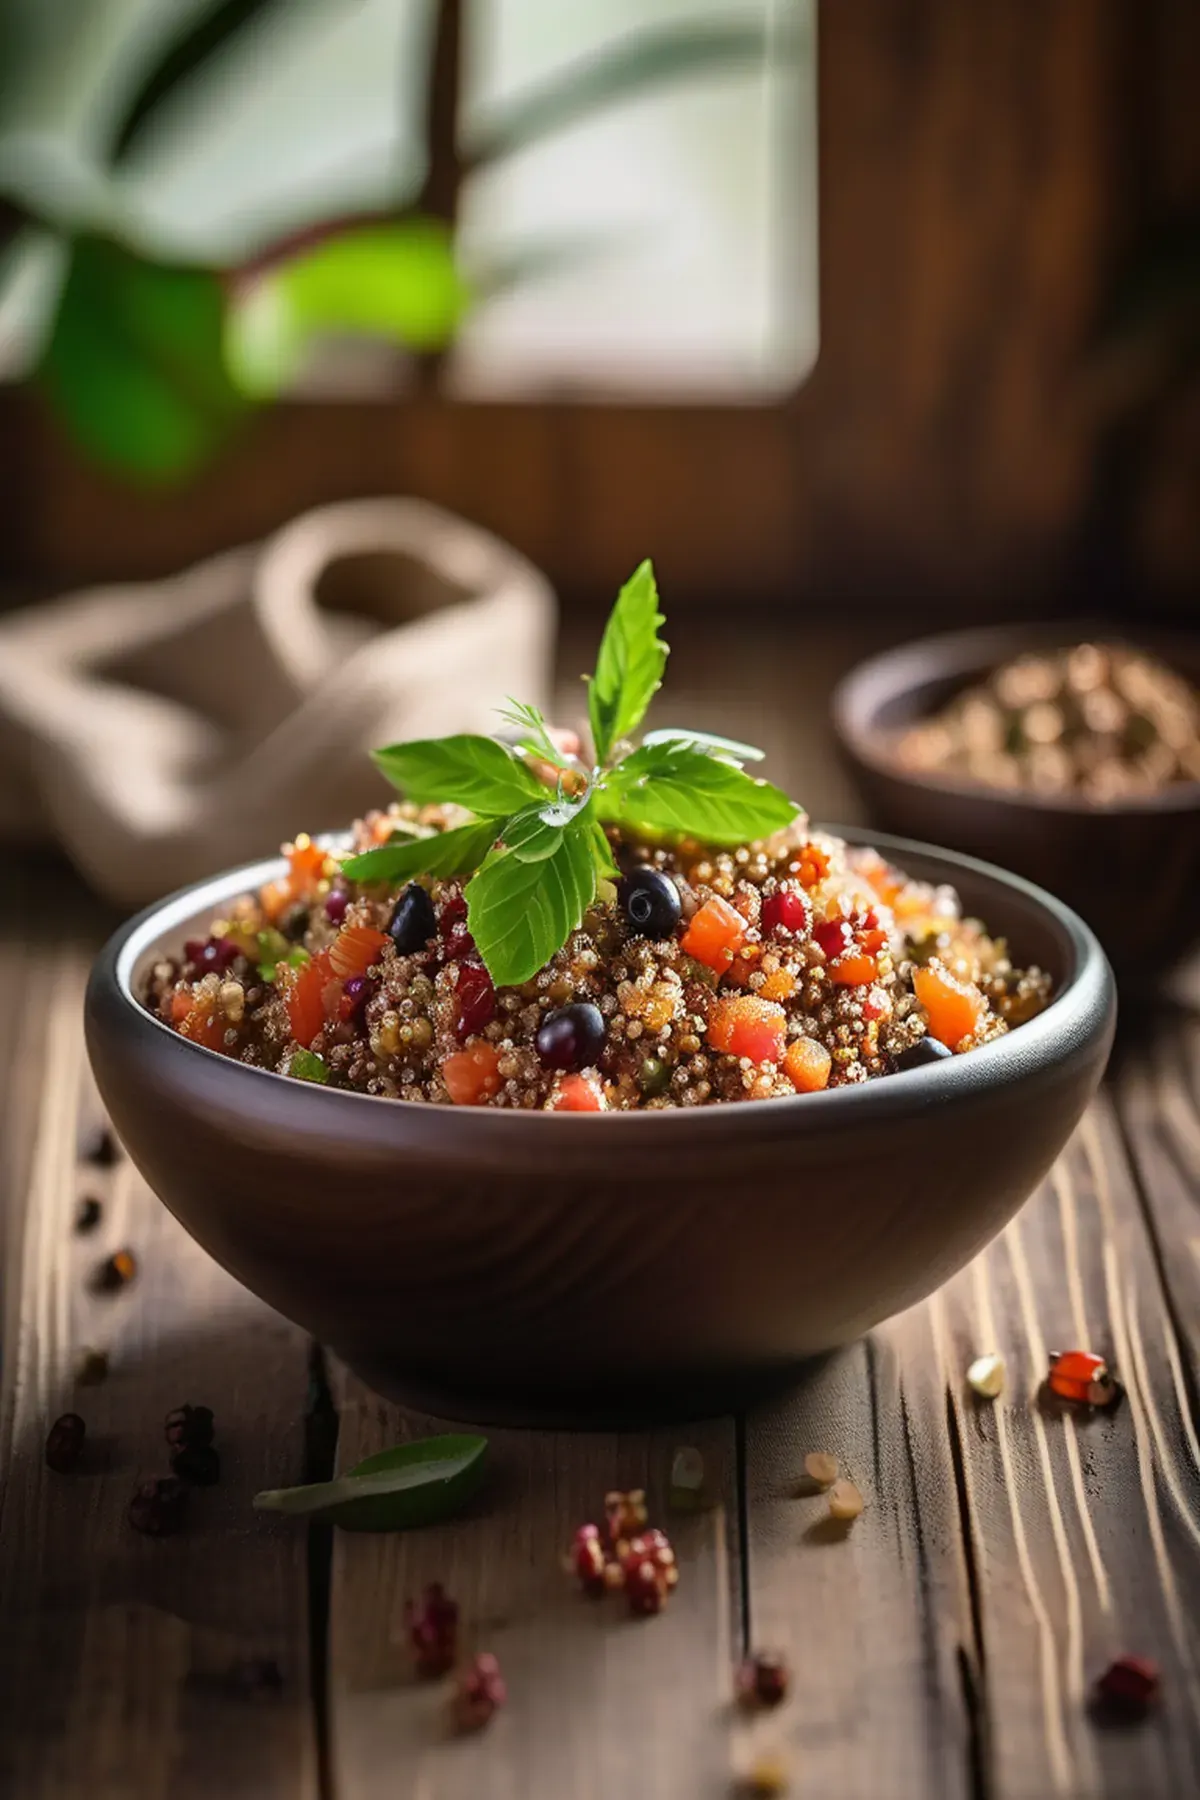
Tropical Quinoa
This tropical quinoa bowl has become my go to weeknight dinner because it comes together in just forty minutes and tastes like a mini vacation on a plate. Quinoa is one of my favorite ingredients since it's a complete protein with all nine essential amino acids, making it so satisfying and perfect for keeping energy levels steady. The combination of papaya, red bell pepper, and fresh cilantro brings vibrant flavors and colors, while the rice wine vinegar and orange zest add just the right brightness. Best part is the ingredient list is simple and affordable, yet feels fancy enough to impress anyone at your table.

Coconut & raspberry crush
Have you tried making a drink that's both refreshing and genuinely good for you? This coconut and raspberry crush is my go to when I want something special without the fuss. The best part is how quick it comes together in just ten minutes of prep. Coconut water is absolutely fantastic for hydration, packed with natural electrolytes that your body actually needs. I love combining it with tart raspberries and a hint of mint for that perfect balance of sweet and zingy. It's simple, it's delicious, and honestly, it feels like you're treating yourself to something fancy.
Reviews
Sign in to write a review.