
Southern Buttermilk Biscuits
Prep
10 mins
Cook
12 mins
Servings
10
Difficulty
Hard
These Southern buttermilk biscuits are my go to recipe when I need something warm and comforting on the table fast. From start to finish, you're looking at just 22 minutes, making this perfect for busy weeknights or lazy Sunday mornings. The buttermilk is the real star here, adding tanginess while also providing probiotics that support digestive health. What I love most is how simple and budget friendly this recipe is, using just six basic pantry staples. Every batch turns out fluffy and golden, with those irresistible crispy edges that make it hard to stop at just one.
Ella x
Ingredients
- 473 mlunbleached all-purpose flour(plus more for dusting the board (if you can get White Lily flour, your biscuits will be even better)
- 1 teaspoonbaking soda
- 1 tablespoonbaking powder(use one without aluminum)
- 1 teaspoonkosher salt or 1 teaspoon salt
- 6 tablespoonsunsalted butter(very cold)
- 237 mlbuttermilk(approx)
Detail level
Instructions
- 1
Preheat your oven to 450°F.
- 2
Combine the dry ingredients in a bowl, or in the bowl of a food processor.
- 3
Cut the butter into chunks and cut into the flour until it resembles course meal.
- 4
If using a food processor, just pulse a few times until this consistency is achieved.
- 5
Add the buttermilk and mix JUST until combined.
- 6
If it appears on the dry side, add a bit more buttermilk. It should be very wet.
- 7
Turn the dough out onto a floured board.
- 8
Gently, gently PAT (do NOT roll with a rolling pin) the dough out until it's about 1/2" thick. Fold the dough about 5 times, gently press the dough down to a 1 inch thick.
- 9
Use a round cutter to cut into rounds.
- 10
You can gently knead the scraps together and make a few more, but they will not be anywhere near as good as the first ones.
- 11
Place the biscuits on a cookie sheet- if you like soft sides, put them touching each other.
- 12
If you like"crusty" sides, put them about 1 inch apart- these will not rise as high as the biscuits put close together.
- 13
Bake for about 10-12 minutes- the biscuits will be a beautiful light golden brown on top and bottom.
- 14
Do not overbake.
- 15
Note: The key to real biscuits is not in the ingredients, but in the handling of the dough.
- 16
The dough must be handled as little as possible or you will have tough biscuits.
- 17
I have found that a food processor produces superior biscuits, because the ingredients stay colder and there's less chance of overmixing.
- 18
You also must pat the dough out with your hands, lightly.
- 19
Rolling with a rolling pin is a guaranteed way to overstimulate the gluten, resulting in a tougher biscuit.
- 20
Note 2: You can make these biscuits, cut them, put them on cookie sheets and freeze them for up to a month.
- 21
When you want fresh biscuits, simply place them frozen on the cookie sheet and bake at 450°F for about 20 minutes.
Recipe Variations
Get AI-powered ingredient substitution suggestions.
You Might Also Like

Beergarita
My go to drink for summer gatherings is this refreshing Beergarita, and let me tell you, it's a total crowd pleaser. The combination of tequila, triple sec, fresh lime juice, and a cold Corona creates something that tastes way more complicated than it actually is. Lime juice is packed with vitamin C, which is great for your immune system, and the whole thing takes just five minutes to throw together. Best part? It's incredibly budget friendly since you're probably already stocking most of these ingredients anyway.
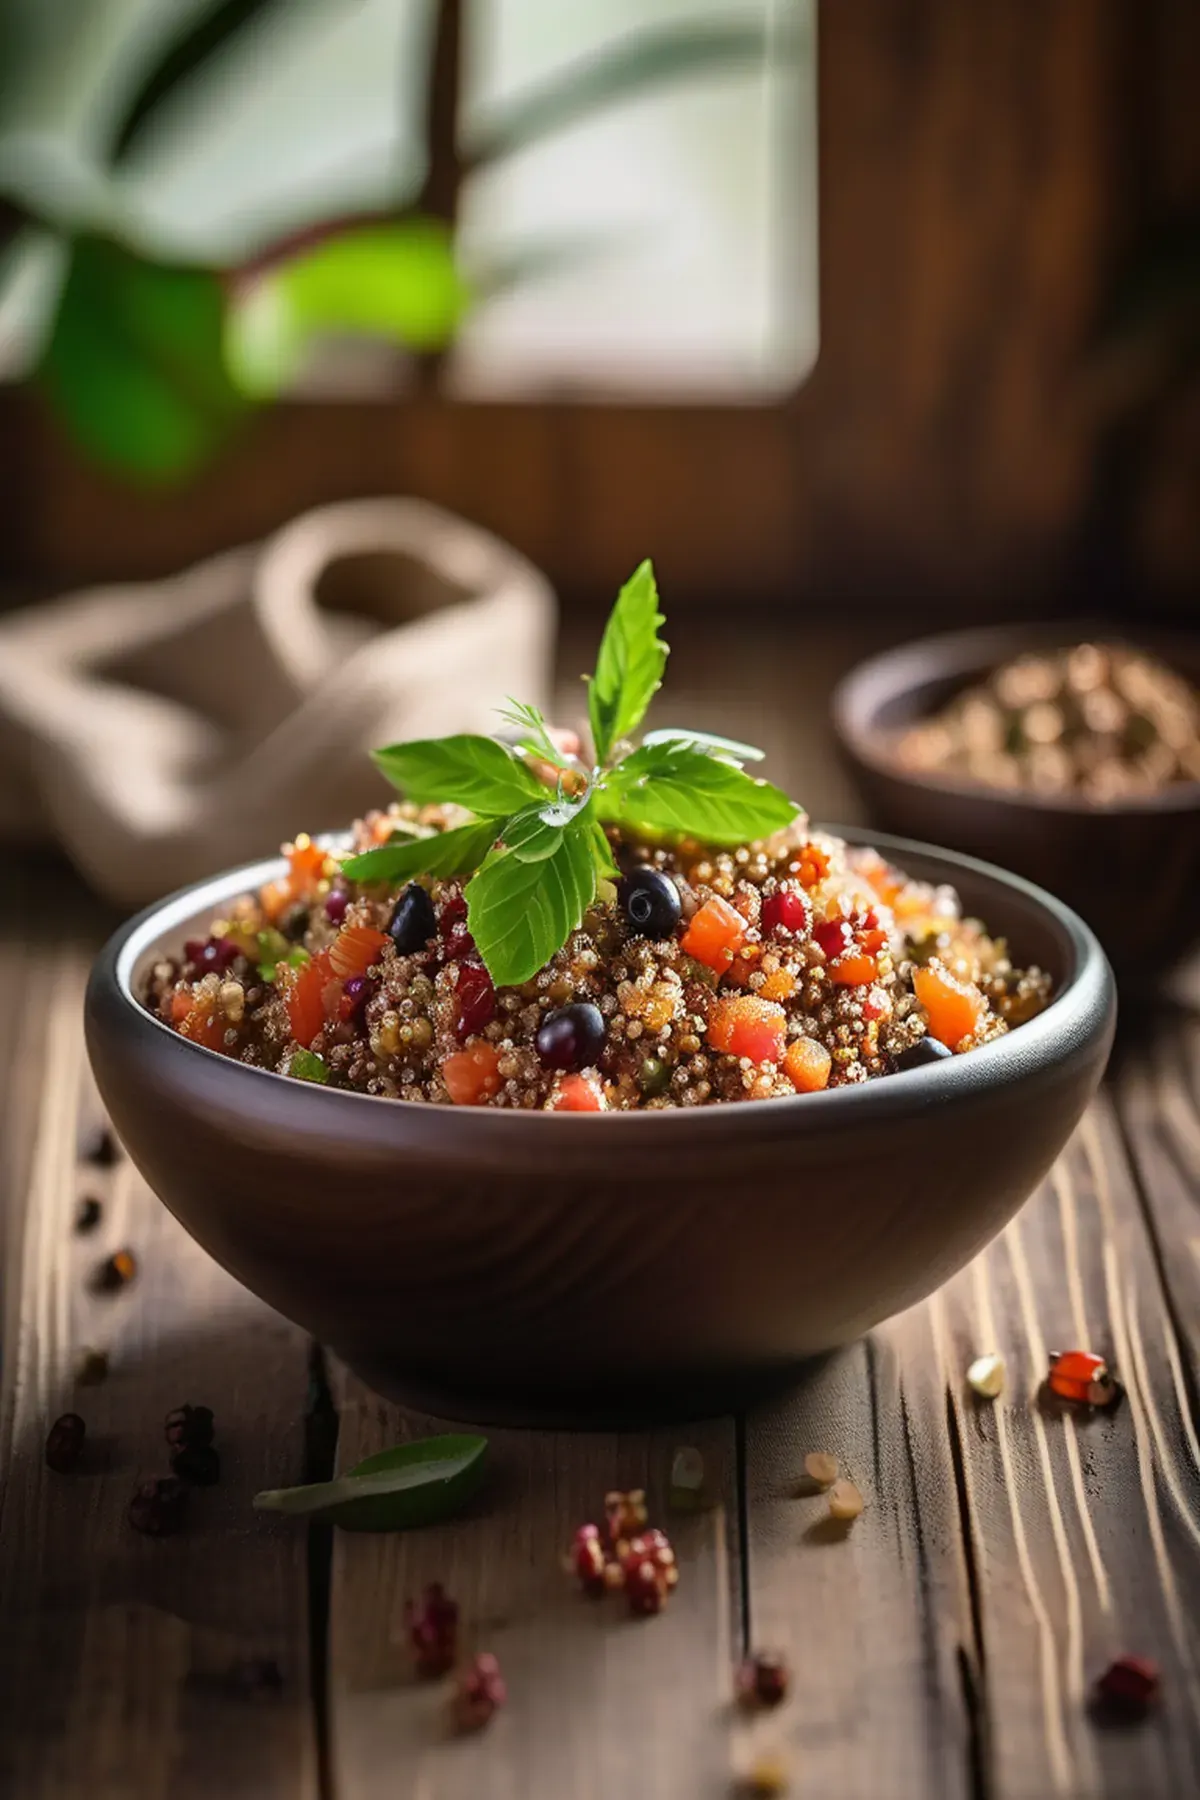
Tropical Quinoa
This tropical quinoa bowl has become my go to weeknight dinner because it comes together in just forty minutes and tastes like a mini vacation on a plate. Quinoa is one of my favorite ingredients since it's a complete protein with all nine essential amino acids, making it so satisfying and perfect for keeping energy levels steady. The combination of papaya, red bell pepper, and fresh cilantro brings vibrant flavors and colors, while the rice wine vinegar and orange zest add just the right brightness. Best part is the ingredient list is simple and affordable, yet feels fancy enough to impress anyone at your table.
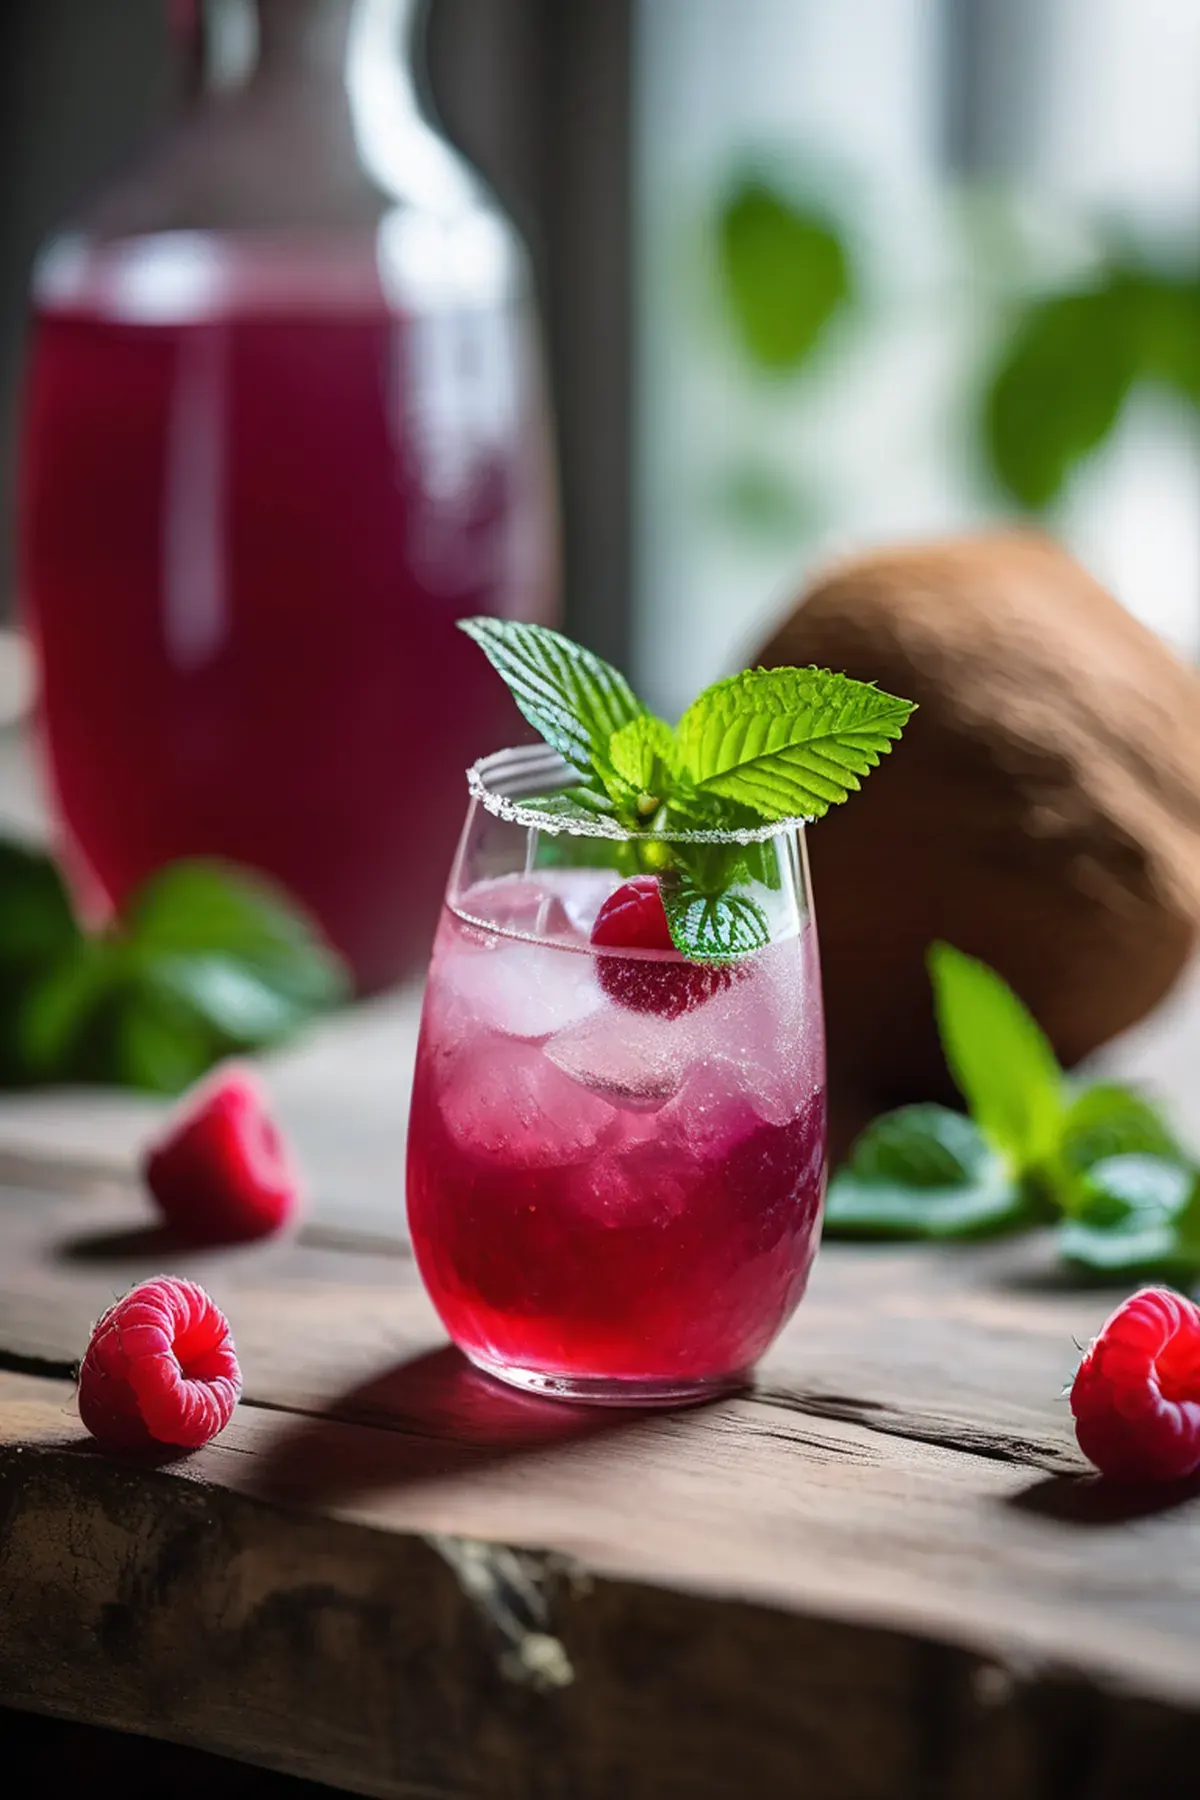
Coconut & raspberry crush
Have you tried making a drink that's both refreshing and genuinely good for you? This coconut and raspberry crush is my go to when I want something special without the fuss. The best part is how quick it comes together in just ten minutes of prep. Coconut water is absolutely fantastic for hydration, packed with natural electrolytes that your body actually needs. I love combining it with tart raspberries and a hint of mint for that perfect balance of sweet and zingy. It's simple, it's delicious, and honestly, it feels like you're treating yourself to something fancy.
Reviews
Sign in to write a review.