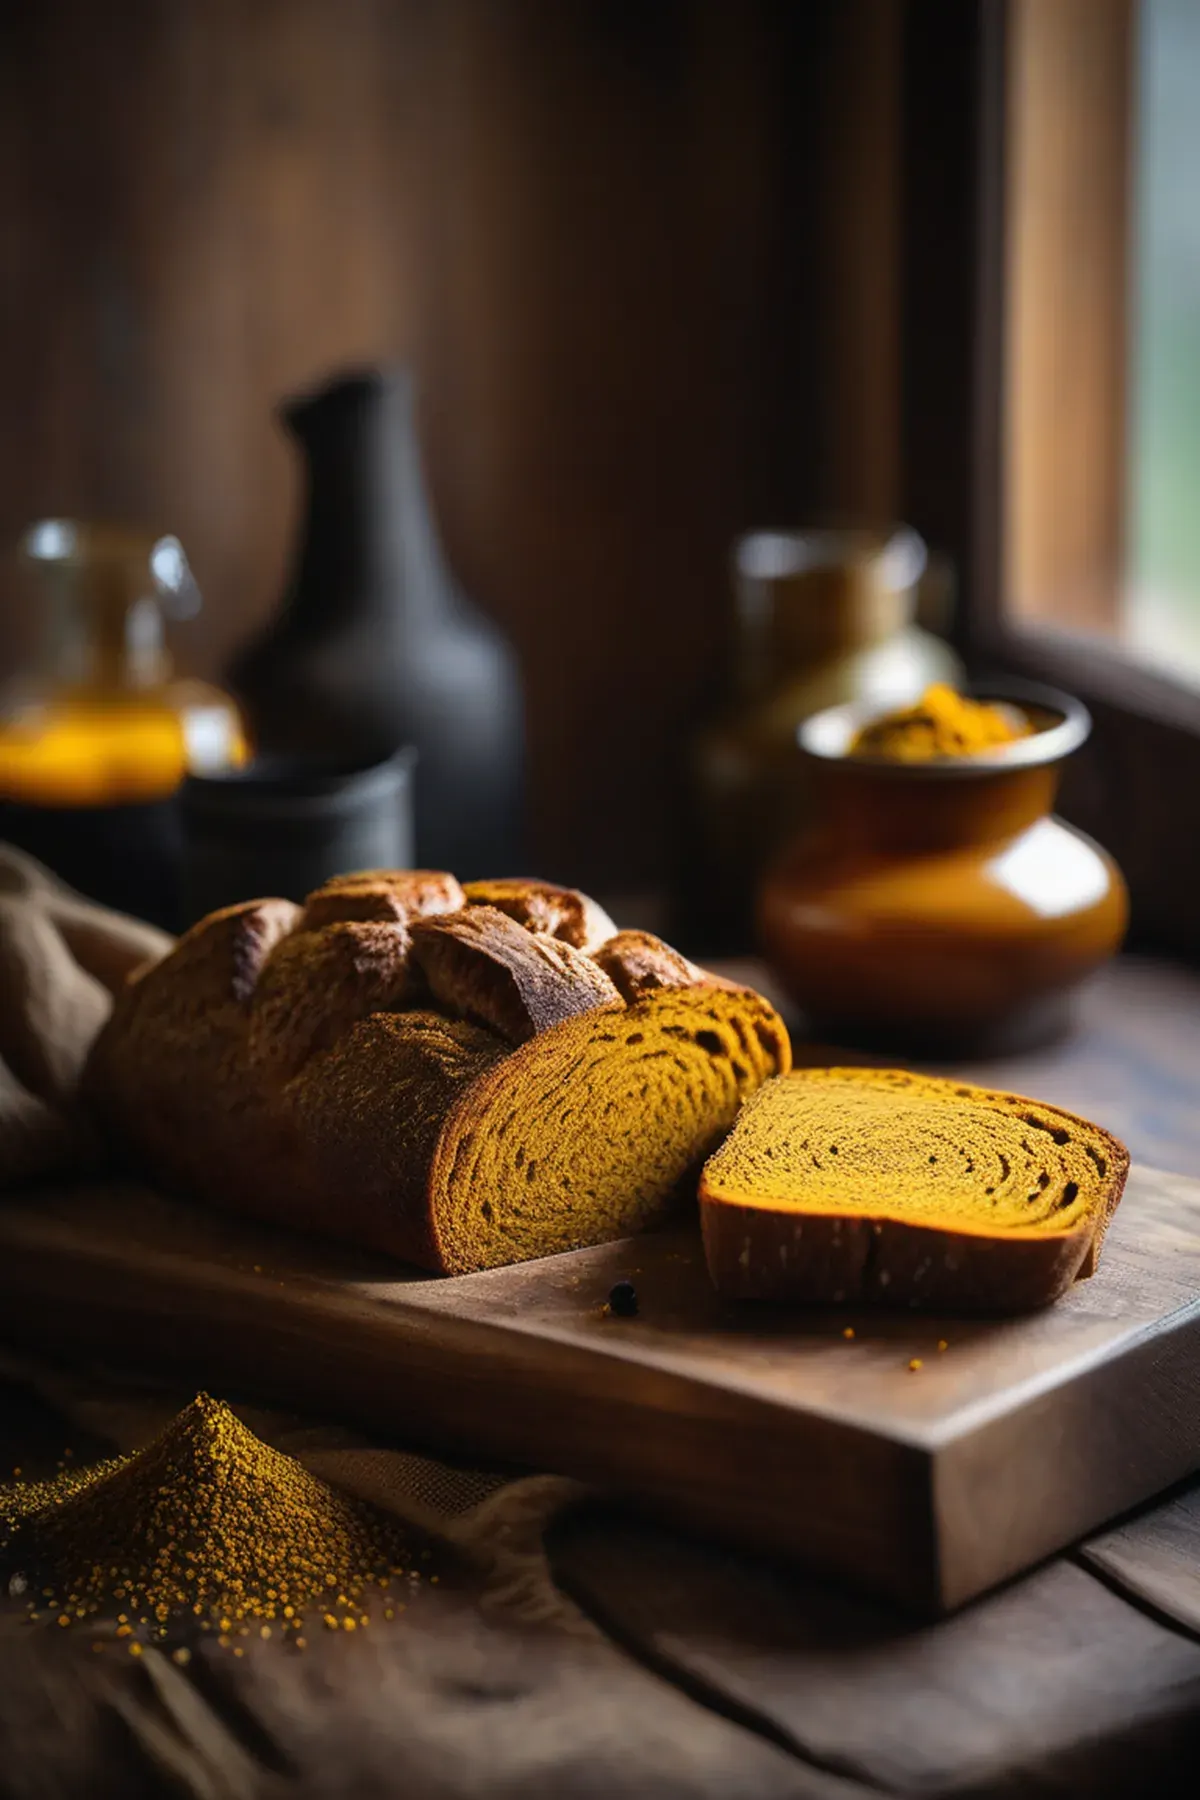
Turmeric Sourdough
Prep
8 hrs
Cook
45 mins
Servings
8
Difficulty
Medium
Here's my turmeric sourdough recipe that I've been perfecting for months. The golden spice gives it a beautiful color and earthy flavor, plus turmeric is packed with anti inflammatory properties that make this bread as nourishing as it is delicious. What I love most is how simple it is to make with just a few basic ingredients and minimal hands on time. The long fermentation does most of the work for you, making this totally manageable for busy home bakers like us.
Ella x
Ingredients
- 200 gactive sourdough starter(fed and bubbly)
- 500 gbread flour
- 320 mlwarm water
- 10 gturmeric powder
- 3 gblack pepper(freshly ground)
- 10 gsea salt
- 20 mlolive oil
Detail level
Instructions
- 1
Mix the fed sourdough starter, water, and turmeric powder together in a large bowl, stirring until the color is evenly distributed throughout the liquid.
Tip: Let this mixture rest for 5 minutes to allow the turmeric to fully dissolve.
- 2
Add the bread flour to the wet mixture and combine until all flour is hydrated and shaggy dough forms. Cover and let rest for 30 minutes.
Tip: This autolyse period helps develop gluten naturally without kneading.
- 3
Sprinkle salt and black pepper over the dough, then incorporate by folding the dough over itself repeatedly for about 10 minutes until smooth and elastic.
Tip: Use wet hands to prevent sticking during this stretching and folding process.
- 4
Drizzle in the olive oil and continue folding until fully incorporated. The dough should feel silky and slightly tacky.
Tip: Oil aids in achieving an open crumb structure.
- 5
Perform 4 sets of stretch-and-fold at 30-minute intervals over 2 hours, then let the dough bulk ferment at room temperature for 4-6 hours until visibly puffy.
Tip: Look for the dough to increase by about 50% and show visible bubbles on the surface.
- 6
Turn the dough onto a lightly floured surface and shape into a round boule by folding the edges toward the center and rolling gently.
Tip: Proper shaping creates surface tension needed for good oven spring.
- 7
Place seam-side up in a floured banneton basket or bowl lined with a tea towel. Cover and refrigerate for 8-12 hours for cold fermentation.
Tip: Cold fermentation develops deeper flavor and makes scoring easier.
- 8
Preheat your oven to 450°C with a Dutch oven inside for 45 minutes. Score the top of the loaf with a sharp blade and carefully transfer into the hot Dutch oven.
Tip: Keep the lid on for the first 20 minutes to trap steam, which creates a crispy crust.
- 9
Bake covered for 20 minutes, then remove the lid and bake for another 25 minutes until the crust is deep golden brown.
Tip: The internal temperature should reach 210°C when measured with a thermometer.
- 10
Cool the loaf completely on a wire rack for at least 1 hour before slicing to allow the crumb structure to set properly.
Tip: Slicing too early will result in a gummy texture.
Recipe Variations
Get AI-powered ingredient substitution suggestions.
You Might Also Like

Beergarita
My go to drink for summer gatherings is this refreshing Beergarita, and let me tell you, it's a total crowd pleaser. The combination of tequila, triple sec, fresh lime juice, and a cold Corona creates something that tastes way more complicated than it actually is. Lime juice is packed with vitamin C, which is great for your immune system, and the whole thing takes just five minutes to throw together. Best part? It's incredibly budget friendly since you're probably already stocking most of these ingredients anyway.
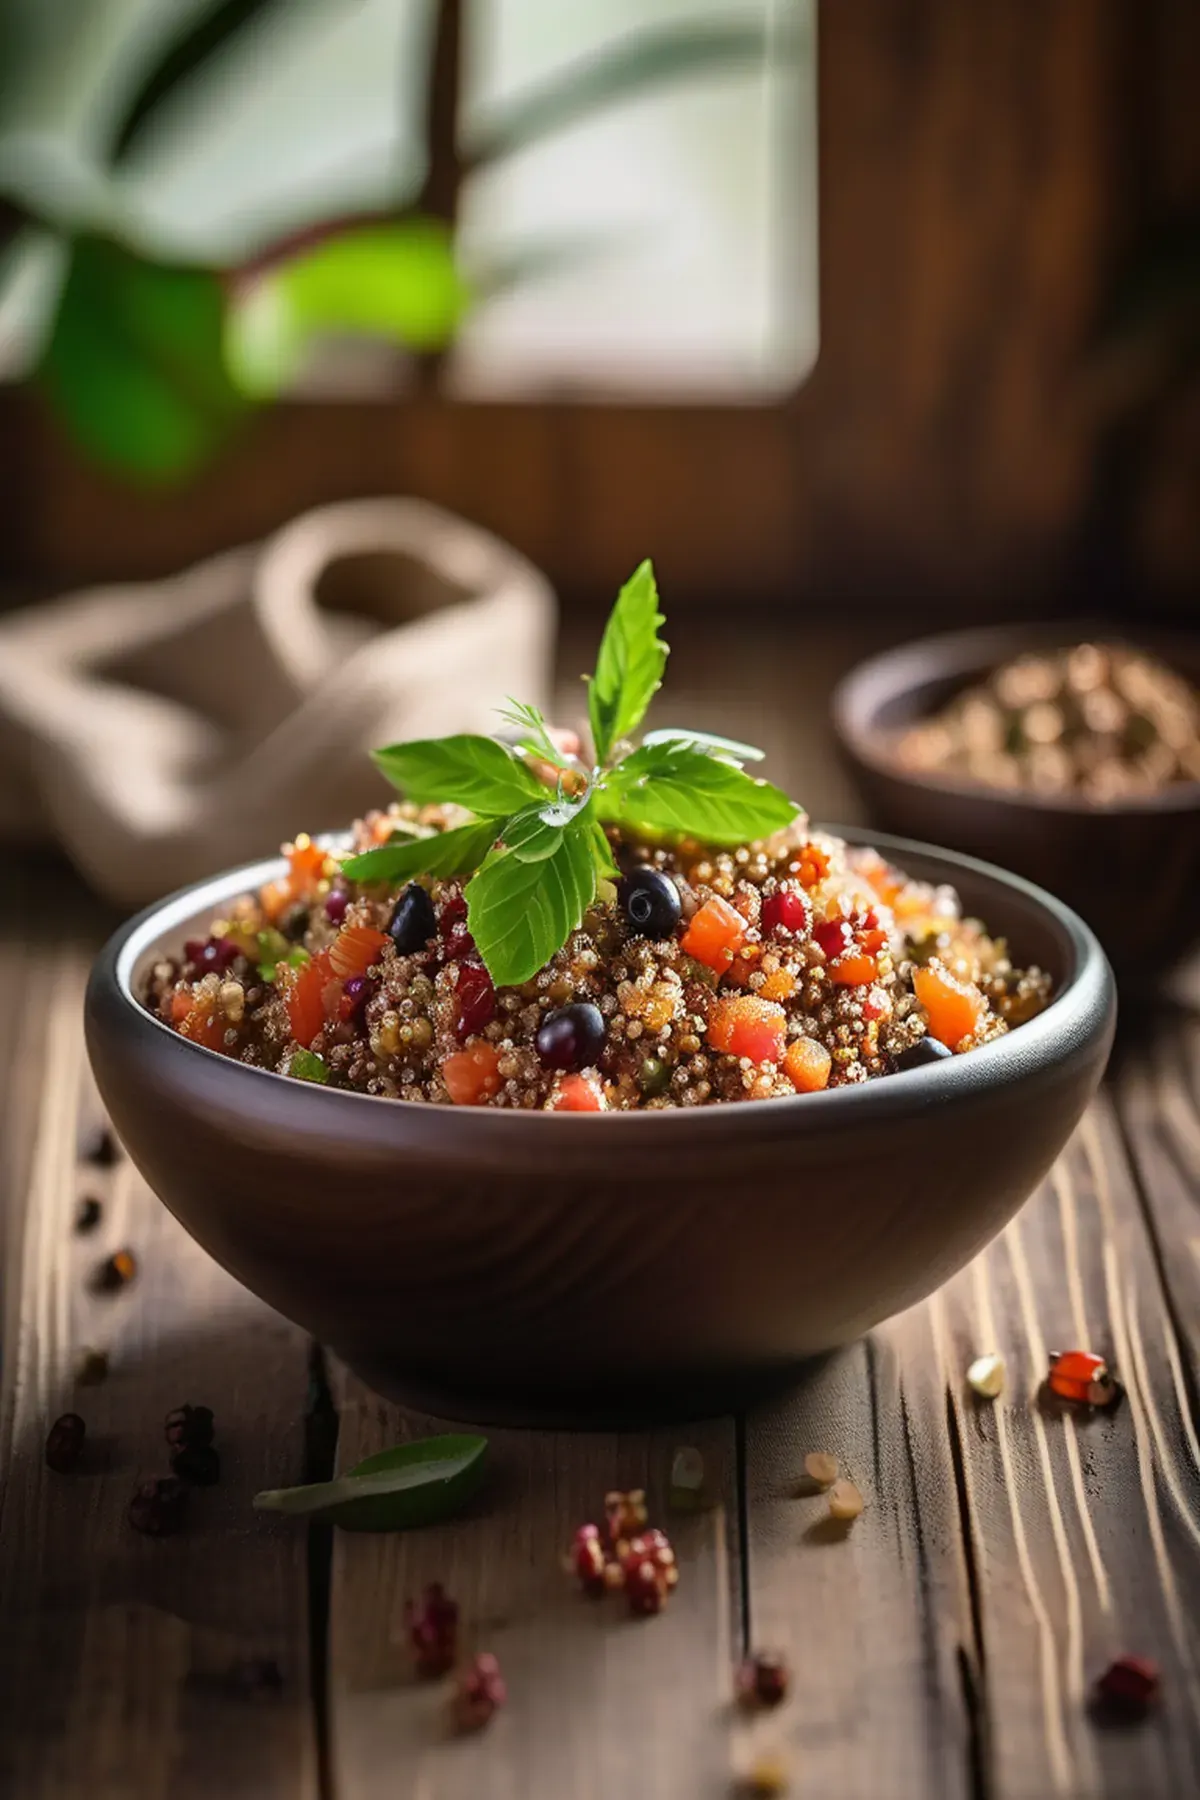
Tropical Quinoa
This tropical quinoa bowl has become my go to weeknight dinner because it comes together in just forty minutes and tastes like a mini vacation on a plate. Quinoa is one of my favorite ingredients since it's a complete protein with all nine essential amino acids, making it so satisfying and perfect for keeping energy levels steady. The combination of papaya, red bell pepper, and fresh cilantro brings vibrant flavors and colors, while the rice wine vinegar and orange zest add just the right brightness. Best part is the ingredient list is simple and affordable, yet feels fancy enough to impress anyone at your table.

Crispy seabass with preserved lemon yogurt
This is one of my favorite quick weeknight dinners because it comes together in just ten minutes flat. Crispy seabass with preserved lemon yogurt is that perfect balance of impressive and effortless, with tangy Greek yogurt and zingy preserved lemon creating a sauce that feels restaurant quality but tastes like home. The seabass gets beautifully golden and flaky while the freekeh provides substantial whole grains packed with fiber and protein. It's the kind of meal that makes you feel like you're treating yourself without any fuss.
Reviews
Sign in to write a review.