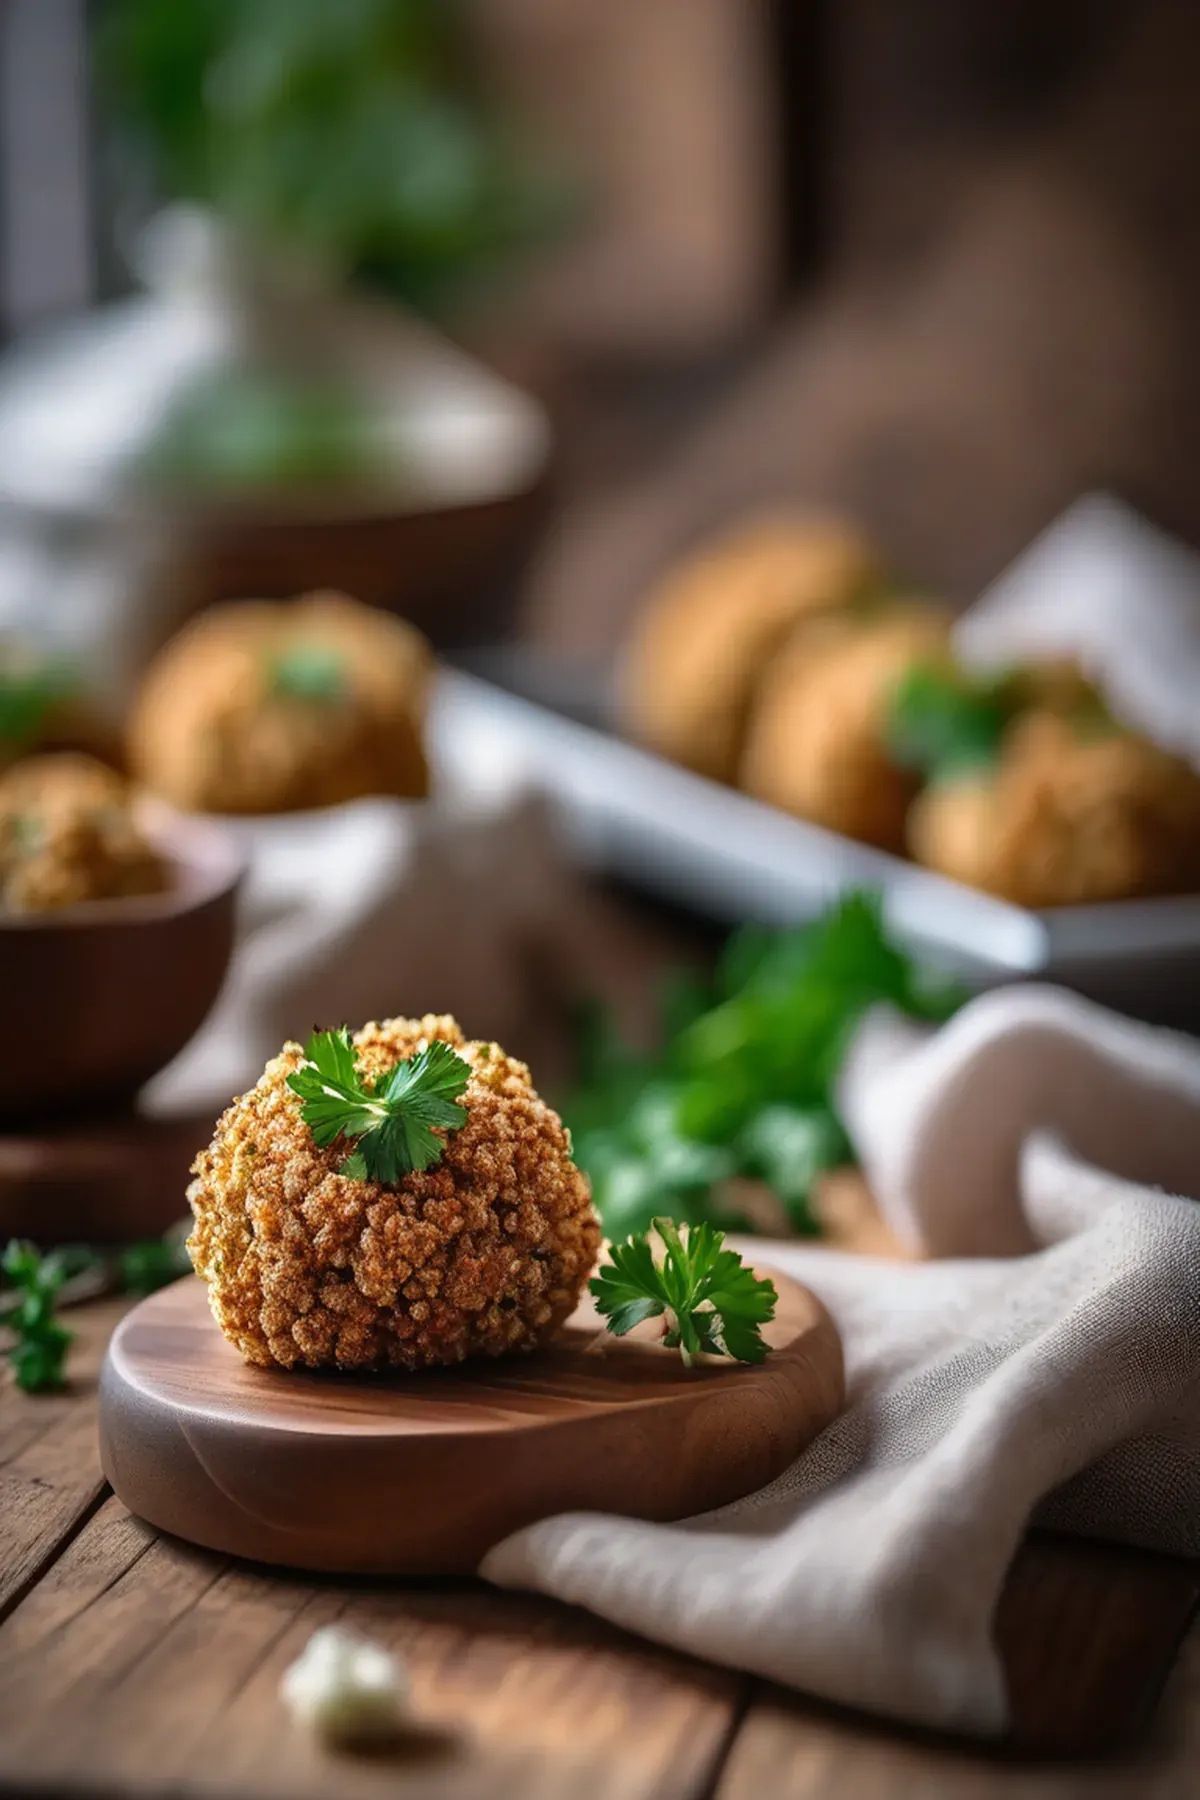
Garlic Cheese Balls
Prep
15 mins
Cook
30 mins
Servings
4
Difficulty
Easy
These garlic cheese balls are my go to appetizer when I want something impressive but don't want to spend hours in the kitchen. With just 15 minutes of prep, you'll have golden, crispy bites bursting with melted mozzarella and aromatic garlic. The fresh parsley isn't just for flavor either, it's packed with vitamin K and antioxidants that make these indulgent little treats a bit better for you. Best of all, they're incredibly budget friendly since you probably have most ingredients already, and they disappear in seconds at any gathering. Trust me, once you master this simple recipe, you'll be making them constantly.
Ella x
Ingredients
- 250 gmozzarella cheese(cut into small cubes)
- 8garlic cloves(minced)
- 30 gfresh parsley(finely chopped)
- 100 gbreadcrumbs(panko style preferred)
- 2eggs
- 50 gall purpose flour
- 1 teaspoonsalt
- ½ teaspoonblack pepper
- 500 mlolive oil(for frying)
- 50 gparmesan cheese(grated)
Detail level
Instructions
- 1
In a small bowl, mix together the minced garlic, chopped parsley, salt, and pepper. Set aside to let the flavors meld for a few minutes.
Tip: Fresh garlic works best here, but if you're in a rush, quality garlic paste works too.
- 2
Place the mozzarella cubes in the freezer for 10 minutes while you prepare the coating station. This helps them stay creamy inside while you fry.
Tip: Cold cheese won't leak out during cooking, keeping your balls perfectly intact.
- 3
Set up three shallow bowls: one with flour mixed with a pinch of salt, one with beaten eggs, and one with breadcrumbs mixed with grated parmesan.
Tip: Having everything ready makes the coating process quick and efficient.
- 4
Take a frozen mozzarella cube, roll it in the garlic and parsley mixture until coated, then roll in flour, then egg, then breadcrumbs. Place on a parchment lined tray.
Tip: The garlic mixture acts as the flavor layer, so don't be shy with it.
- 5
Repeat with all cheese cubes and place the finished balls in the refrigerator for 15 minutes to firm up before frying.
Tip: Chilling them a second time ensures they hold together during cooking.
- 6
Heat the olive oil in a deep pan to 180 degrees Celsius. Working in batches, carefully place the cheese balls into the hot oil.
Tip: Don't overcrowd the pan or the temperature will drop and they'll absorb too much oil.
- 7
Fry for 2 to 3 minutes until golden brown on all sides, turning gently with a slotted spoon. Remove and drain on paper towels.
Tip: They cook quickly, so watch carefully to catch them at the perfect golden stage.
- 8
Serve warm while the cheese is still melted inside. They're best enjoyed fresh from the pan with your favorite dipping sauce.
Recipe Variations
Get AI-powered ingredient substitution suggestions.
You Might Also Like
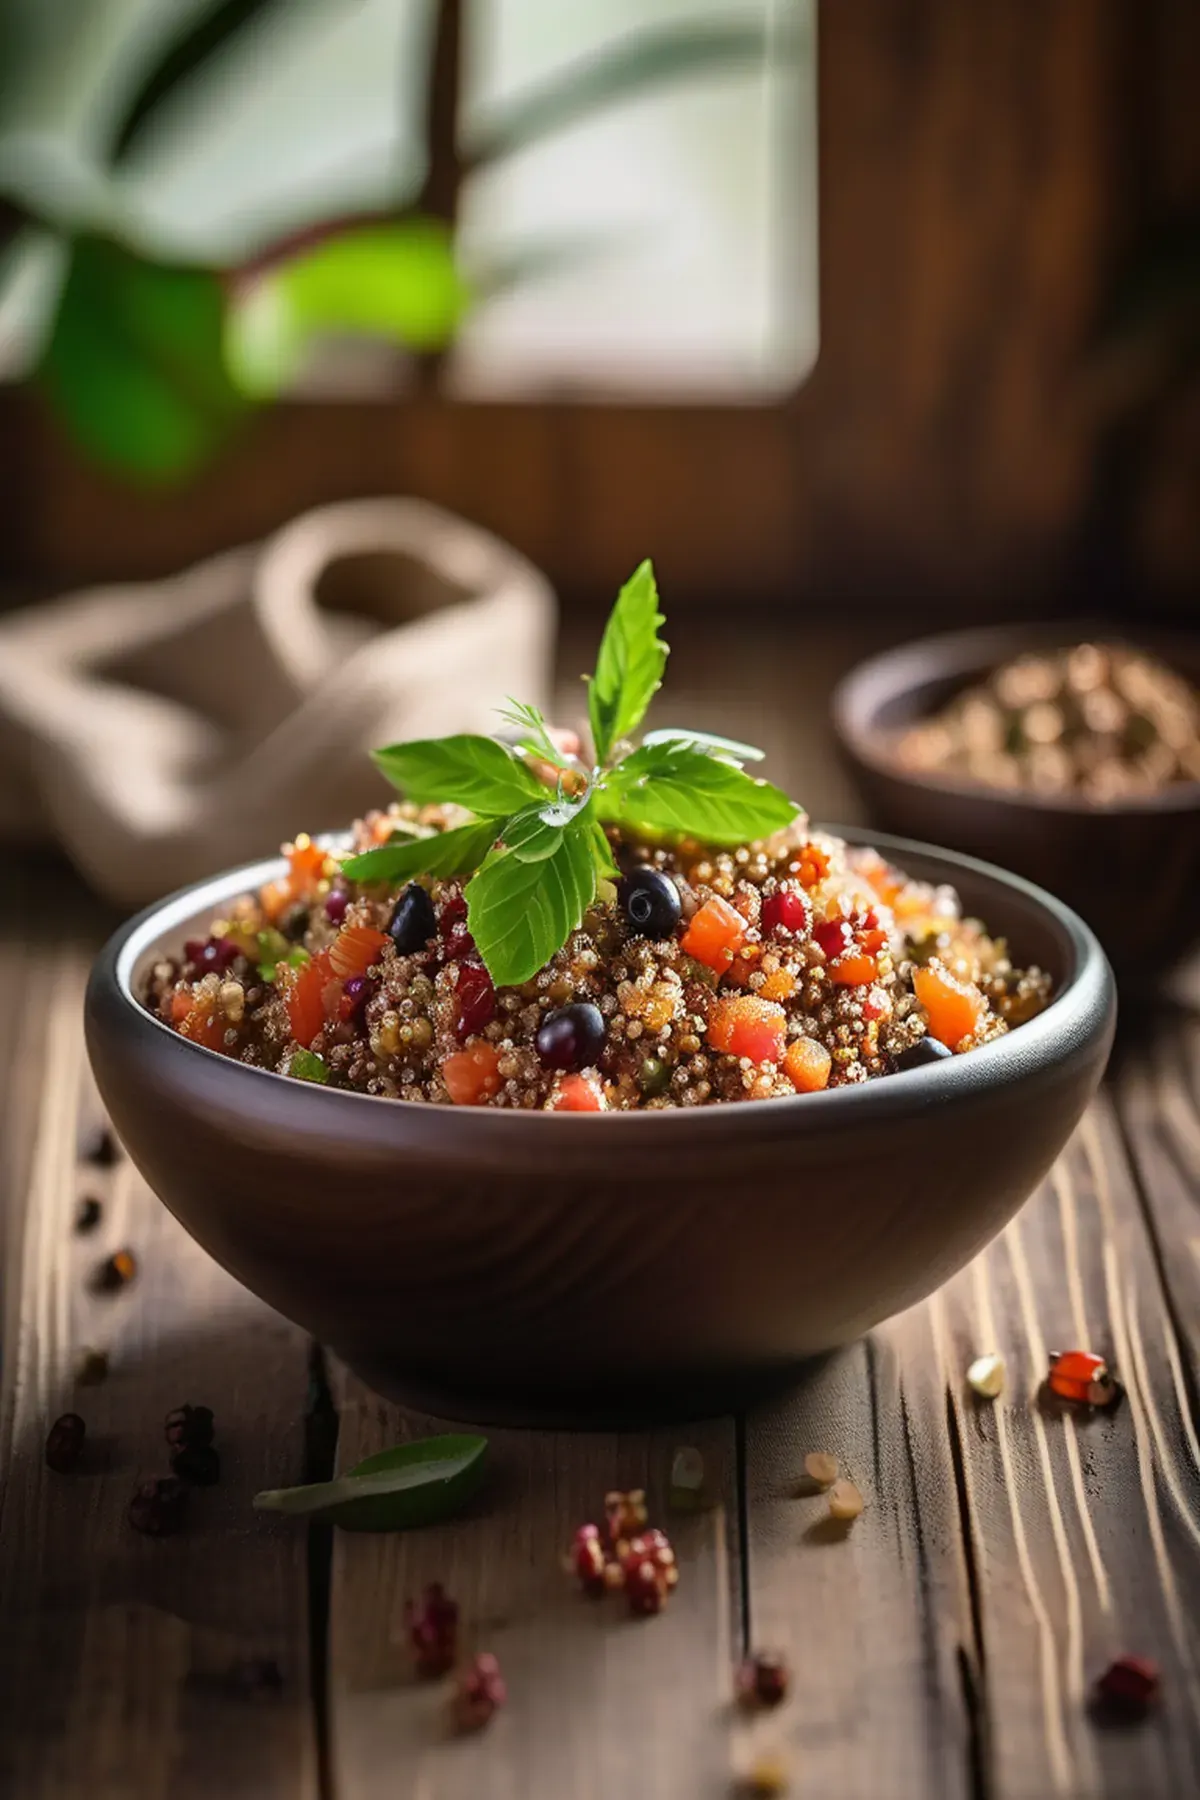
Tropical Quinoa
This tropical quinoa bowl has become my go to weeknight dinner because it comes together in just forty minutes and tastes like a mini vacation on a plate. Quinoa is one of my favorite ingredients since it's a complete protein with all nine essential amino acids, making it so satisfying and perfect for keeping energy levels steady. The combination of papaya, red bell pepper, and fresh cilantro brings vibrant flavors and colors, while the rice wine vinegar and orange zest add just the right brightness. Best part is the ingredient list is simple and affordable, yet feels fancy enough to impress anyone at your table.
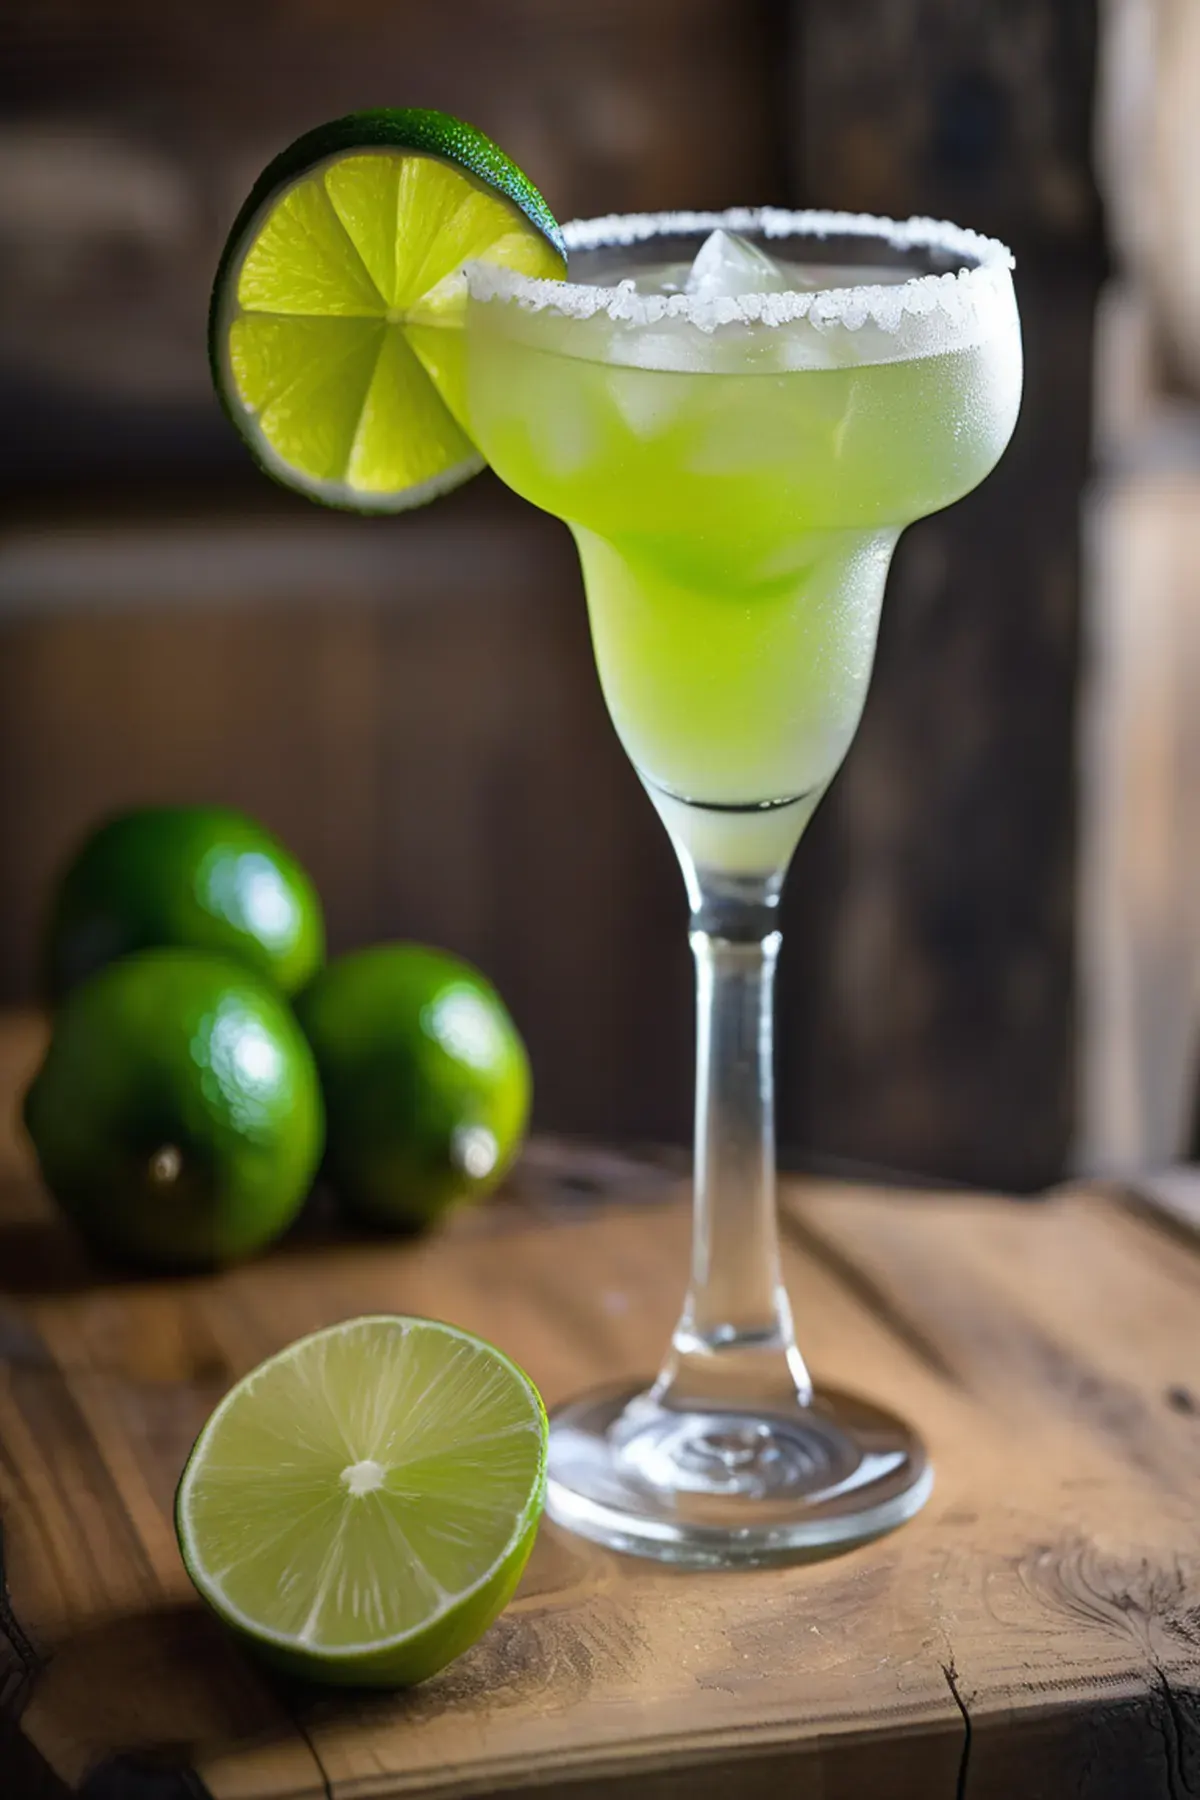
Beergarita
My go to drink for summer gatherings is this refreshing Beergarita, and let me tell you, it's a total crowd pleaser. The combination of tequila, triple sec, fresh lime juice, and a cold Corona creates something that tastes way more complicated than it actually is. Lime juice is packed with vitamin C, which is great for your immune system, and the whole thing takes just five minutes to throw together. Best part? It's incredibly budget friendly since you're probably already stocking most of these ingredients anyway.
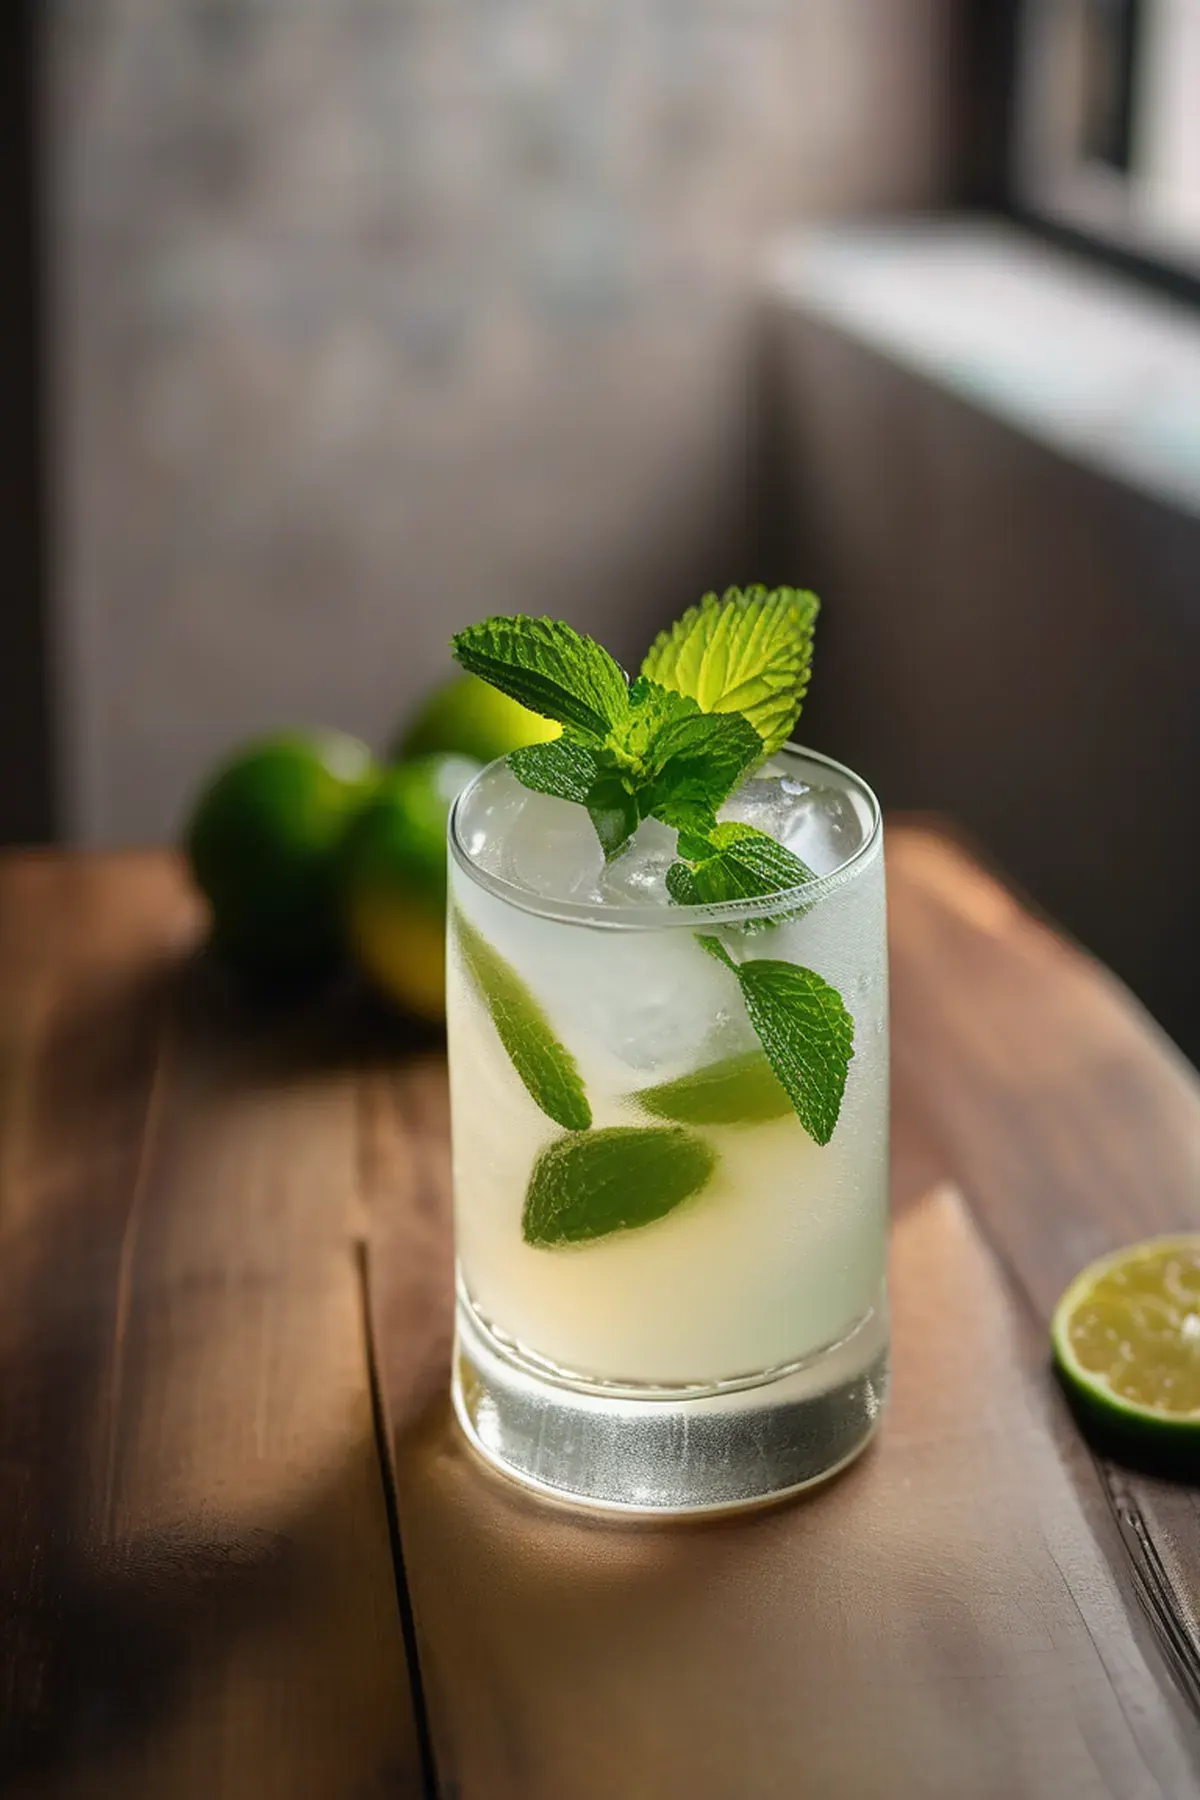
Yuzu Collins
Have you tried a Yuzu Collins? This is my go to drink when I want something refreshing that comes together in just five minutes. The yuzu juice adds this beautiful citrus brightness that feels fancy but honestly couldn't be easier to make. I love that yuzu is packed with vitamin C, so you're basically getting a little immune boost while you enjoy your cocktail. It's the kind of drink that impresses friends without requiring any special bartending skills, perfect for a casual evening at home.
Reviews
Sign in to write a review.