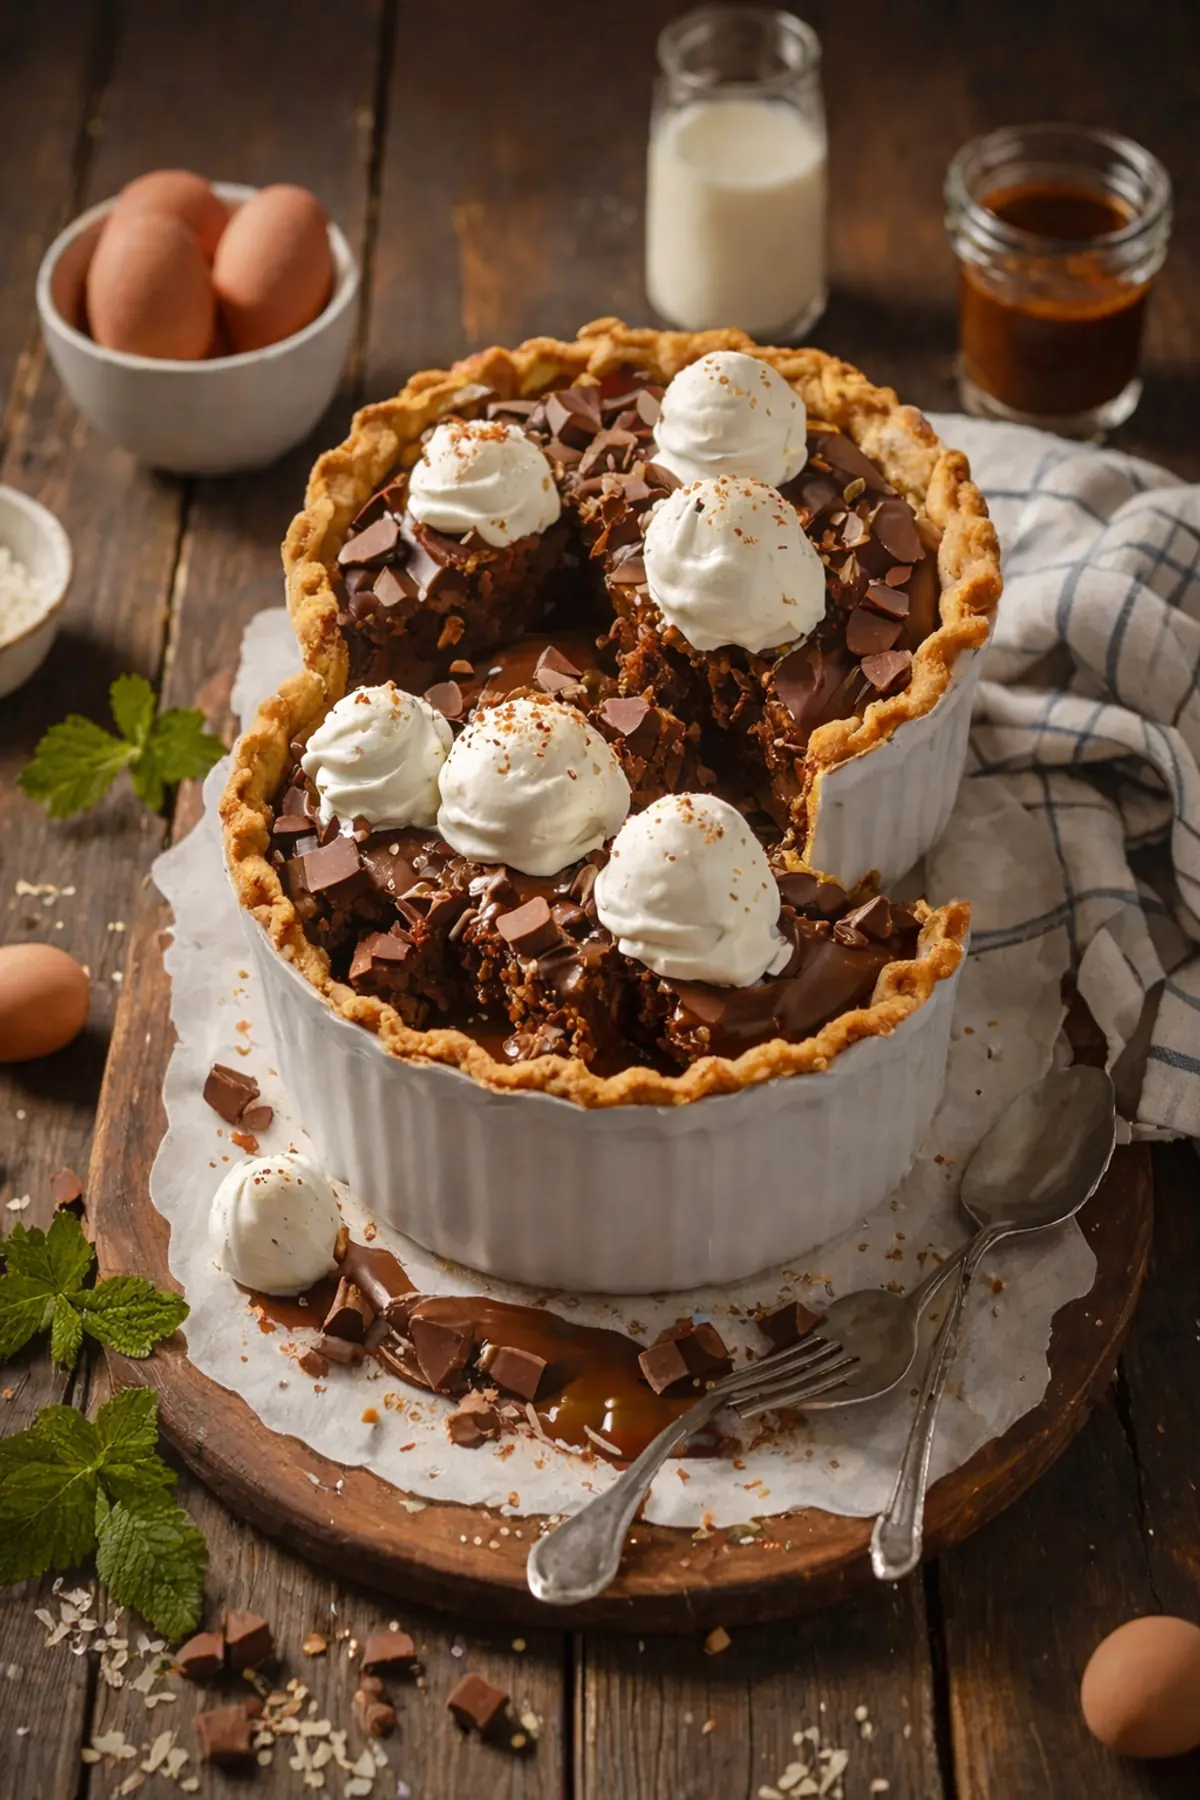
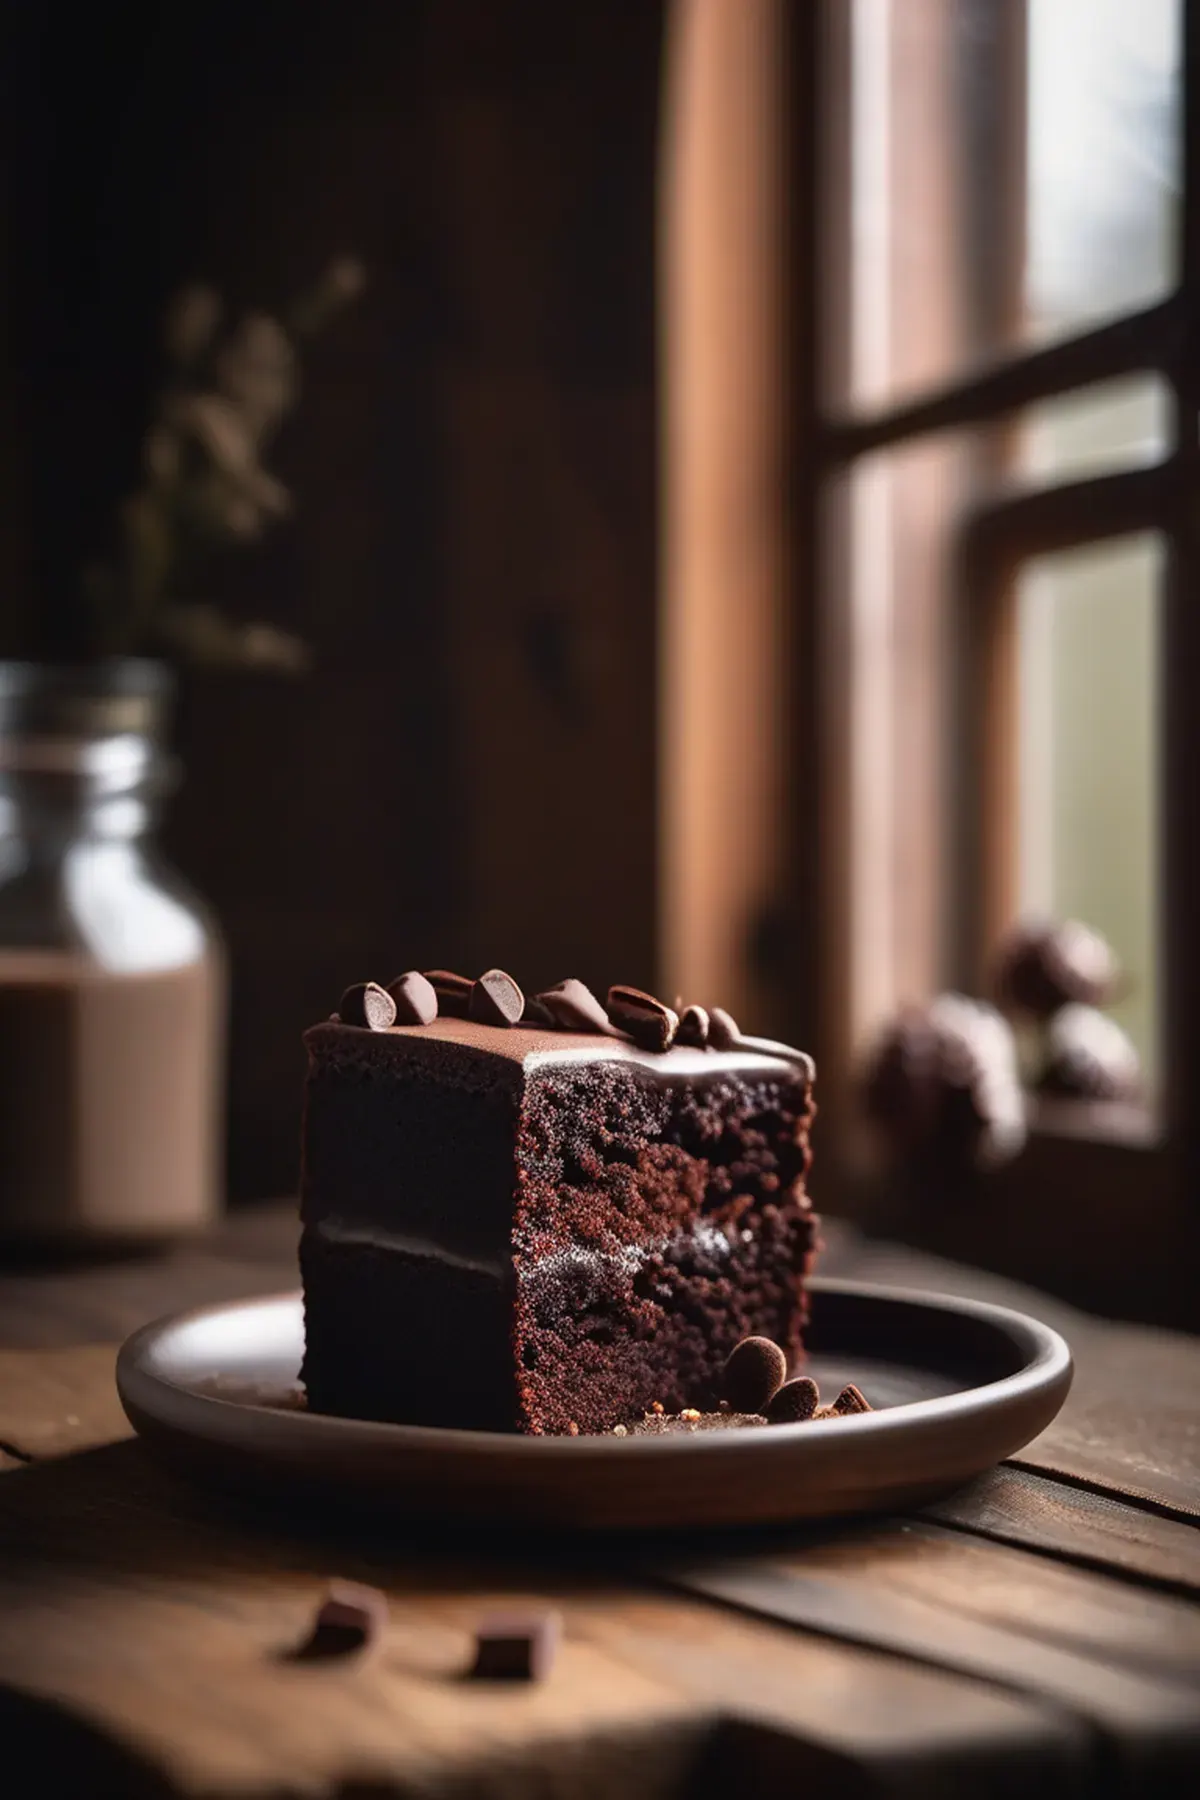
Milk Chocolate Cobbler
Prep
20 mins
Cook
40 mins
Servings
6
Difficulty
Easy
You know how sometimes you crave something warm and comforting but don't want to spend hours in the kitchen? This milk chocolate cobbler is exactly that kind of dessert. It comes together in just twenty minutes of prep, then bakes for forty minutes while you relax. The combination of a buttery, cake like topping with melted chocolate underneath creates this amazing molten texture that feels so indulgent. Plus, dark chocolate is packed with antioxidants, and using milk chocolate keeps things a bit lighter than a traditional cobbler. It's simple enough for a weeknight treat but impressive enough to serve guests, and I promise it'll become your go to recipe when you need something special without the fuss.
Ella x
Ingredients
- 250all-purpose flour
- 125cold unsalted butter
- 150castor sugar
- 400milk chocolate
- 3large eggs
- 120plain flour
- 6baking powder
- 12salt
- 20unsalted butter, melted
- 100heavy cream
- 1 mlvanilla extract
Detail level
Instructions
- 1
Preheat the oven to 180°C. Line an 18cm square baking dish with parchment paper.
Tip: Use a non-stick baking dish to prevent the cobbler from sticking.
- 2
In a large bowl, cream together the butter and castor sugar until light and fluffy.
Tip: Use an electric mixer for the best results.
- 3
Melt the milk chocolate in a double boiler or in the microwave in 30-second increments, stirring between each interval.
Tip: Stir the chocolate until smooth and glossy.
- 4
In a separate bowl, whisk together the flour, baking powder, and salt.
Tip: Use a whisk for the best aeration.
- 5
Add the flour mixture to the creamed butter and mix until just combined.
Tip: Don't overmix, as this will make the biscuit crust tough.
- 6
Pour in the melted chocolate and mix until a dough forms.
Tip: Use a spatula for the best results.
- 7
Add the eggs one at a time, mixing until fully incorporated.
Tip: Use room temperature eggs for the best results.
- 8
Pour the chocolate mixture into the prepared baking dish.
Tip: Smooth the top with a spatula.
- 9
Sprinkle the biscuit crust over the top of the cobbler.
Tip: Use a little extra flour to dust the crust.
- 10
Bake for 40 minutes or until the biscuit crust is golden brown and the cobbler is set.
Tip: Don't open the oven door until the timer goes off.
- 11
Remove from the oven and let cool for 10 minutes before serving.
Tip: Serve warm with a dollop of whipped cream if desired.
Recipe Variations
Get AI-powered ingredient substitution suggestions.
You Might Also Like
1 Pan Fudge Cake
This fudgy chocolate cake is my go to when I'm short on time but need something decadent. The best part? You mix everything right in one pan, so there's barely any cleanup. I love using cocoa powder in my baking because it's packed with antioxidants and adds such rich flavor without weighing down the cake. The whole thing comes together in just thirty minutes from start to finish, making it perfect for weeknight desserts or unexpected guests. It's simple, delicious, and honestly foolproof.
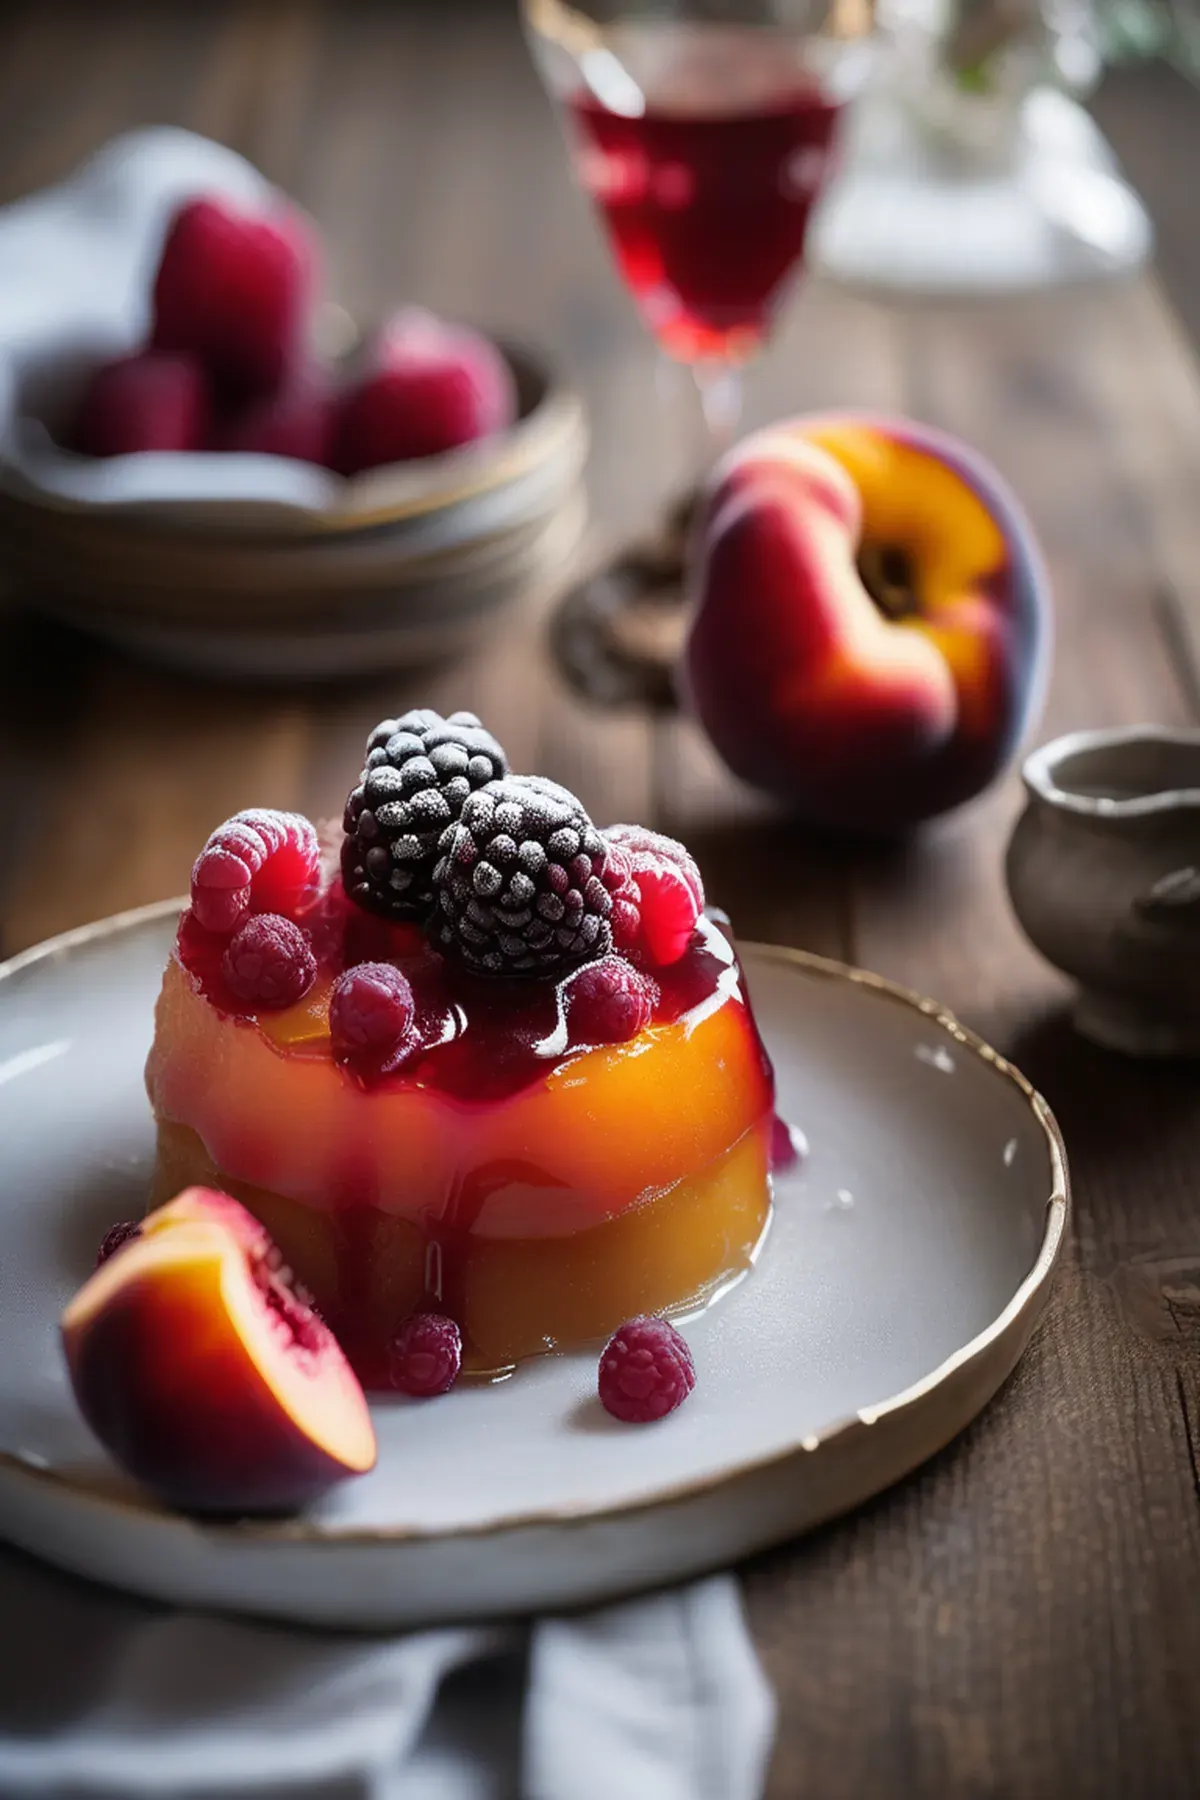
Peach melba tatin
This is my favorite way to reinvent a classic dessert. By combining the elegance of Peach Melba with a show stopping tatin, you get a dessert that looks fancy but comes together in just over an hour. Peaches are wonderfully low in calories and packed with vitamin C, so you can feel good about indulging. The beauty of this recipe is that most home cooks already have puff pastry in the freezer, making it incredibly practical for unexpected guests. Caramelized peaches paired with tart raspberries and creamy vanilla ice cream create pure magic on the plate.
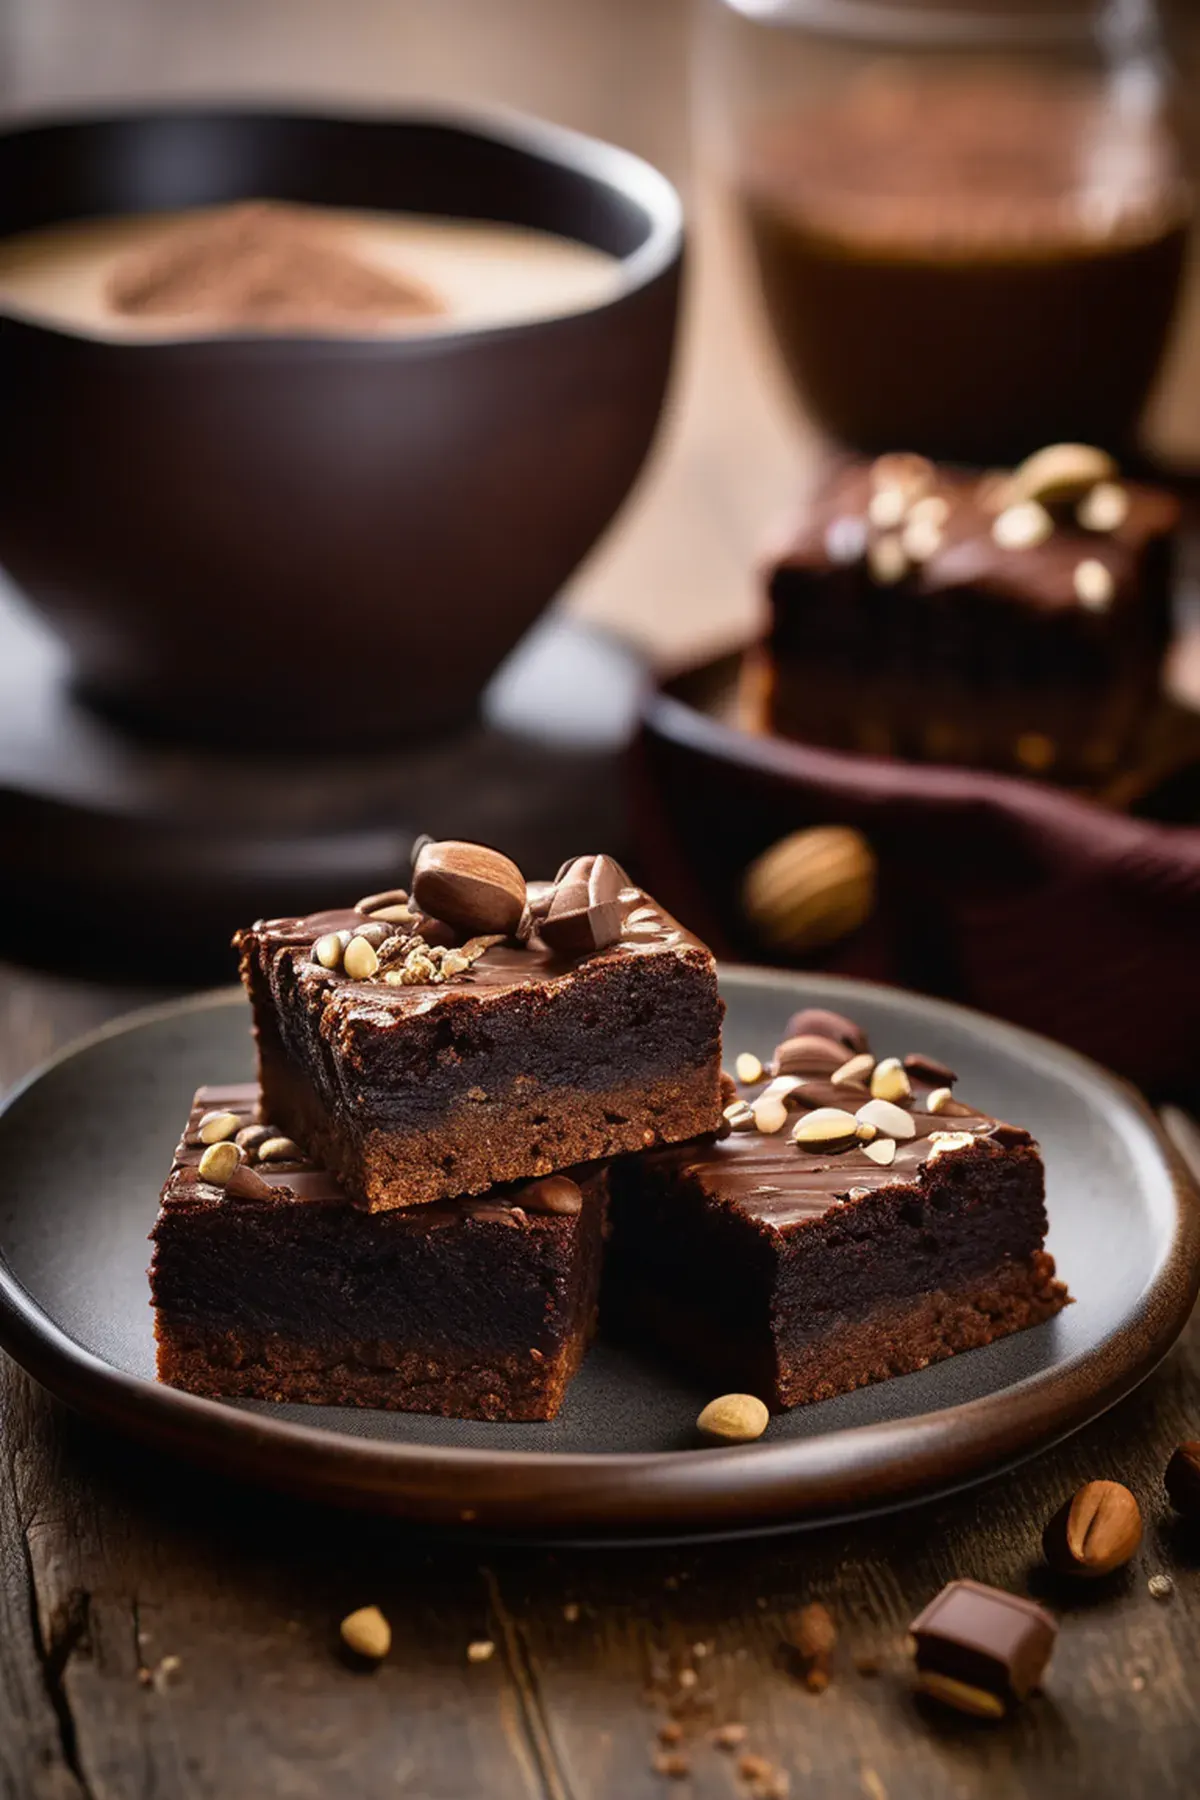
Lindt Excellence & tahini brownies
These fudgy brownies are my go to when I want something rich and impressive without spending hours in the kitchen. The combination of Lindt chocolate and tahini creates this wonderfully complex flavor that feels fancy but comes together in just an hour. Tahini brings such a lovely nuttiness while adding protein and healthy fats that make these brownies feel a bit more nutritious than your average treat. What I love most is how straightforward the whole process is, even for a novice baker like myself. Just mix, bake, and you've got decadent brownies that taste like you spent far more effort than you actually did.
Reviews
Sign in to write a review.